Guitars
&
Guitar Building Blog
The more you know about your guitar the better an artist you will become...Knowlage is Power
Handwound Guitar Pickups vs. Factory Wound Guitar Pickups
When guitar players hear our handwound pickups the reaction is always "surprise". Especially when we re-wind pickups that they already own. With the same parts (and no mods) we can take an old pickup, scatterwind (or handwind) it, pot it and one would have no idea that it was the same pickup....like turning a moped into a Harley.
It is not to say that the quality of parts do not matter, they do. But the fact of the matter is that we have taken cheap China made pickups and rewound them to a result worthy of motoring a Hawkins Guitar. If you have spent any time in our shop then you know that incredible sound is our business and our passion.
Other things that impact the "color" of sound in a pickup can range from the type and thickness of the coil wire, the coating on the wire, the magnet type as well as the potting compound that gets used. The coil wire tension (when winding) is also critical to the building process as too tight or too loose can affect the end result dramatically at times.
When it gets down to it it seems like everyone wants that "vintage" sound but the irony here is that the only thing that really has changed is the winding process. Once machines started winding pickups then their production went up, material cost went down, prices stayed the same and sound has suffered since. We want that vintage sound because those vintage pickups were handwound and the only way to duplicate that sound is make it the old school way. It is certainly a great way to turn that old dusty guitar into something that you will want to play every chance you get.
Student Guitar Building
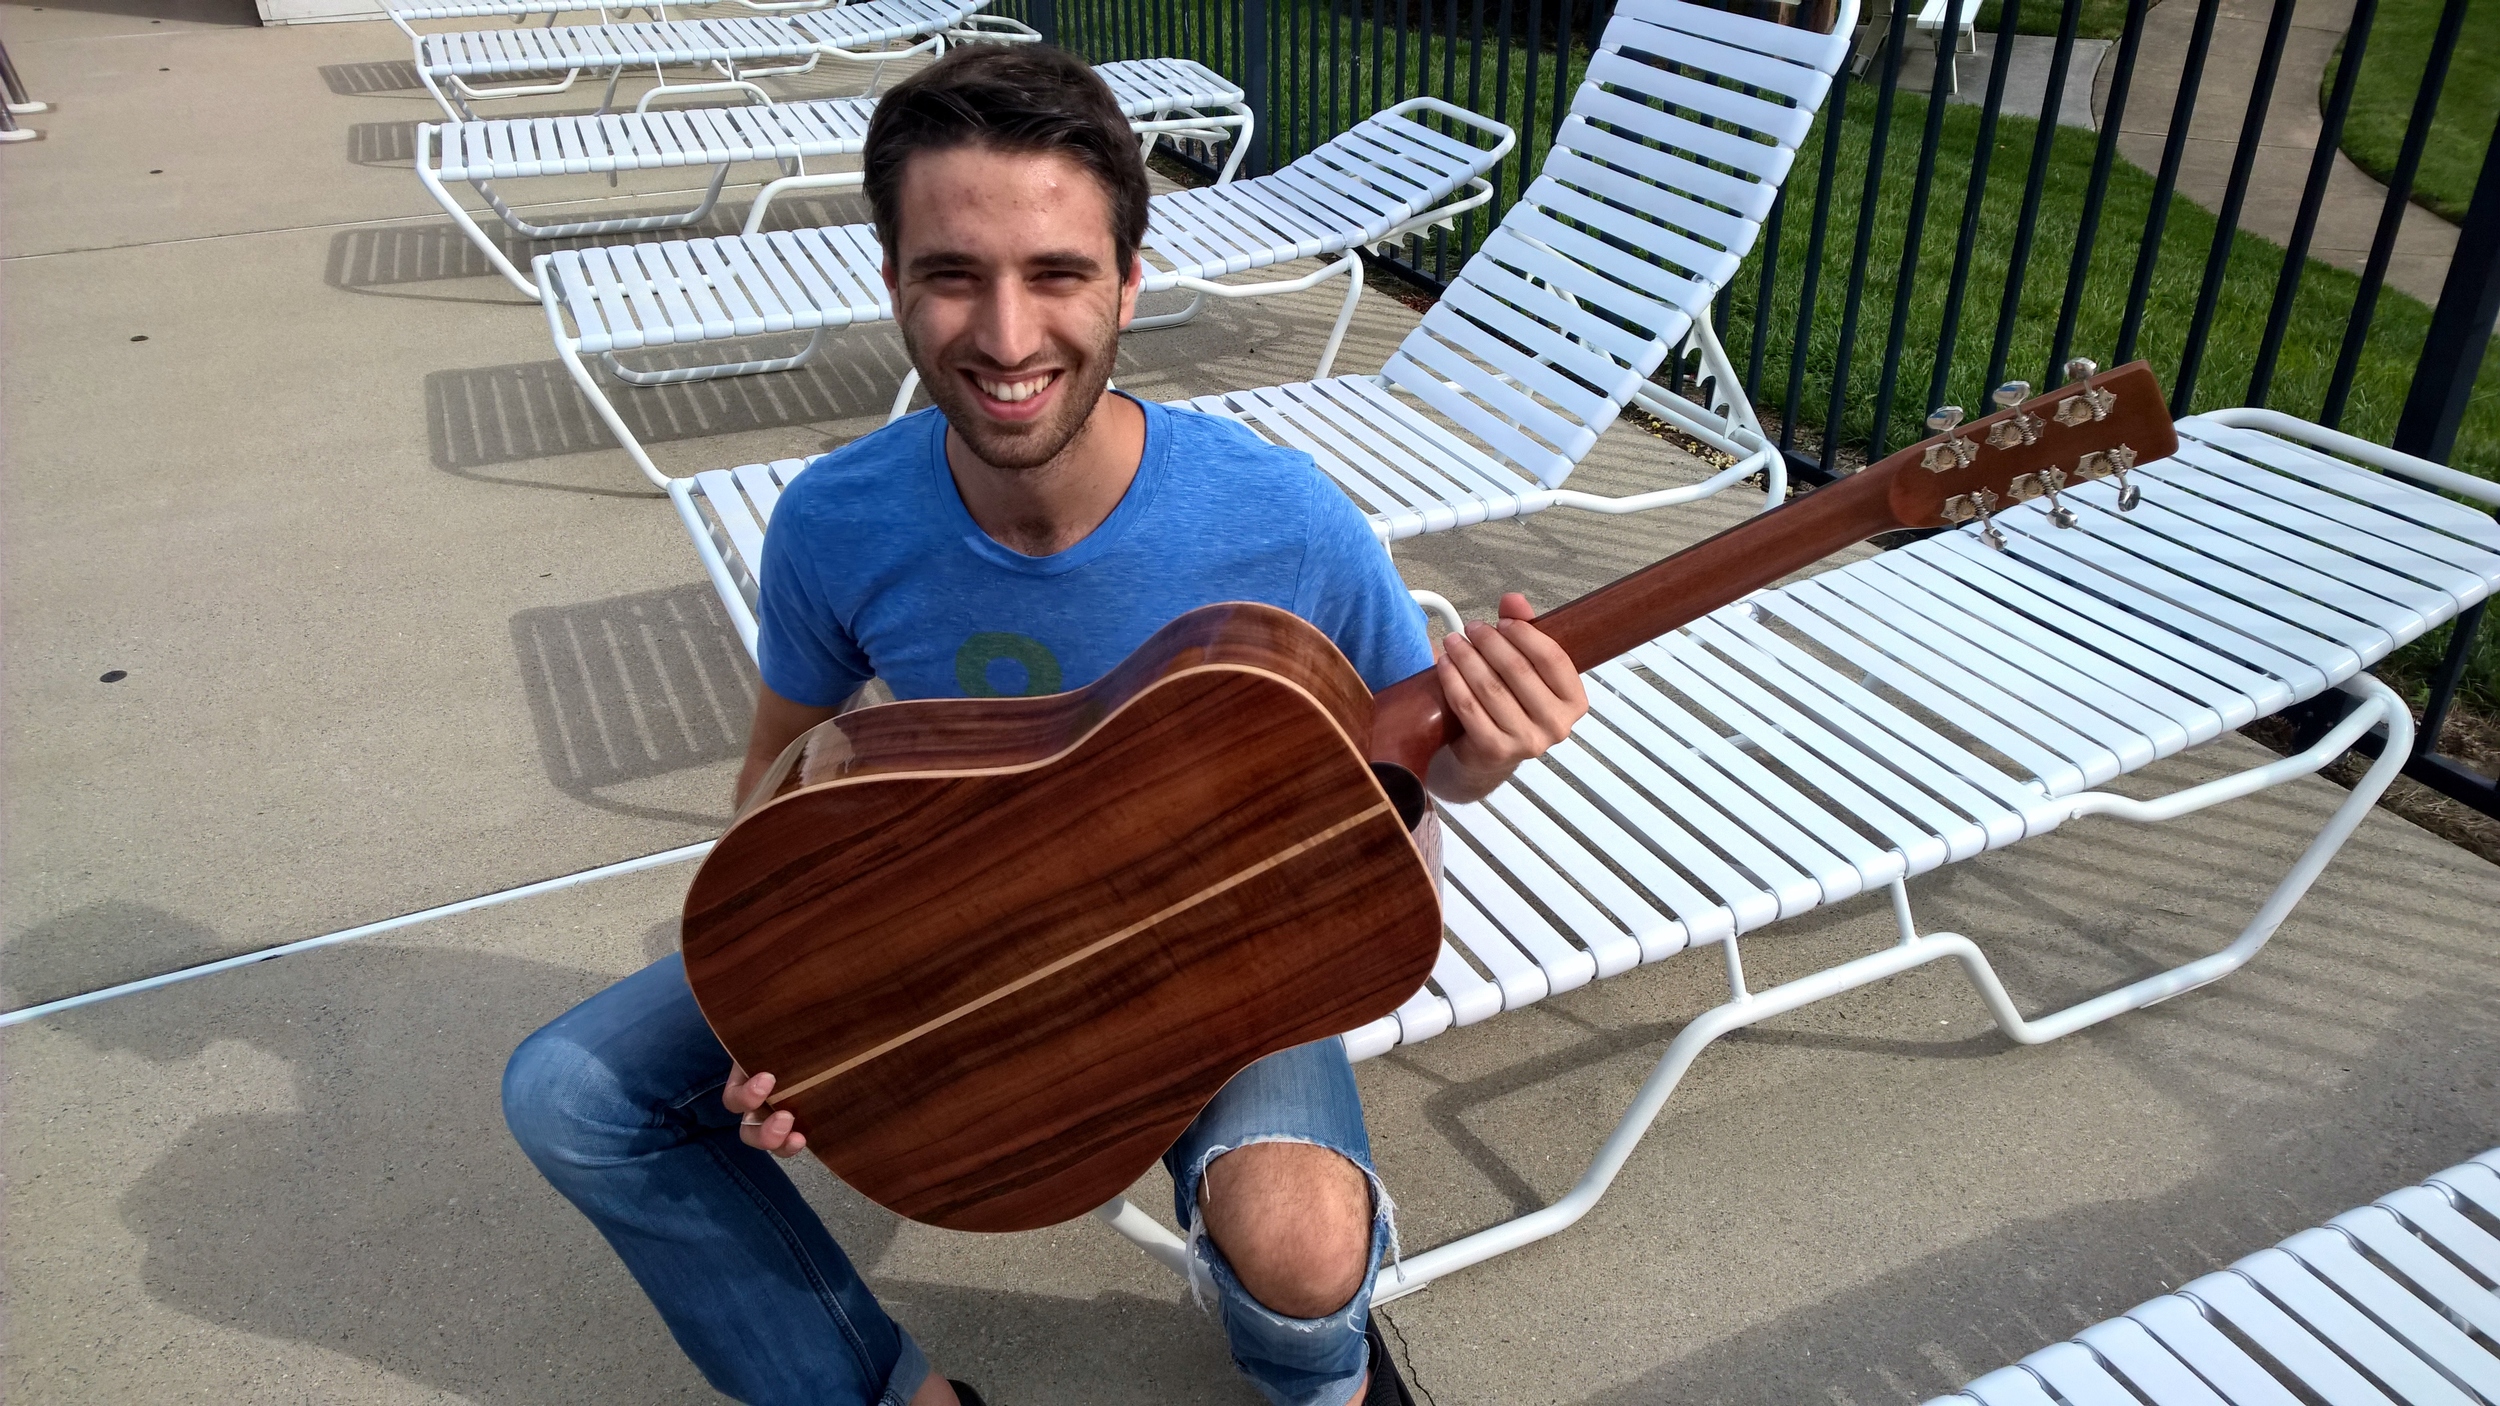
Hawkins Guitar Building School Student Build
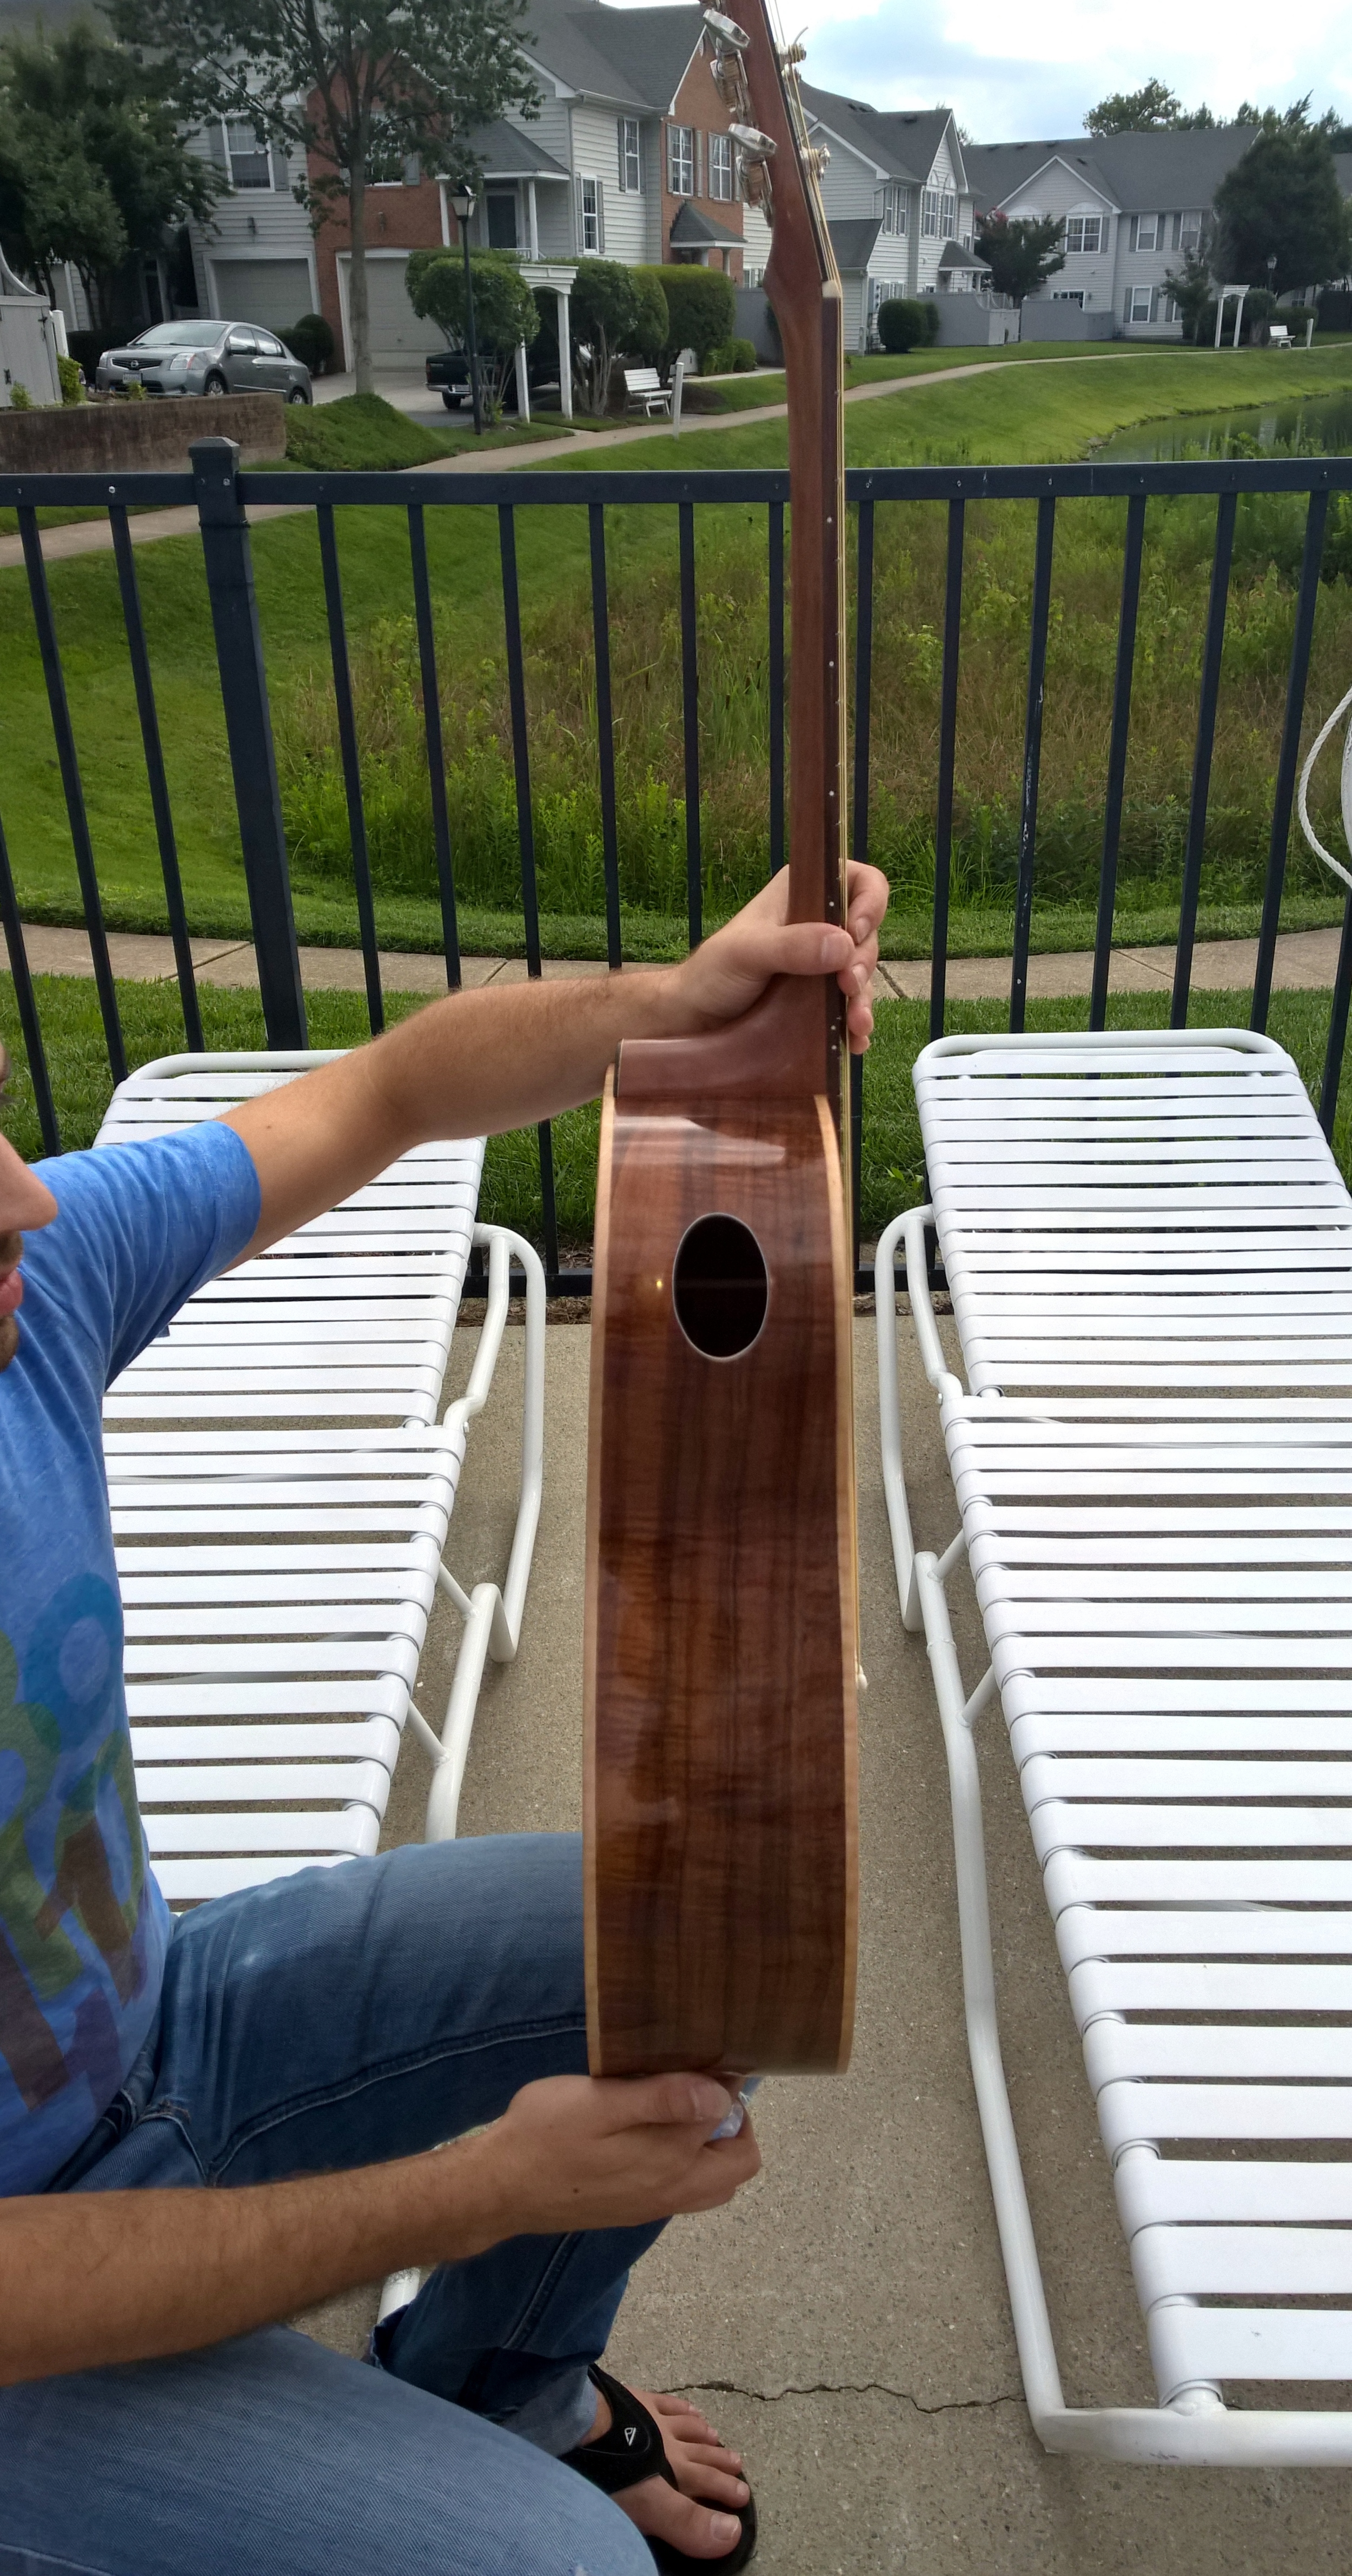
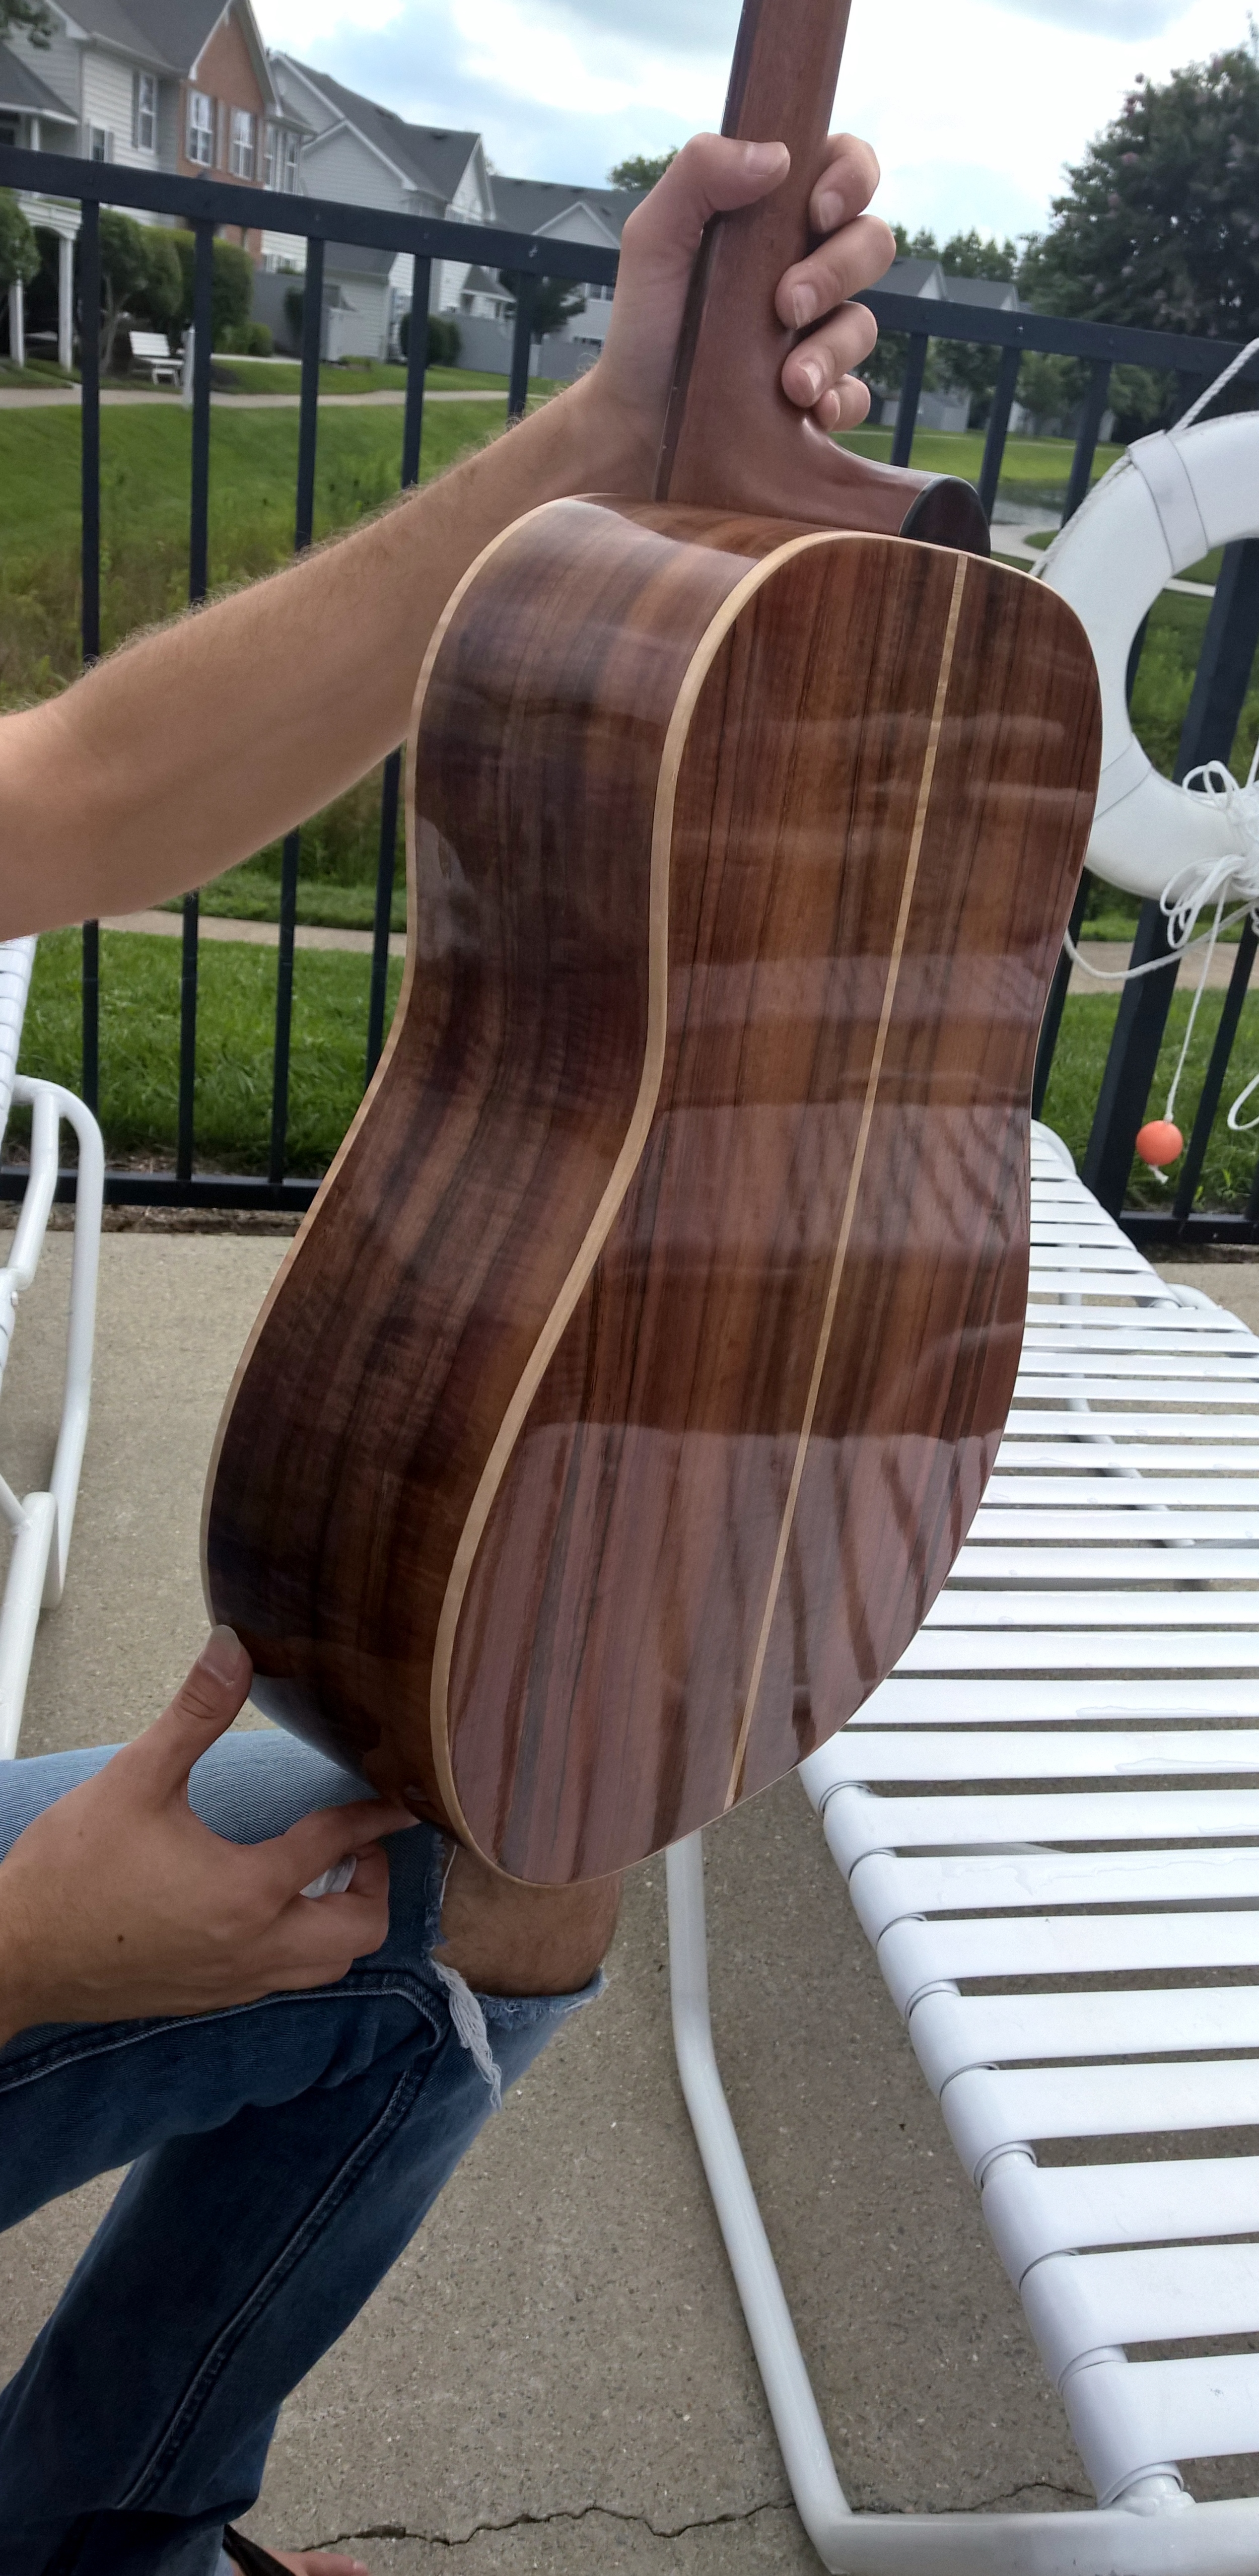
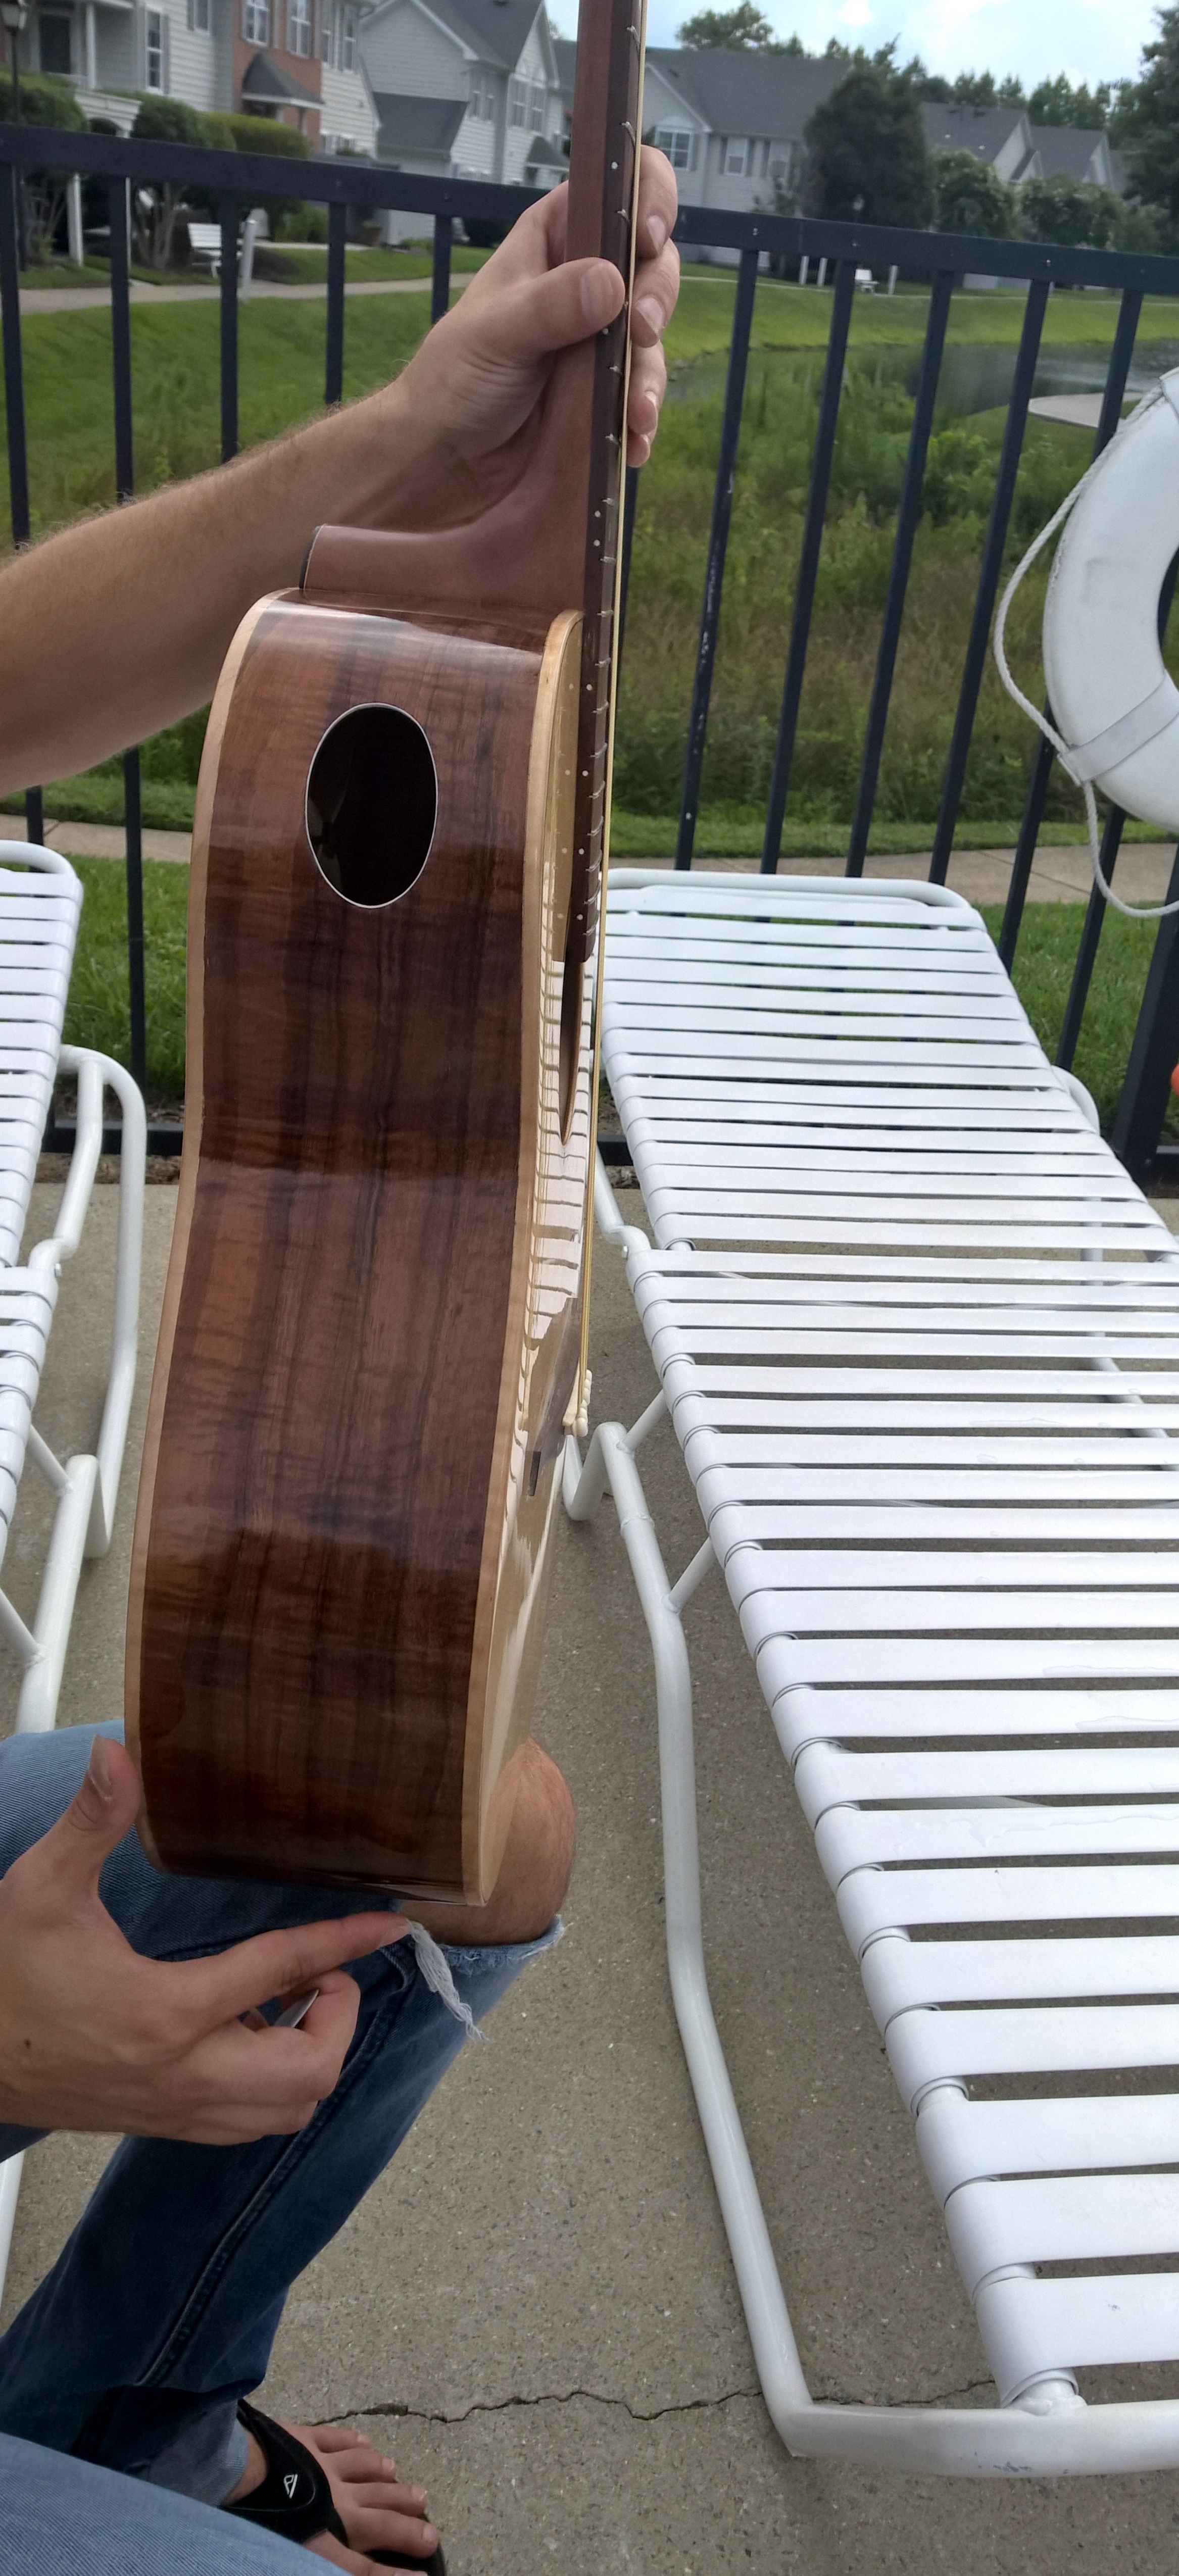
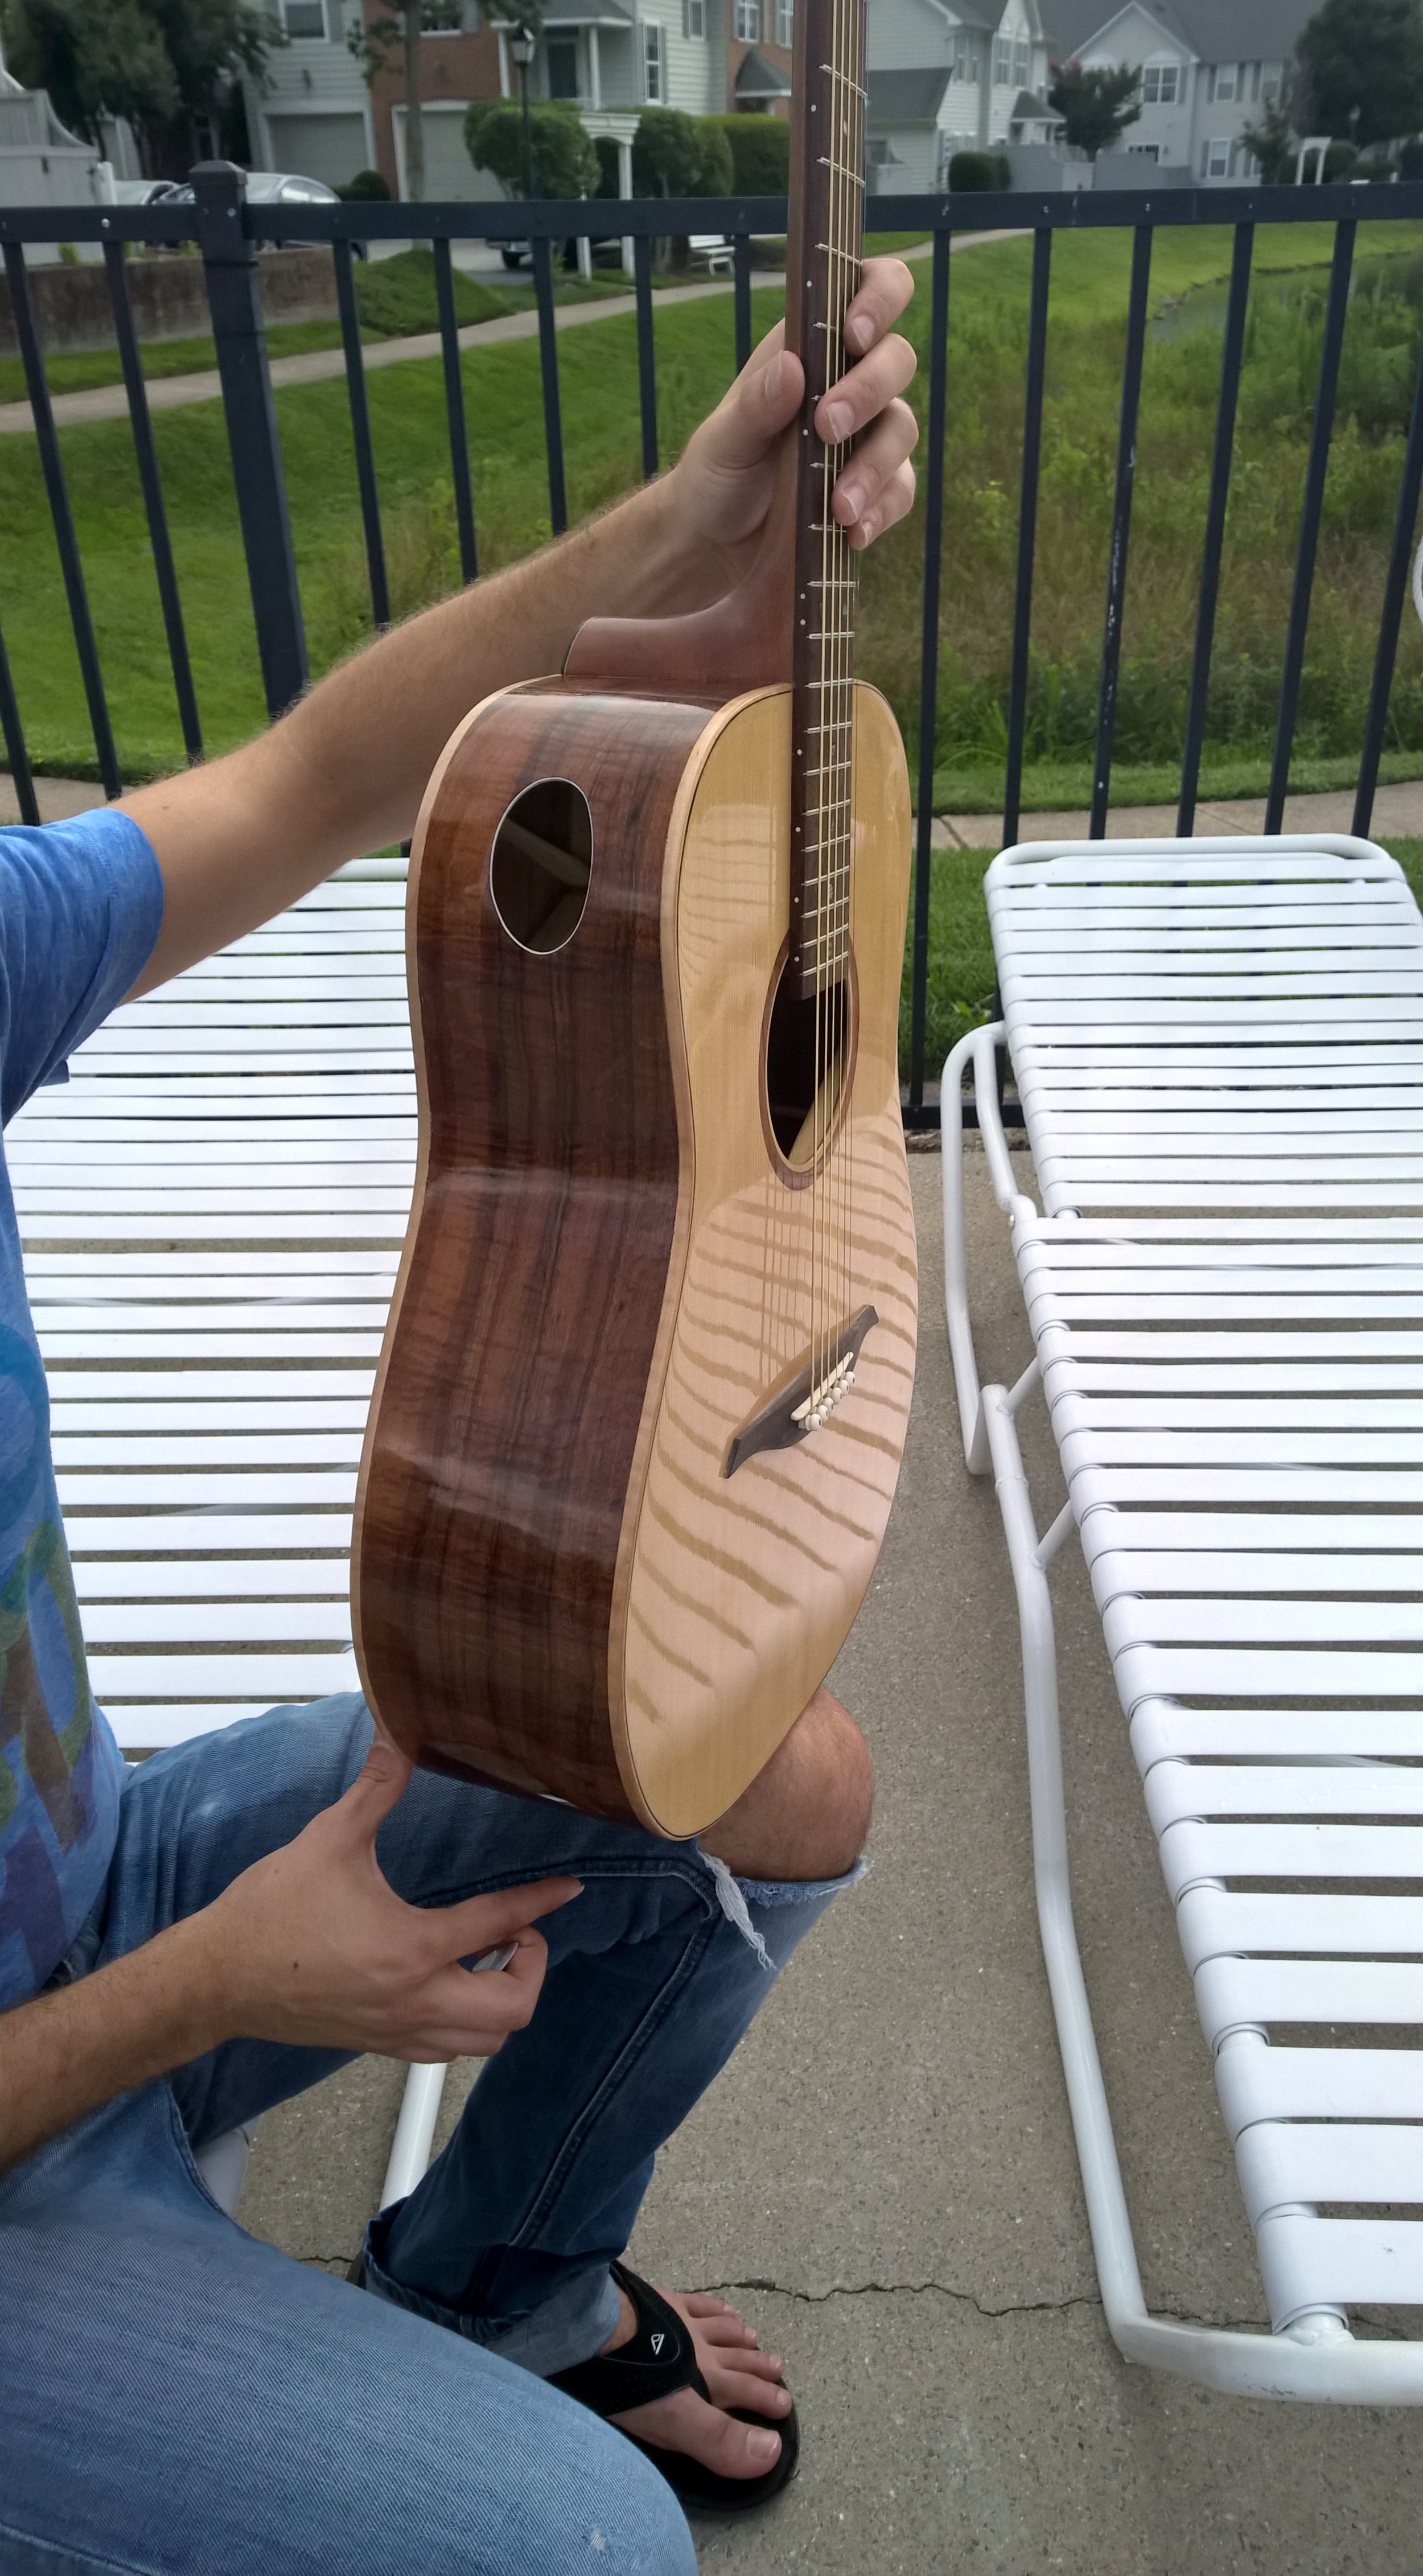
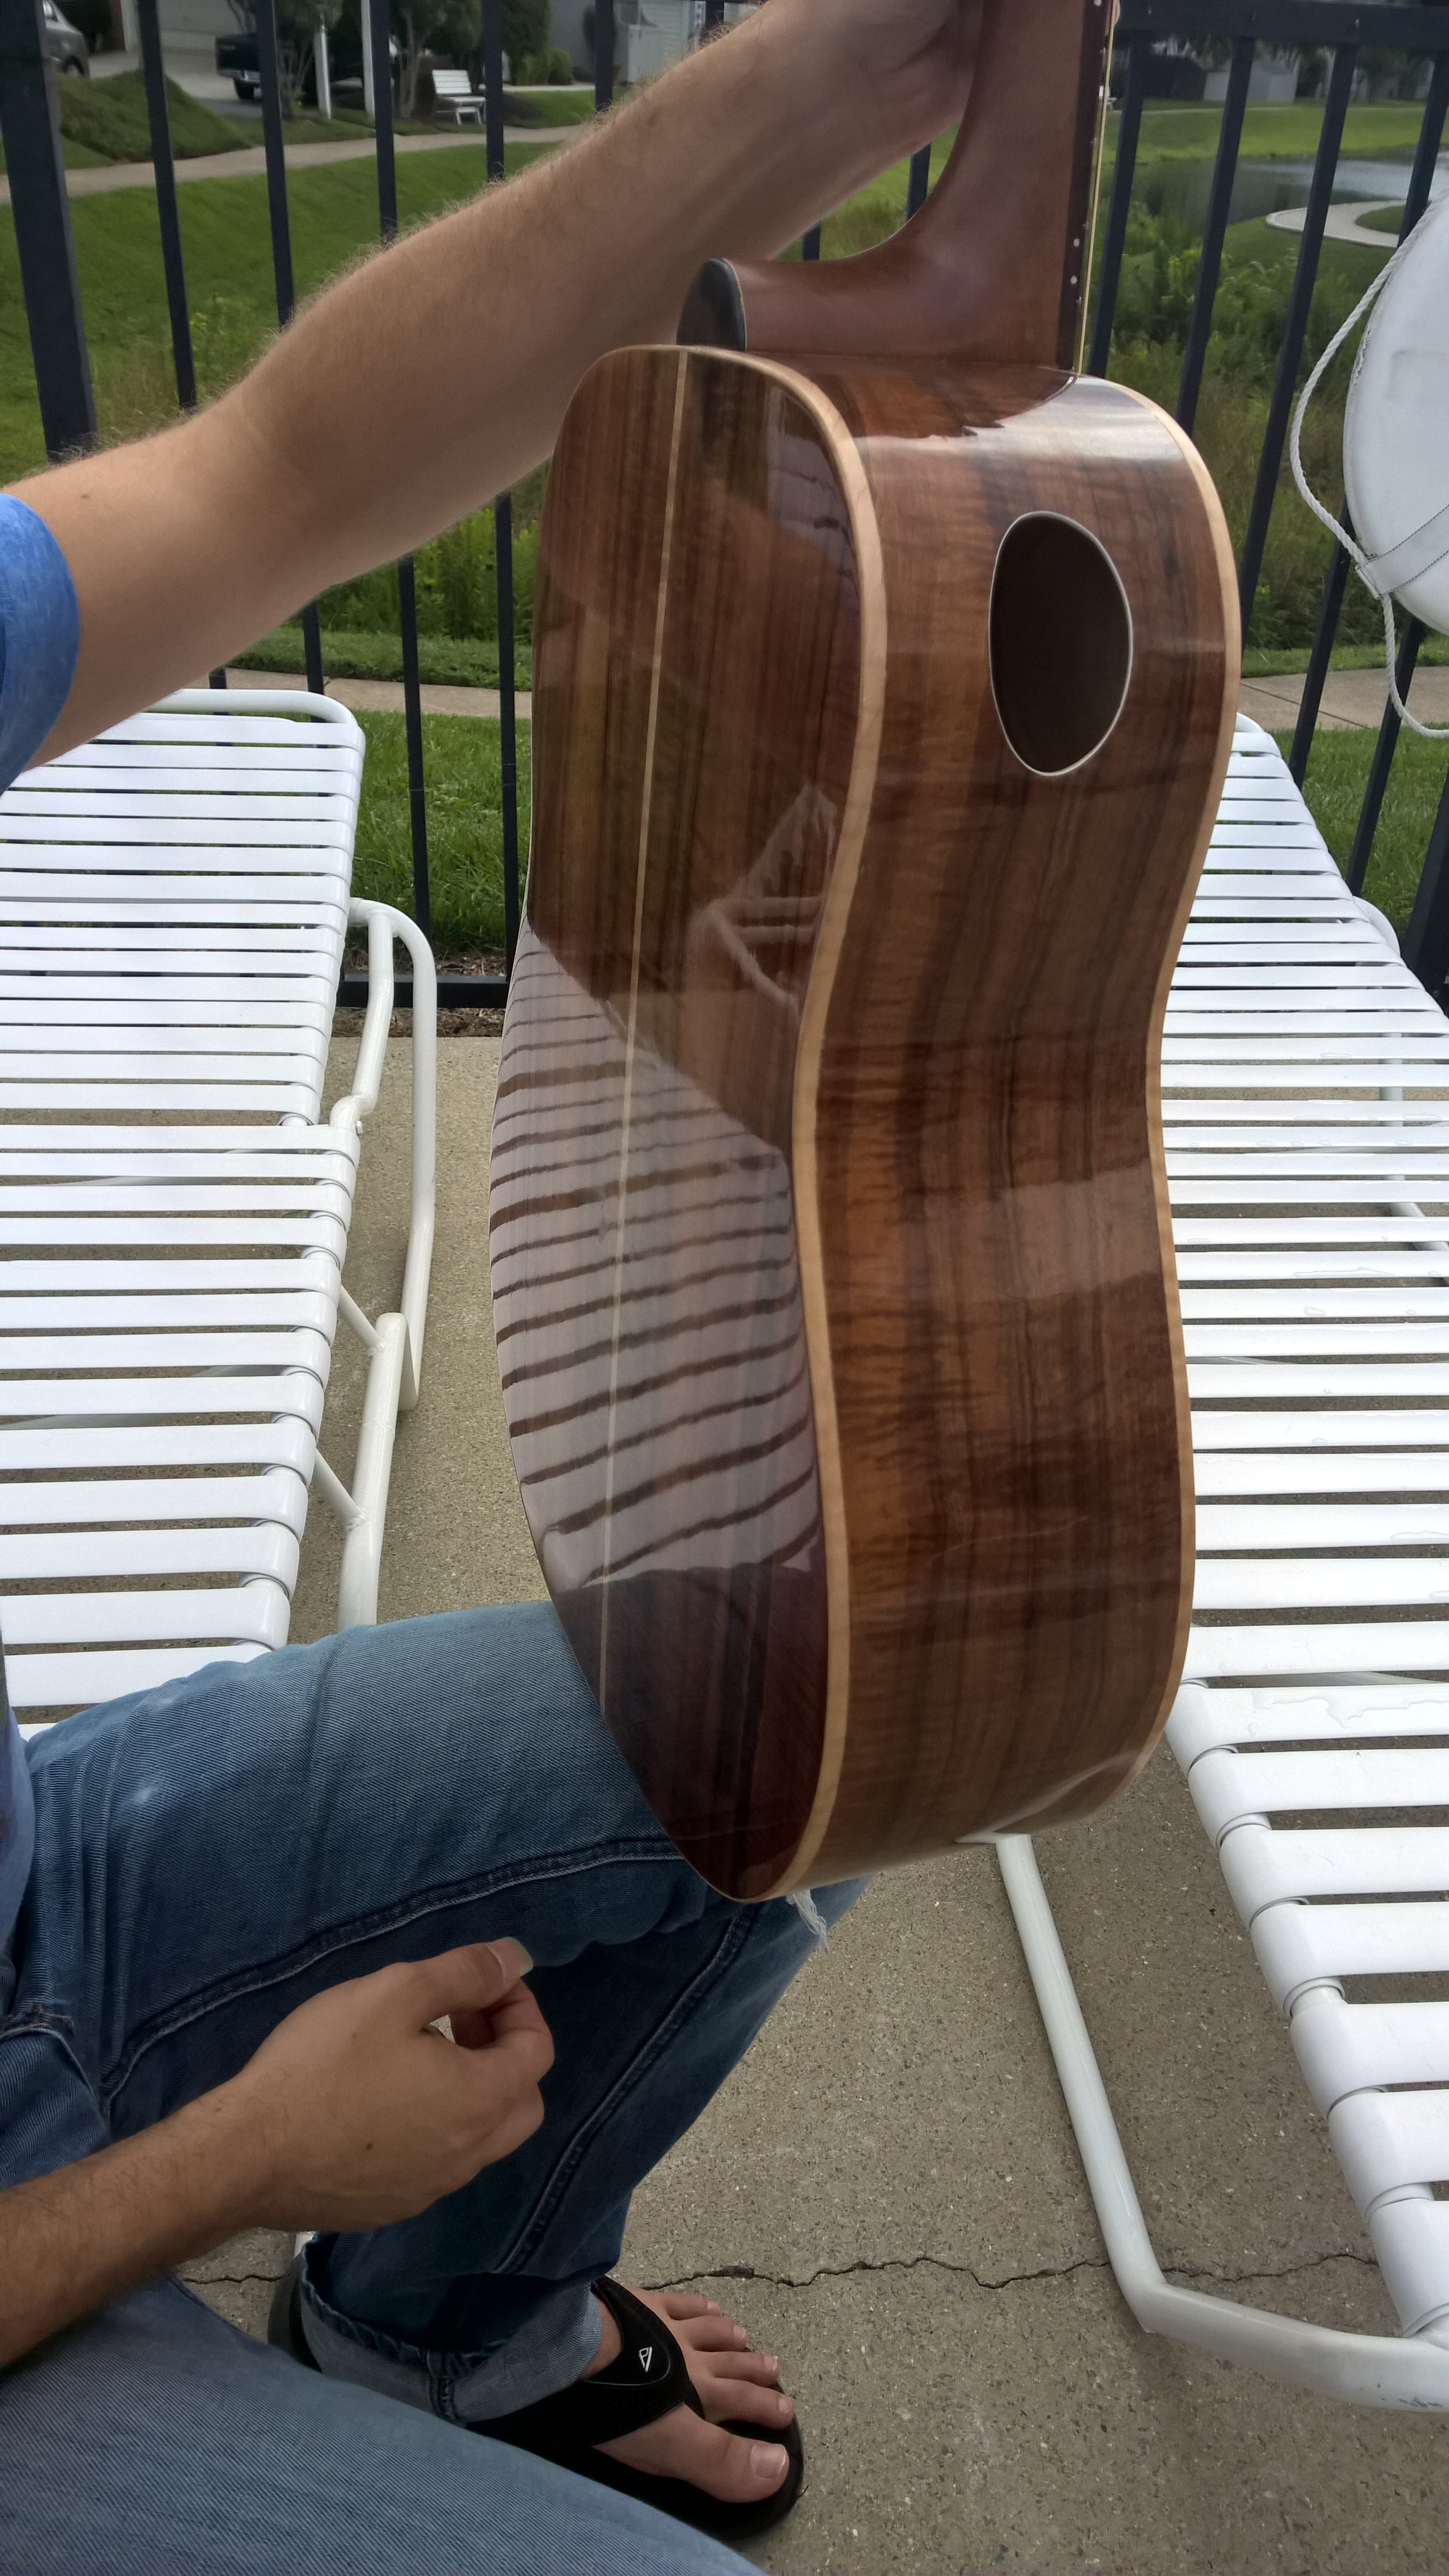
Congratulations to Daniel Rosenfarb (Hawkins Guitar Building Student) on the Completion of his Koa Guitar with a Sitka Spruce Top. The guitar turned out exceptional!
Choosing Guitar Picks
For many guitar players a guitar pick is not really given the consideration it should, especially when it comes to how they affect sound. To prove this to yourself go find 10 different picks made from different materials and compare them on the same guitar. For the discrete player a guitar pick is as important as any other part of the guitar's sound puzzle. The variety of tones that can be obtained, just by changing picks, is surprising once a little attention is given to it.
Plastic Picks
Depending upon how thick and what material is used, plastic (or plasticized) type of picks can give a tonal range from "thin" to a thicker more robust tone as the pick itself thickens. Some of the more expensive picks like V-Pick and other high end companies have produced some great playing and sounding picks that don't give that "plastic" sound coming off of the strings. Plastics, being the texture that they are, often have a tendency to spin while playing and can be a distraction to some players.
Wood Picks
With the variety of available woods out there, the possibilities are broad when it comes to wood guitar picks. In most cases wood is going to give you a sound that is natural and warm. The brightness is increased with the hardness of the wood being used. Personally, I think that Brazilian Rosewood makes one of the best wood guitar picks as it gives a perfect balance of natural tone and brightness.
Bone & Ivory
For a bright, punchy cut through the band natural sound, Bone or Ivory is a superior choice. Without being too bright bone or ivory will still have a natural ring to it but on the brighter side of thing.
Buffalo Horn
Buffalo Horn has become our favorite material for making guitar picks and our best selling. It seems to have just enough warmth and just enough brightness to bring out the natural sound of the instrument without leaning too far to one end or the other. It's sound is somewhere between rosewood and bone with a strong hint of both.
Shape Matters
There are two factors that can impact the play-ability of a guitar pick with regard to shape. Just as thickness has an impact so does the shape of the edge that hits the string. A sharper edge will sharpen the brightness and a more rounded edge will warm it up a bit.
Ergonomics
After way too many years of compensating for spinning picks I finally got a wild hair and designed a pick that does't spin while playing. The objective was to use shape to counter act spinning and not a separate material on the pick as those materials tend to wear off. I wish I could say that it took weeks of research but the truth is that it took about 30 minutes to create a pick that fit the hand ergonomically. Typically we have to adjust our grip to fit the design of the pick and that is just bass-ackwards to me. Our result were hand made picks that you won't have to think about once you start playing.
Torrefied Guitar Wood
Torrefied guitar tops have grabbed the attention of many of the more prolific guitar builders in the world, definitely worth exploring...
For nearly 20 years I have been observing fad after fad as guitar builders are always looking for a better sound. As experience has taught me, I do not buy into most of them but every once in a while something hits home and peaks my curiosity. The idea of "baking" a guitar top is not new at all as some builders have been doing it for years but it seems that the process has been improved and (unlike most fads) this one is being discovered as a significant game changer. As Luthiers, most sound improvement changes that we make to a guitar are not very noticeable by themselves but they are significant as the changes accumulate.
Having the privilege of owning and building with naturally aged (torrefied) wood (some over 200 years old), and having some processed torrefied wood, I am highly impressed with how similar the two are - in fact had I not known that the processed wood was torrefied I would have assumed that it was at least 100 years old. The one difference that I do notice is that the naturally aged guitar tops have a stiffness to them that (although seemingly stiffer than simple air dried tops) the processed tops do not quite have.
Having said all of that, hearing the buzz from great Luthiers and having my own experience with naturally century aged wood, 10 to 20 year air dried wood and torrefied wood I feel very comfortable saying that from here on out it will be a rare occasion if any acoustic guitar coming from my shop is NOT built with processed torrefied spruce or whatever other type of top I might be building with. Cedar may very well be the exception as it is already a brittle wood and subject to cracking as it ages.
As I discover new things that really matter (on this subject) I will post them here so stat tuned....
Hawkins LP
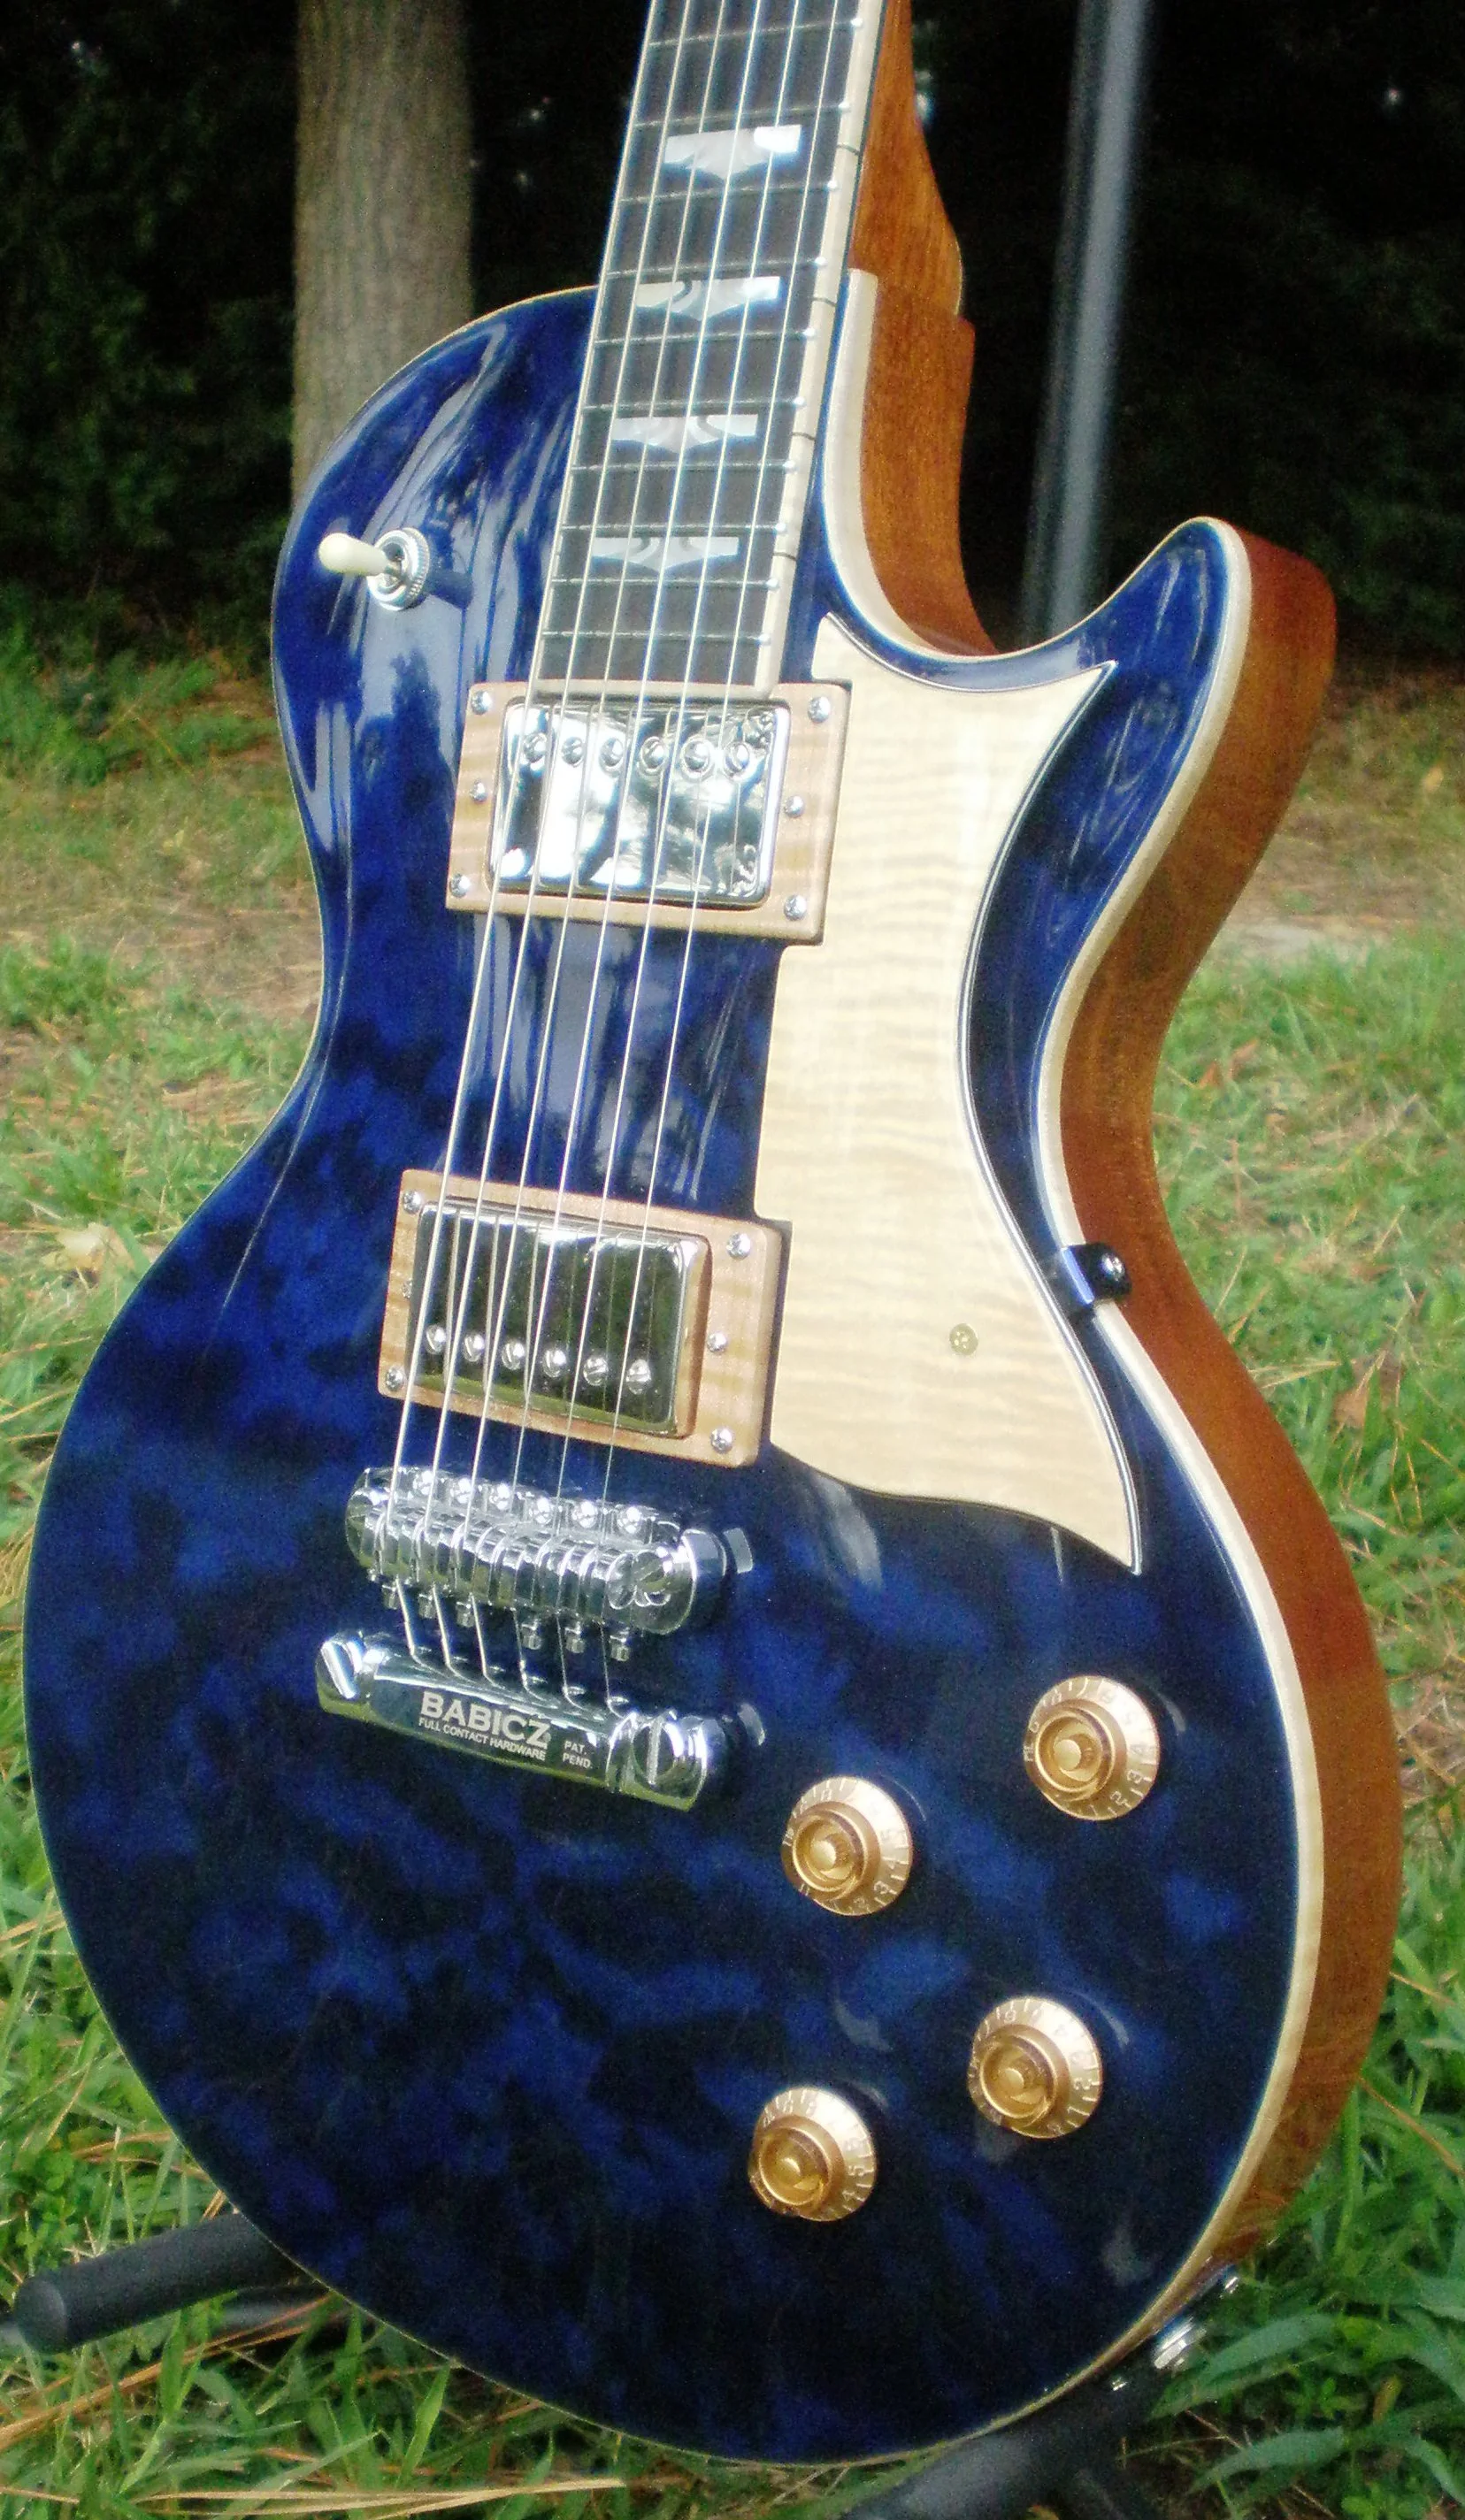
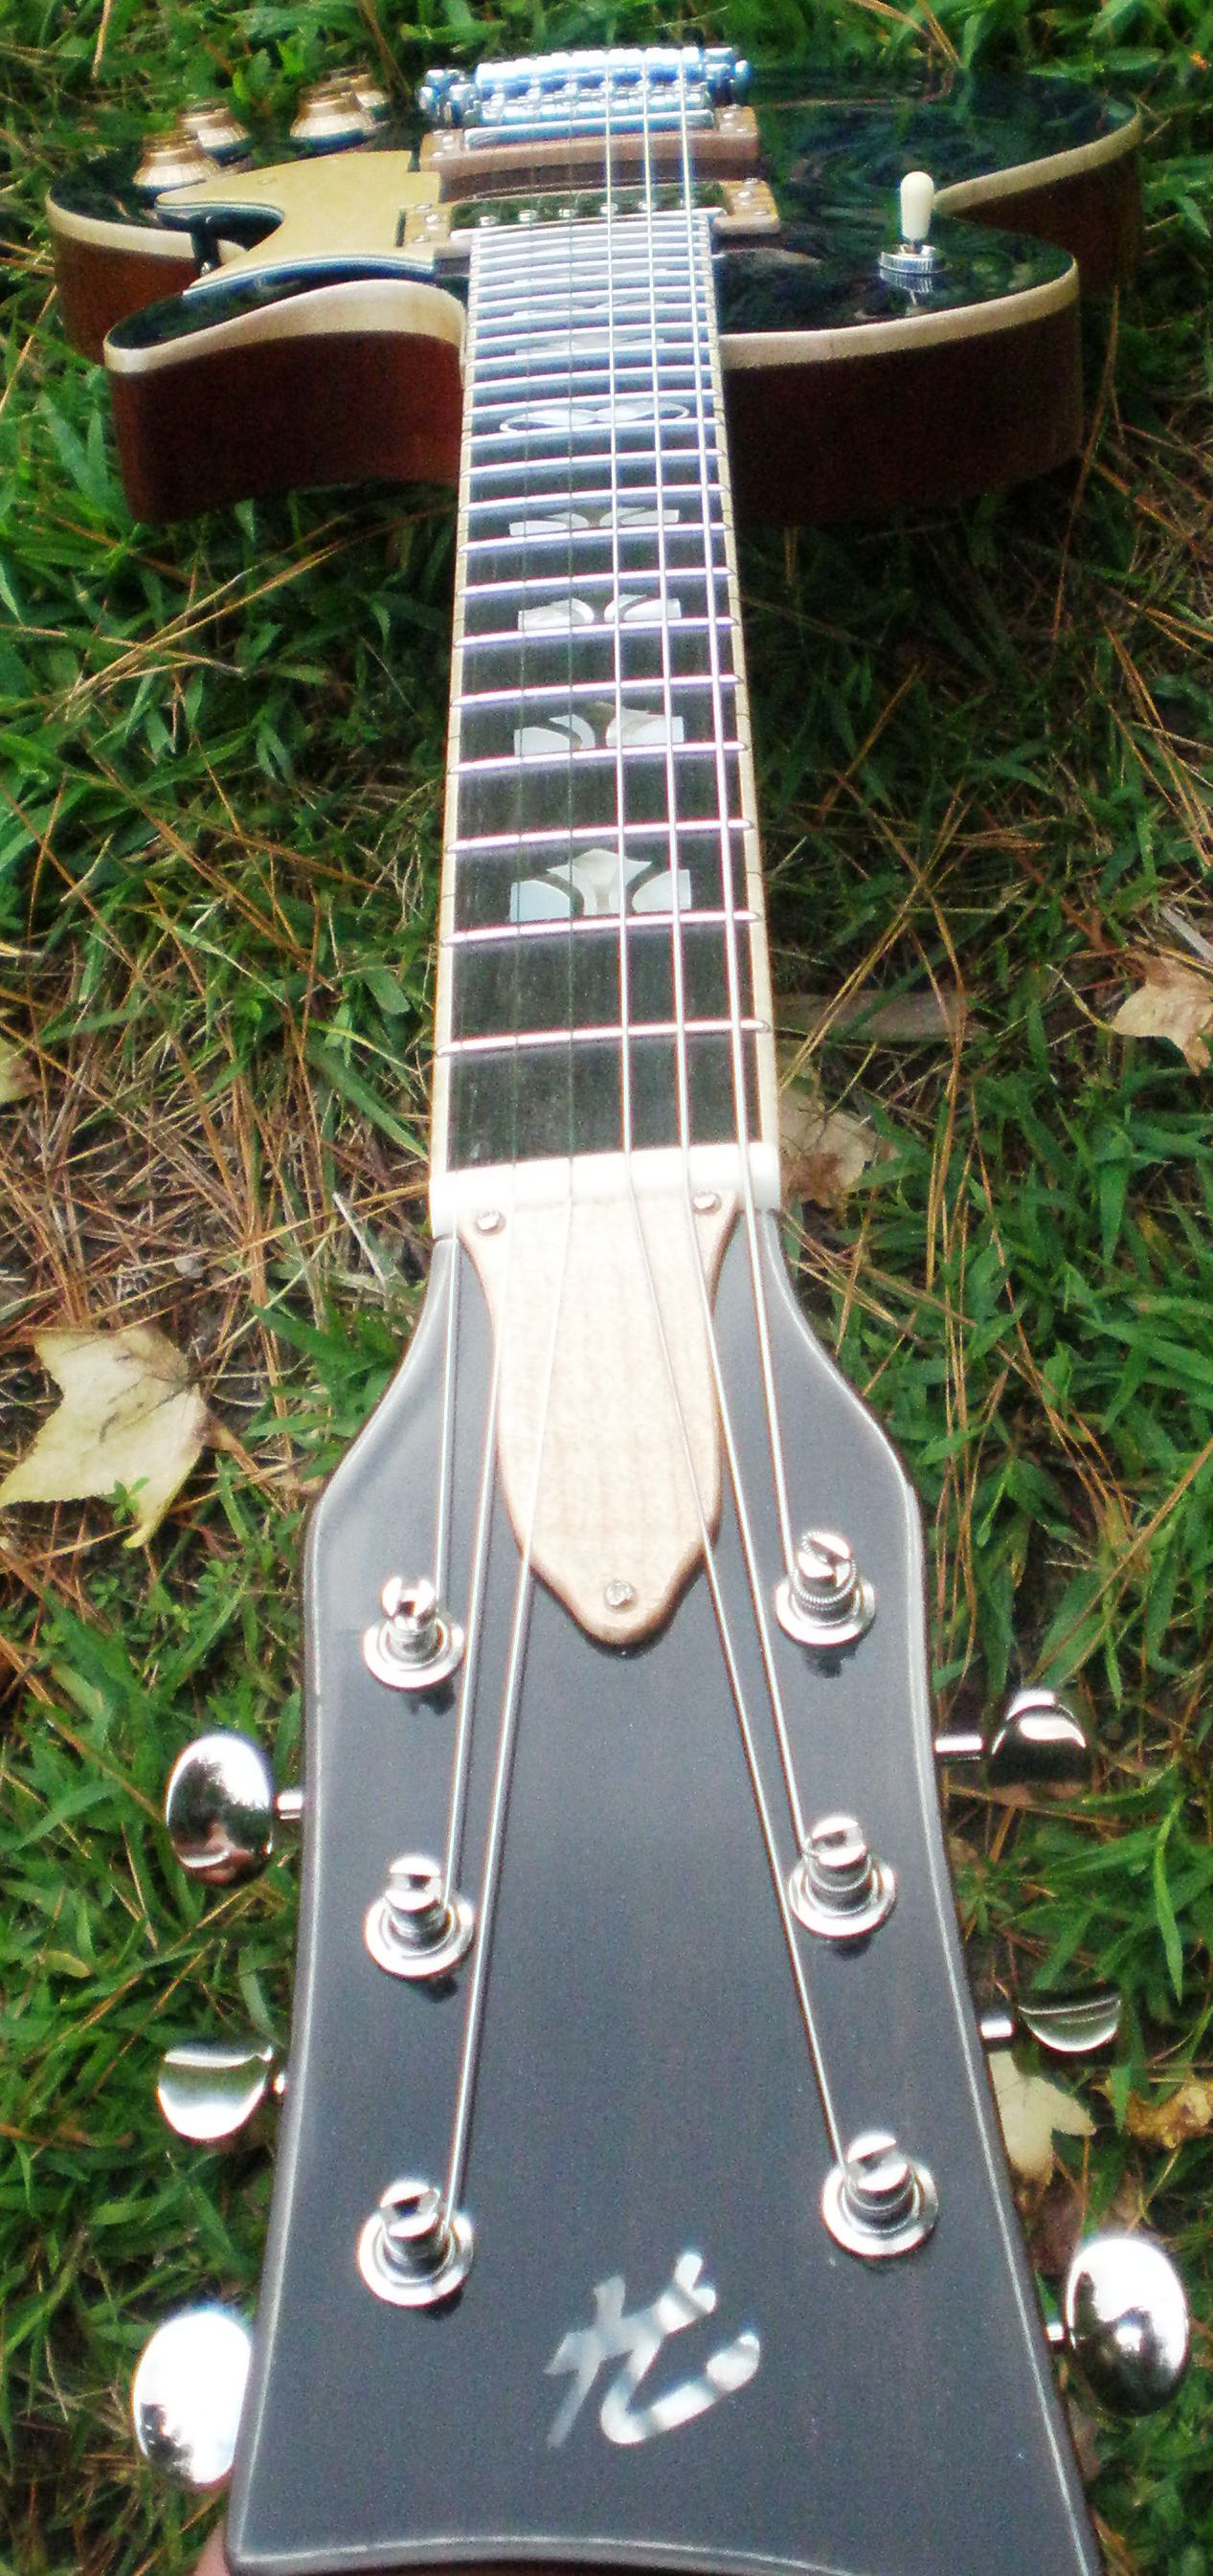
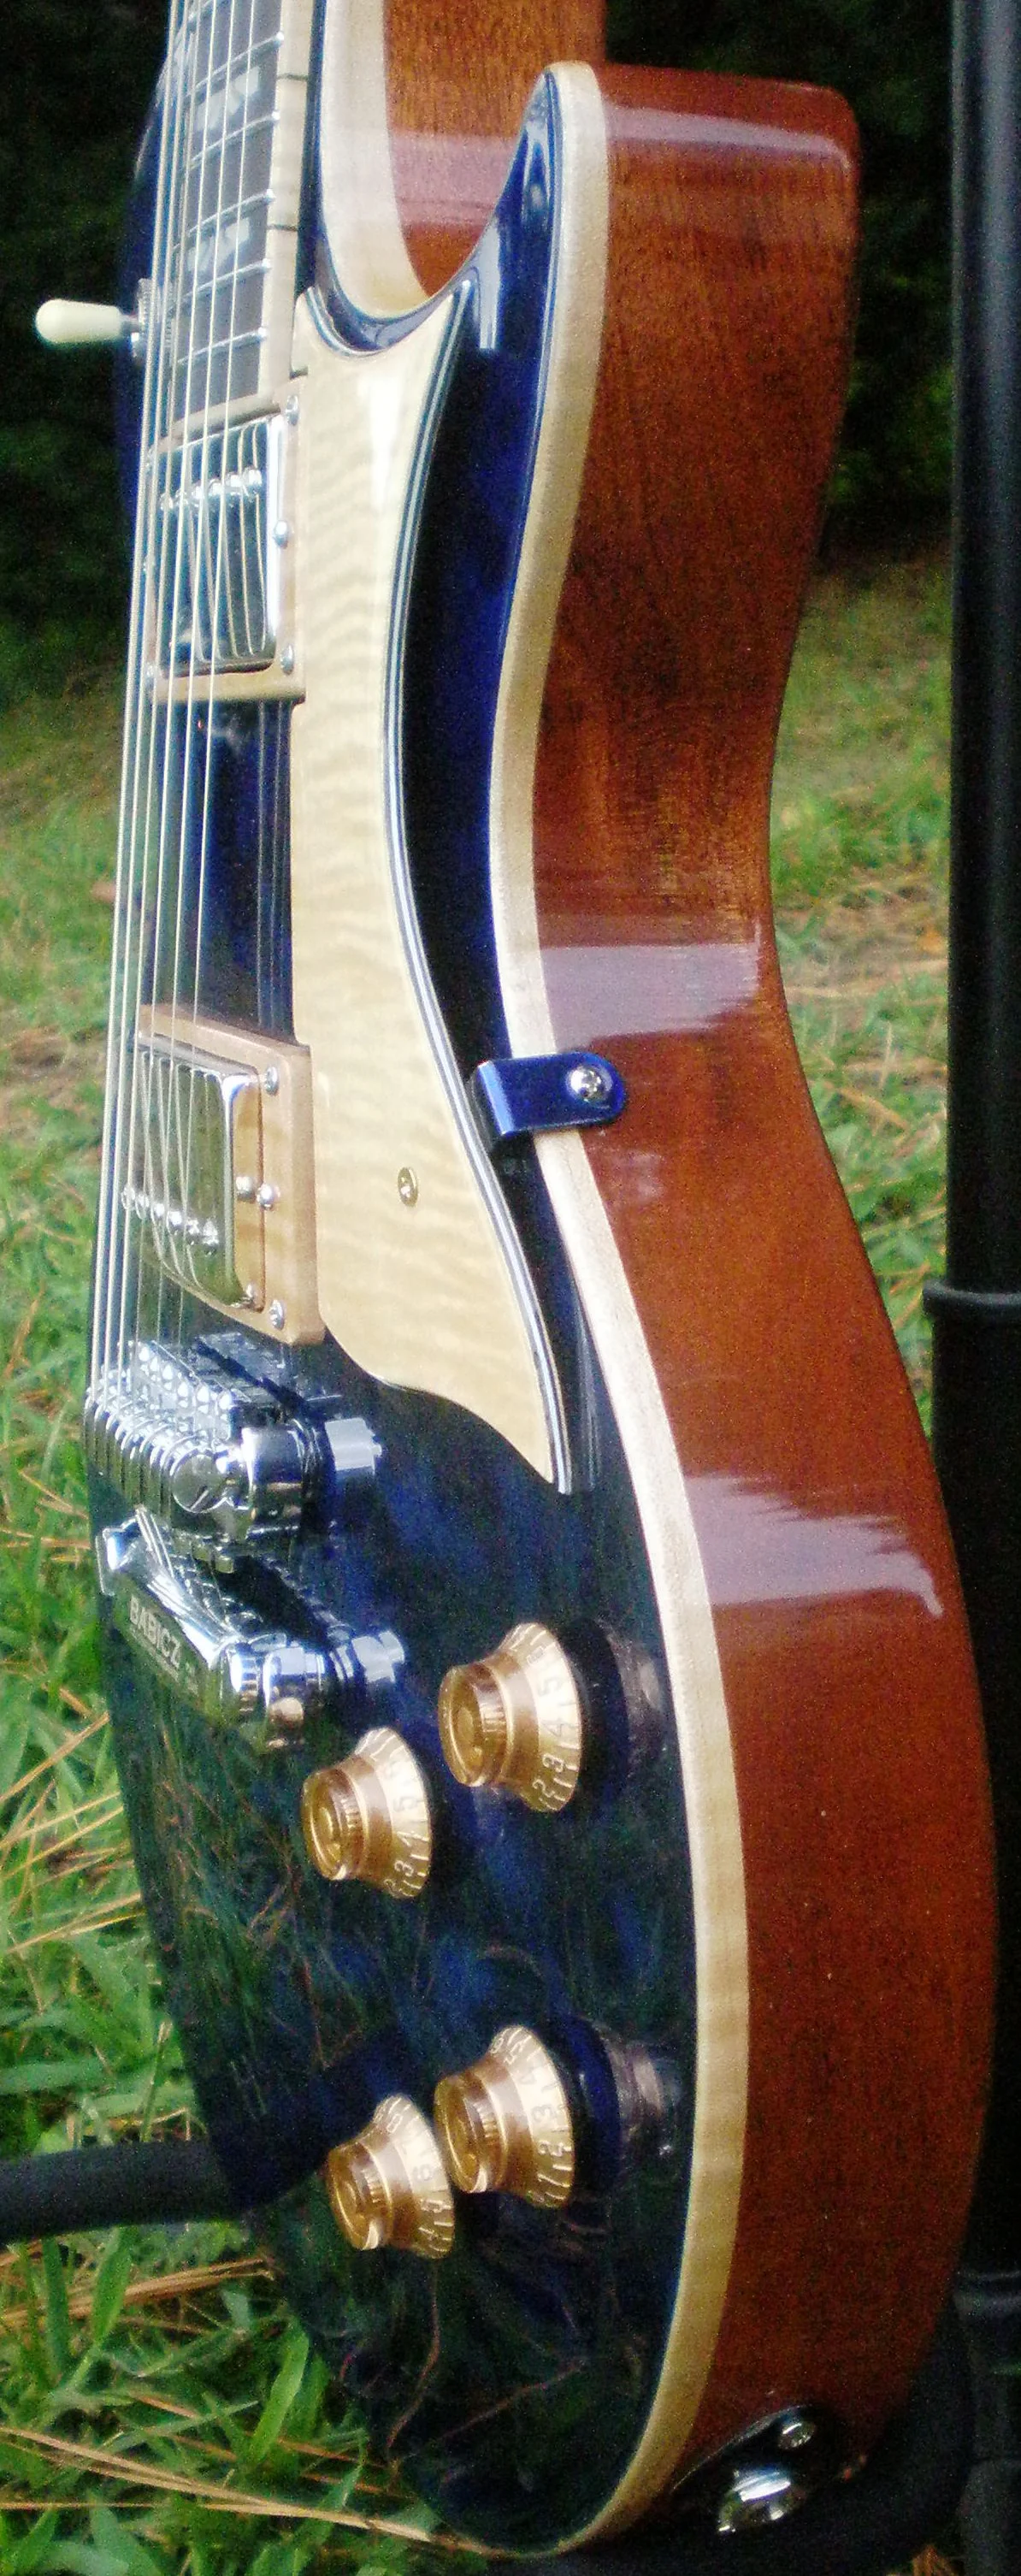
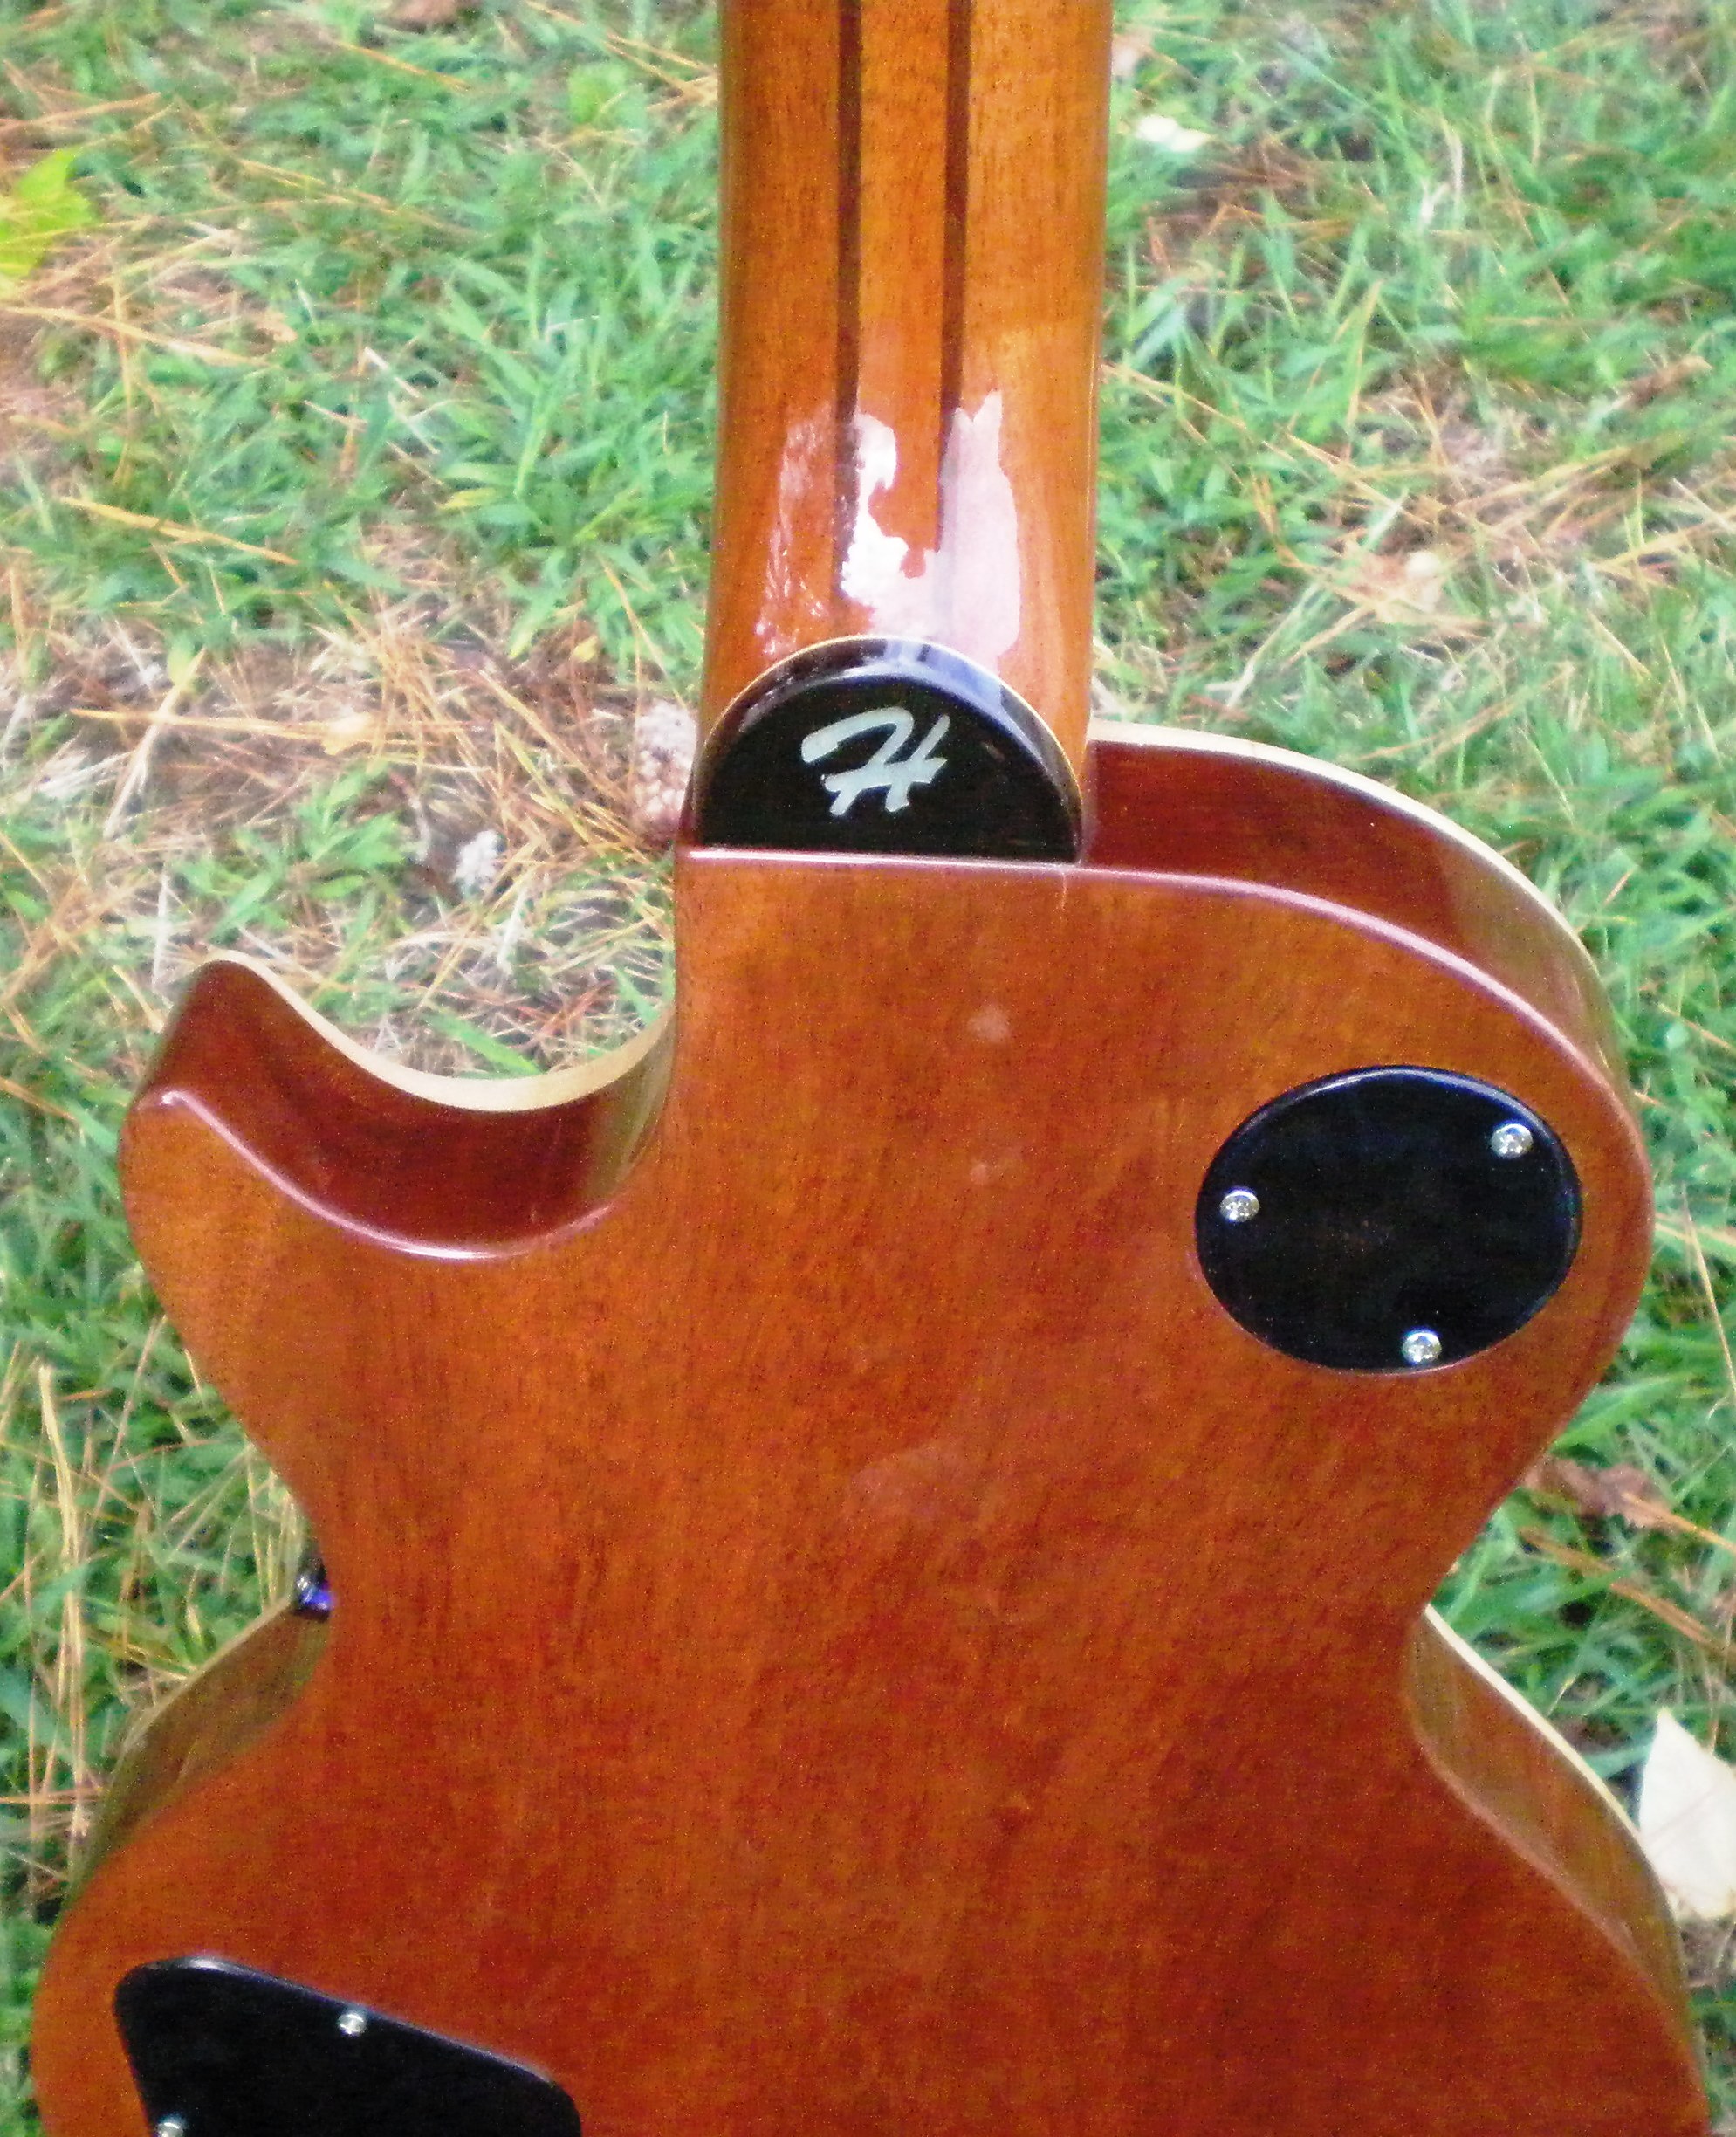
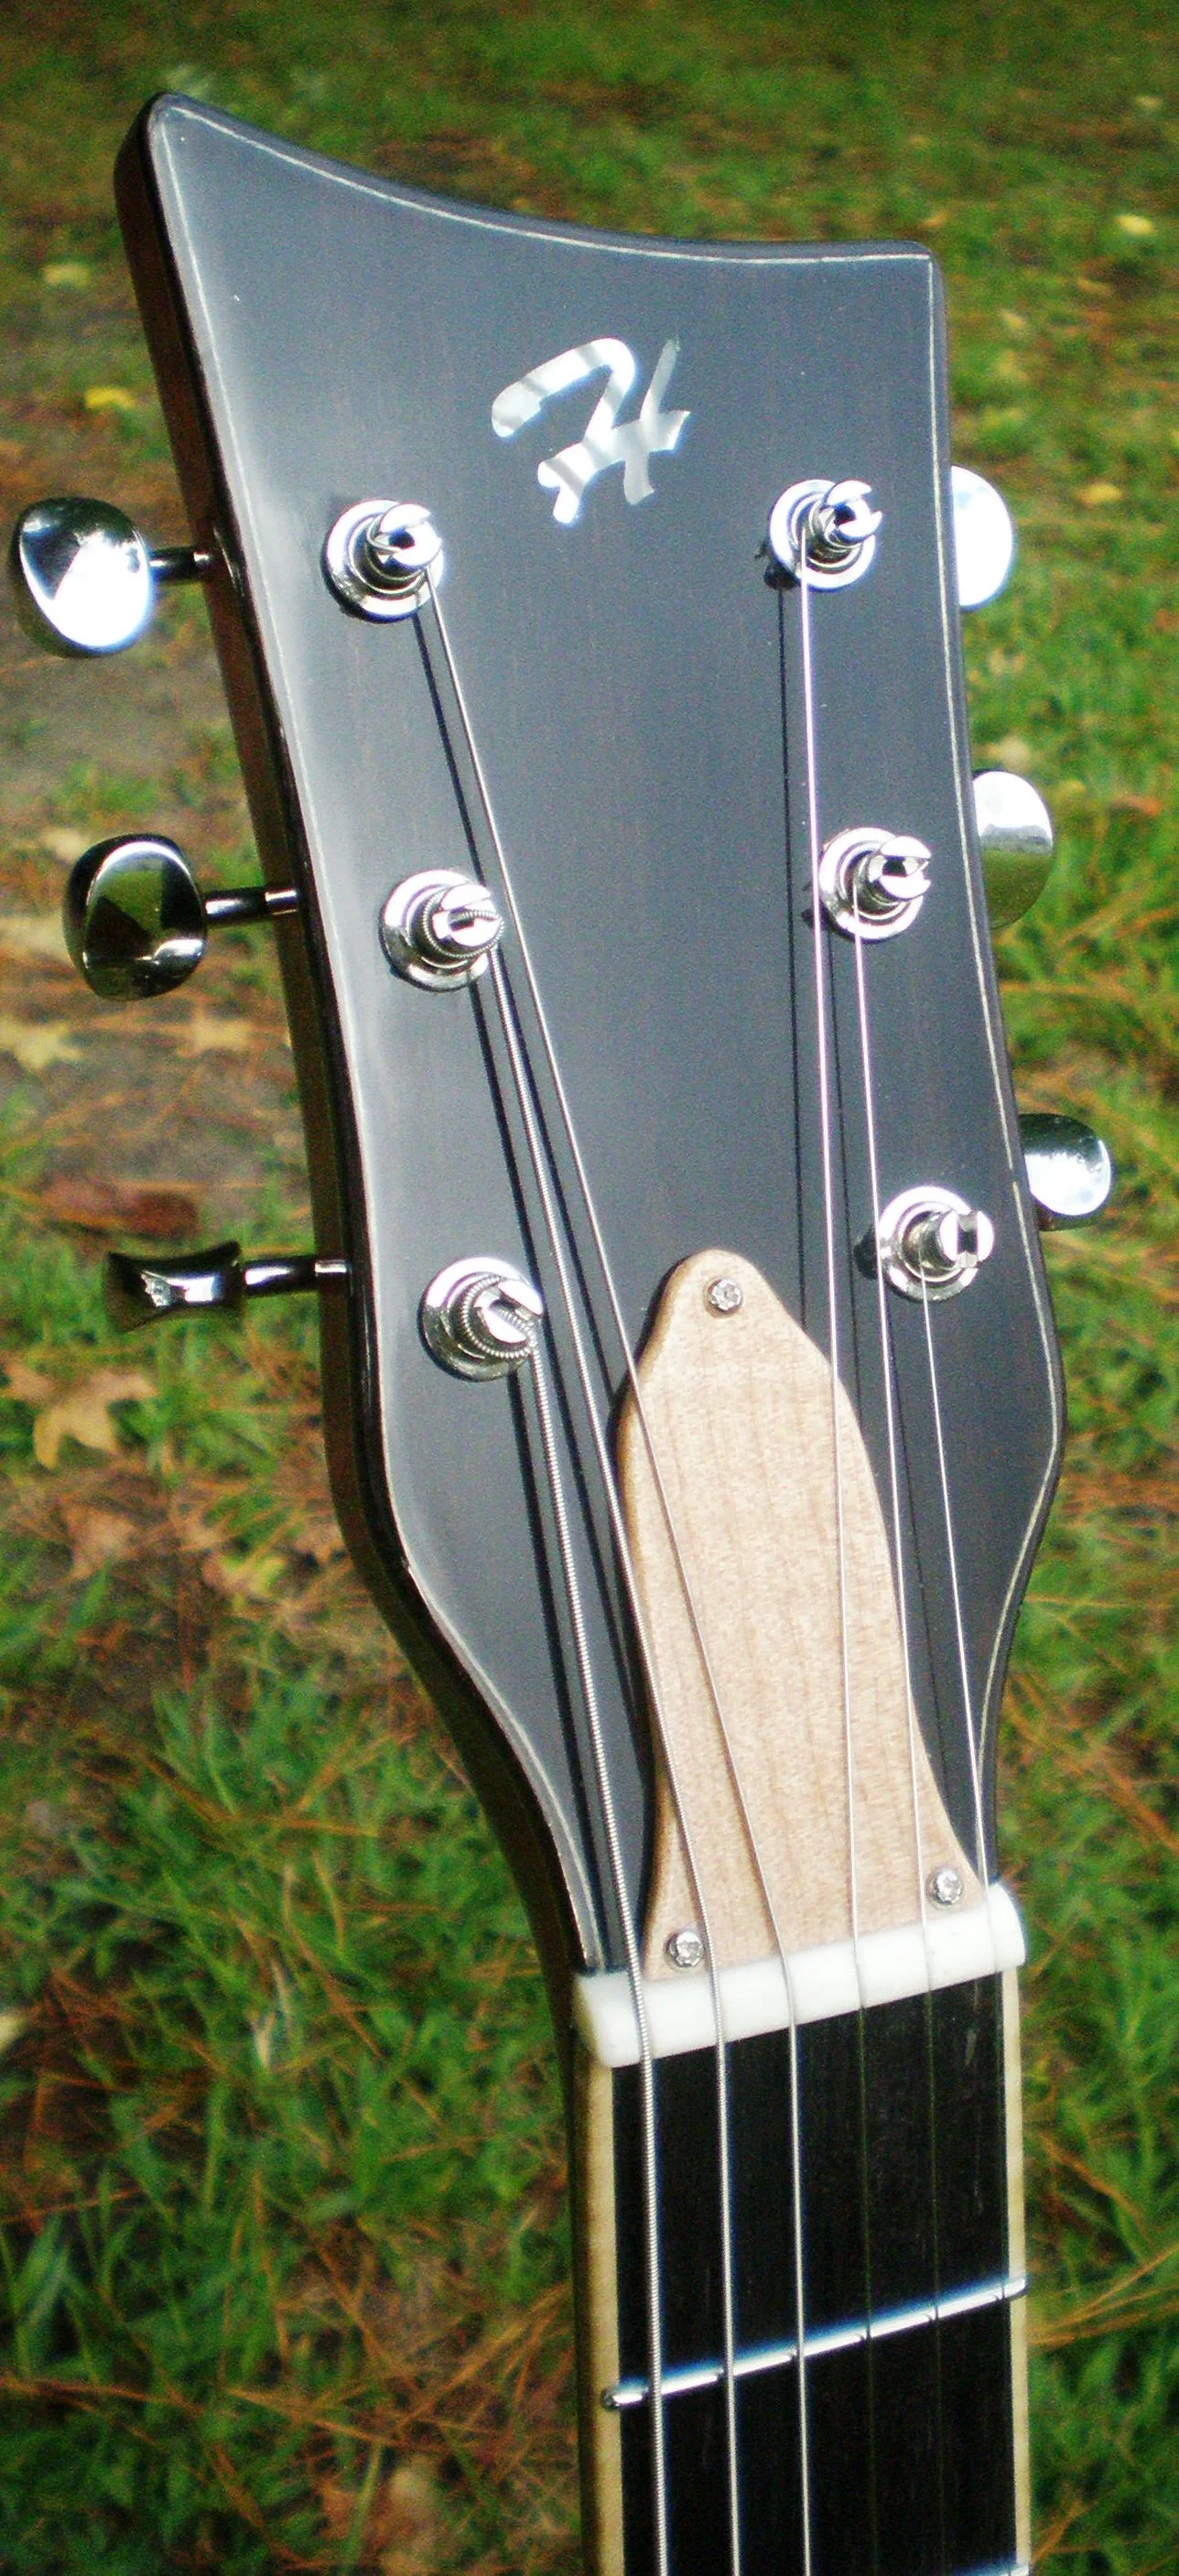
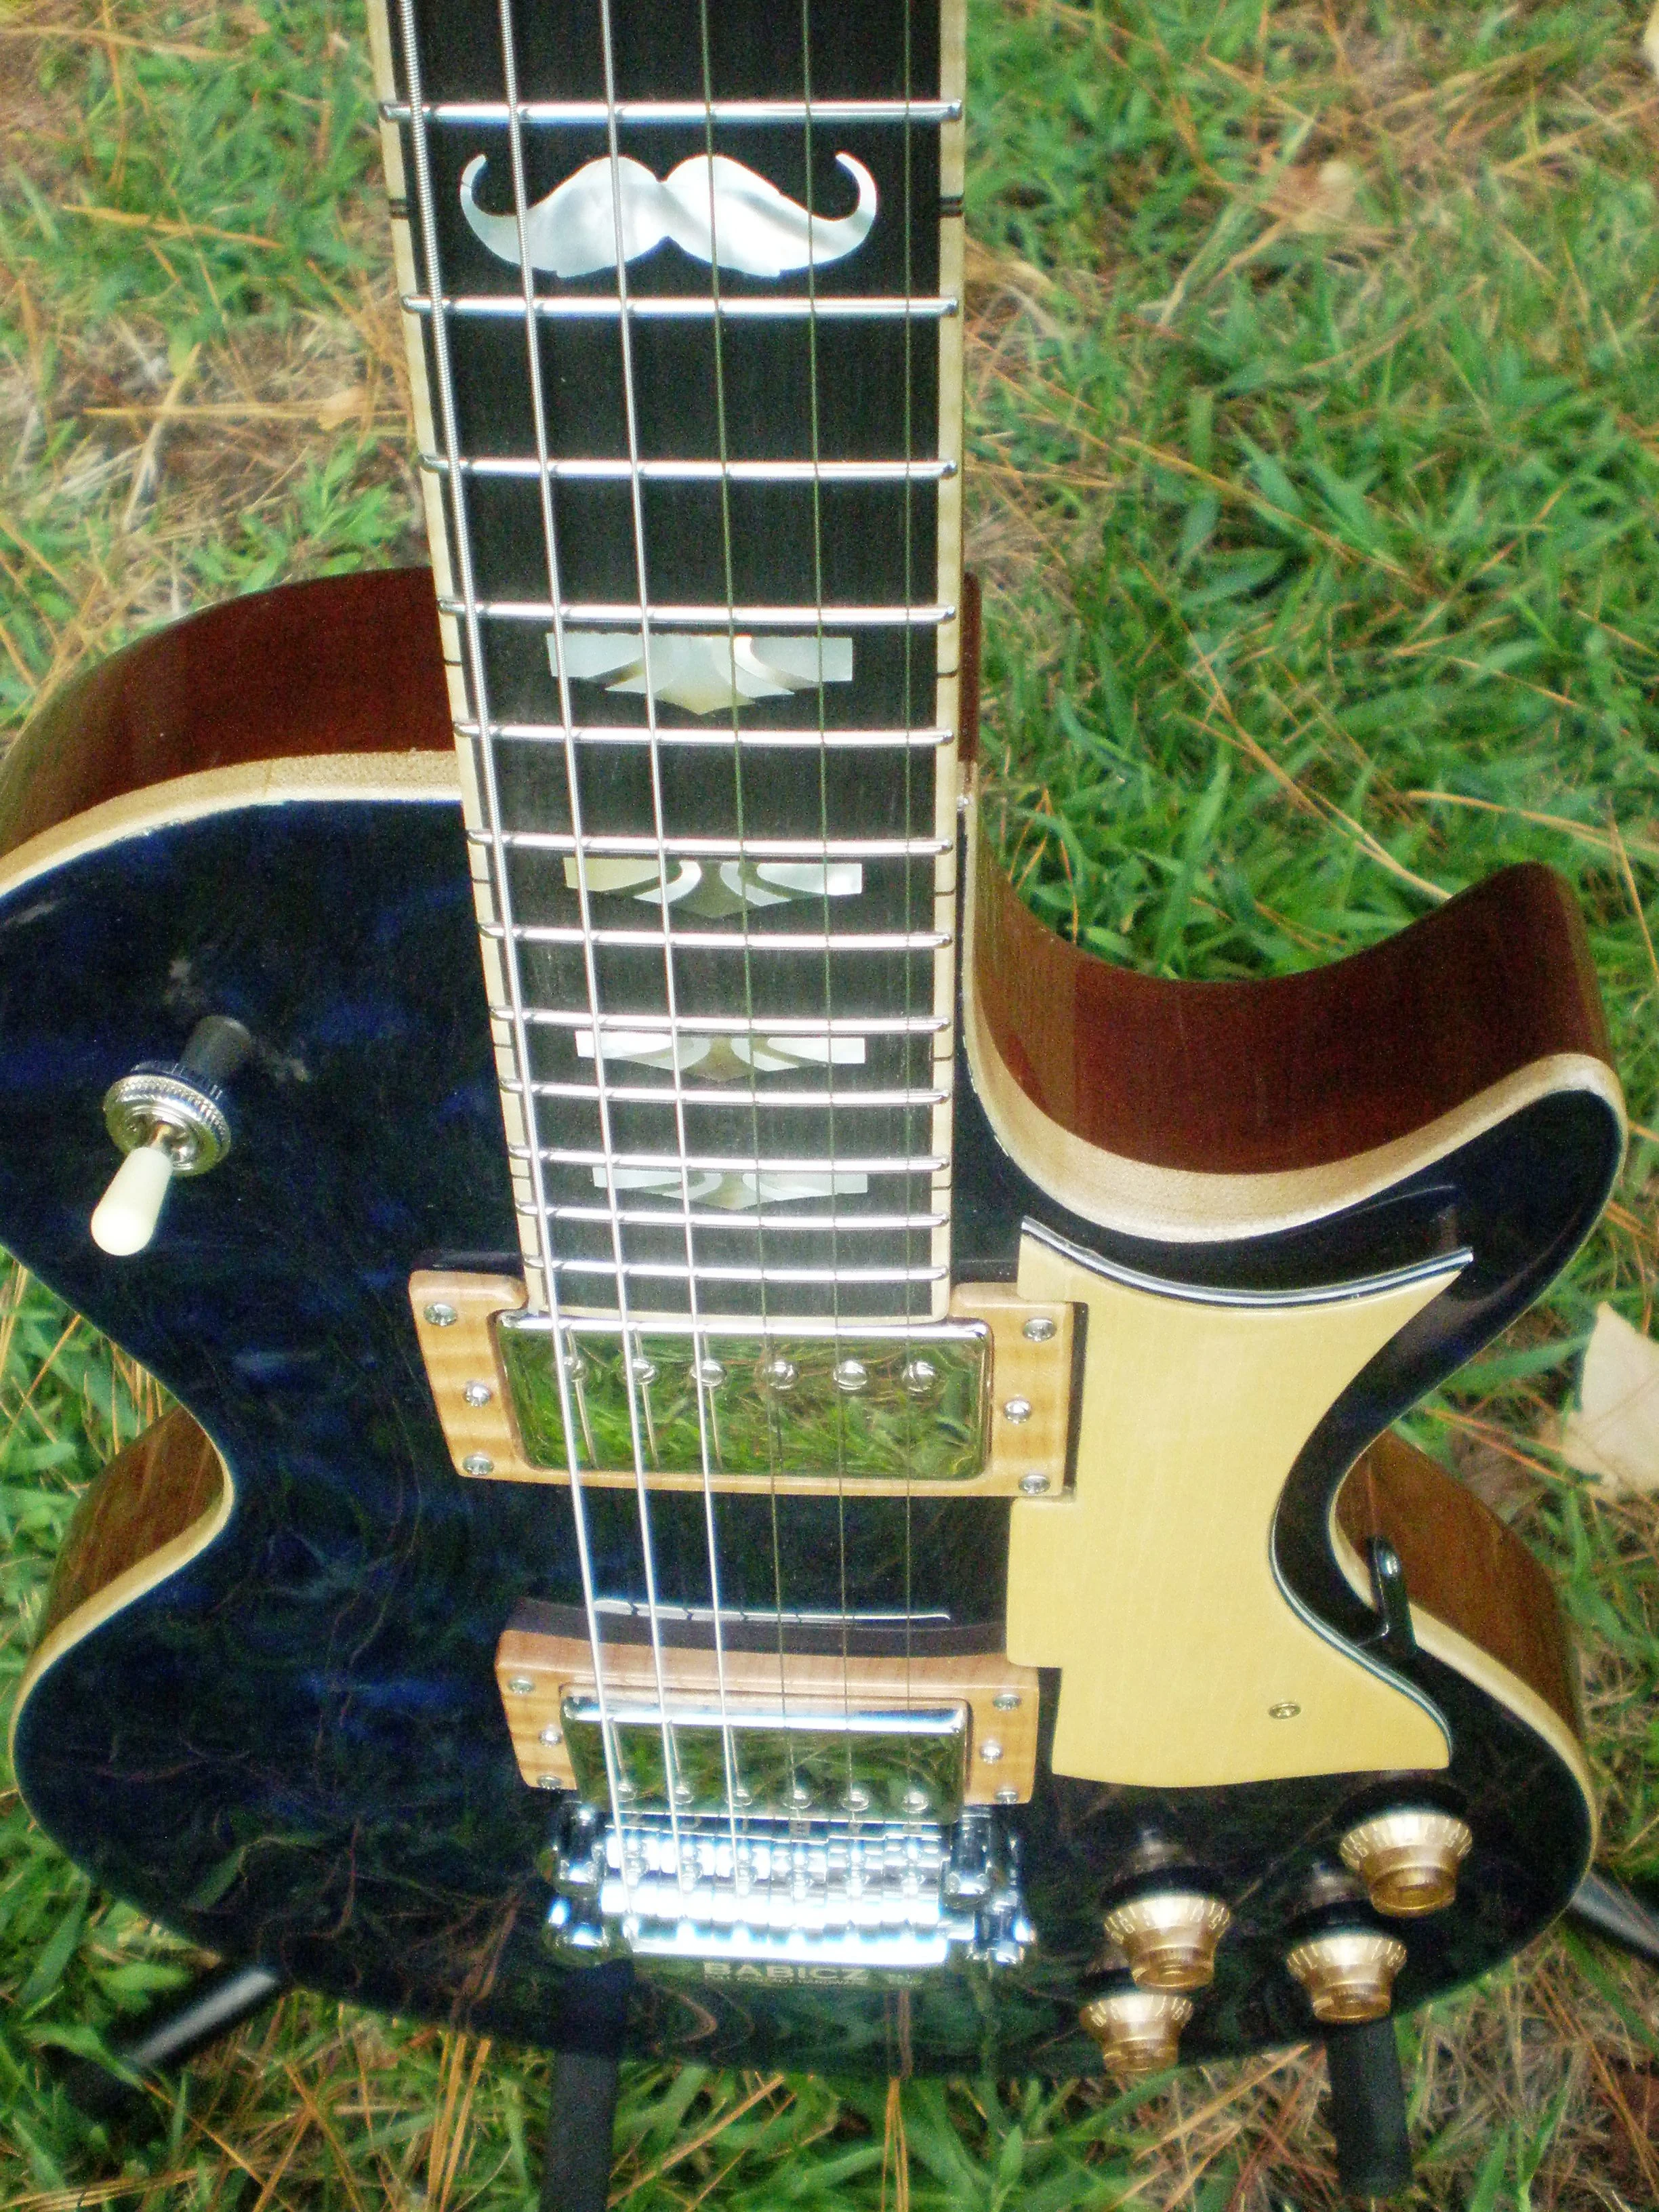
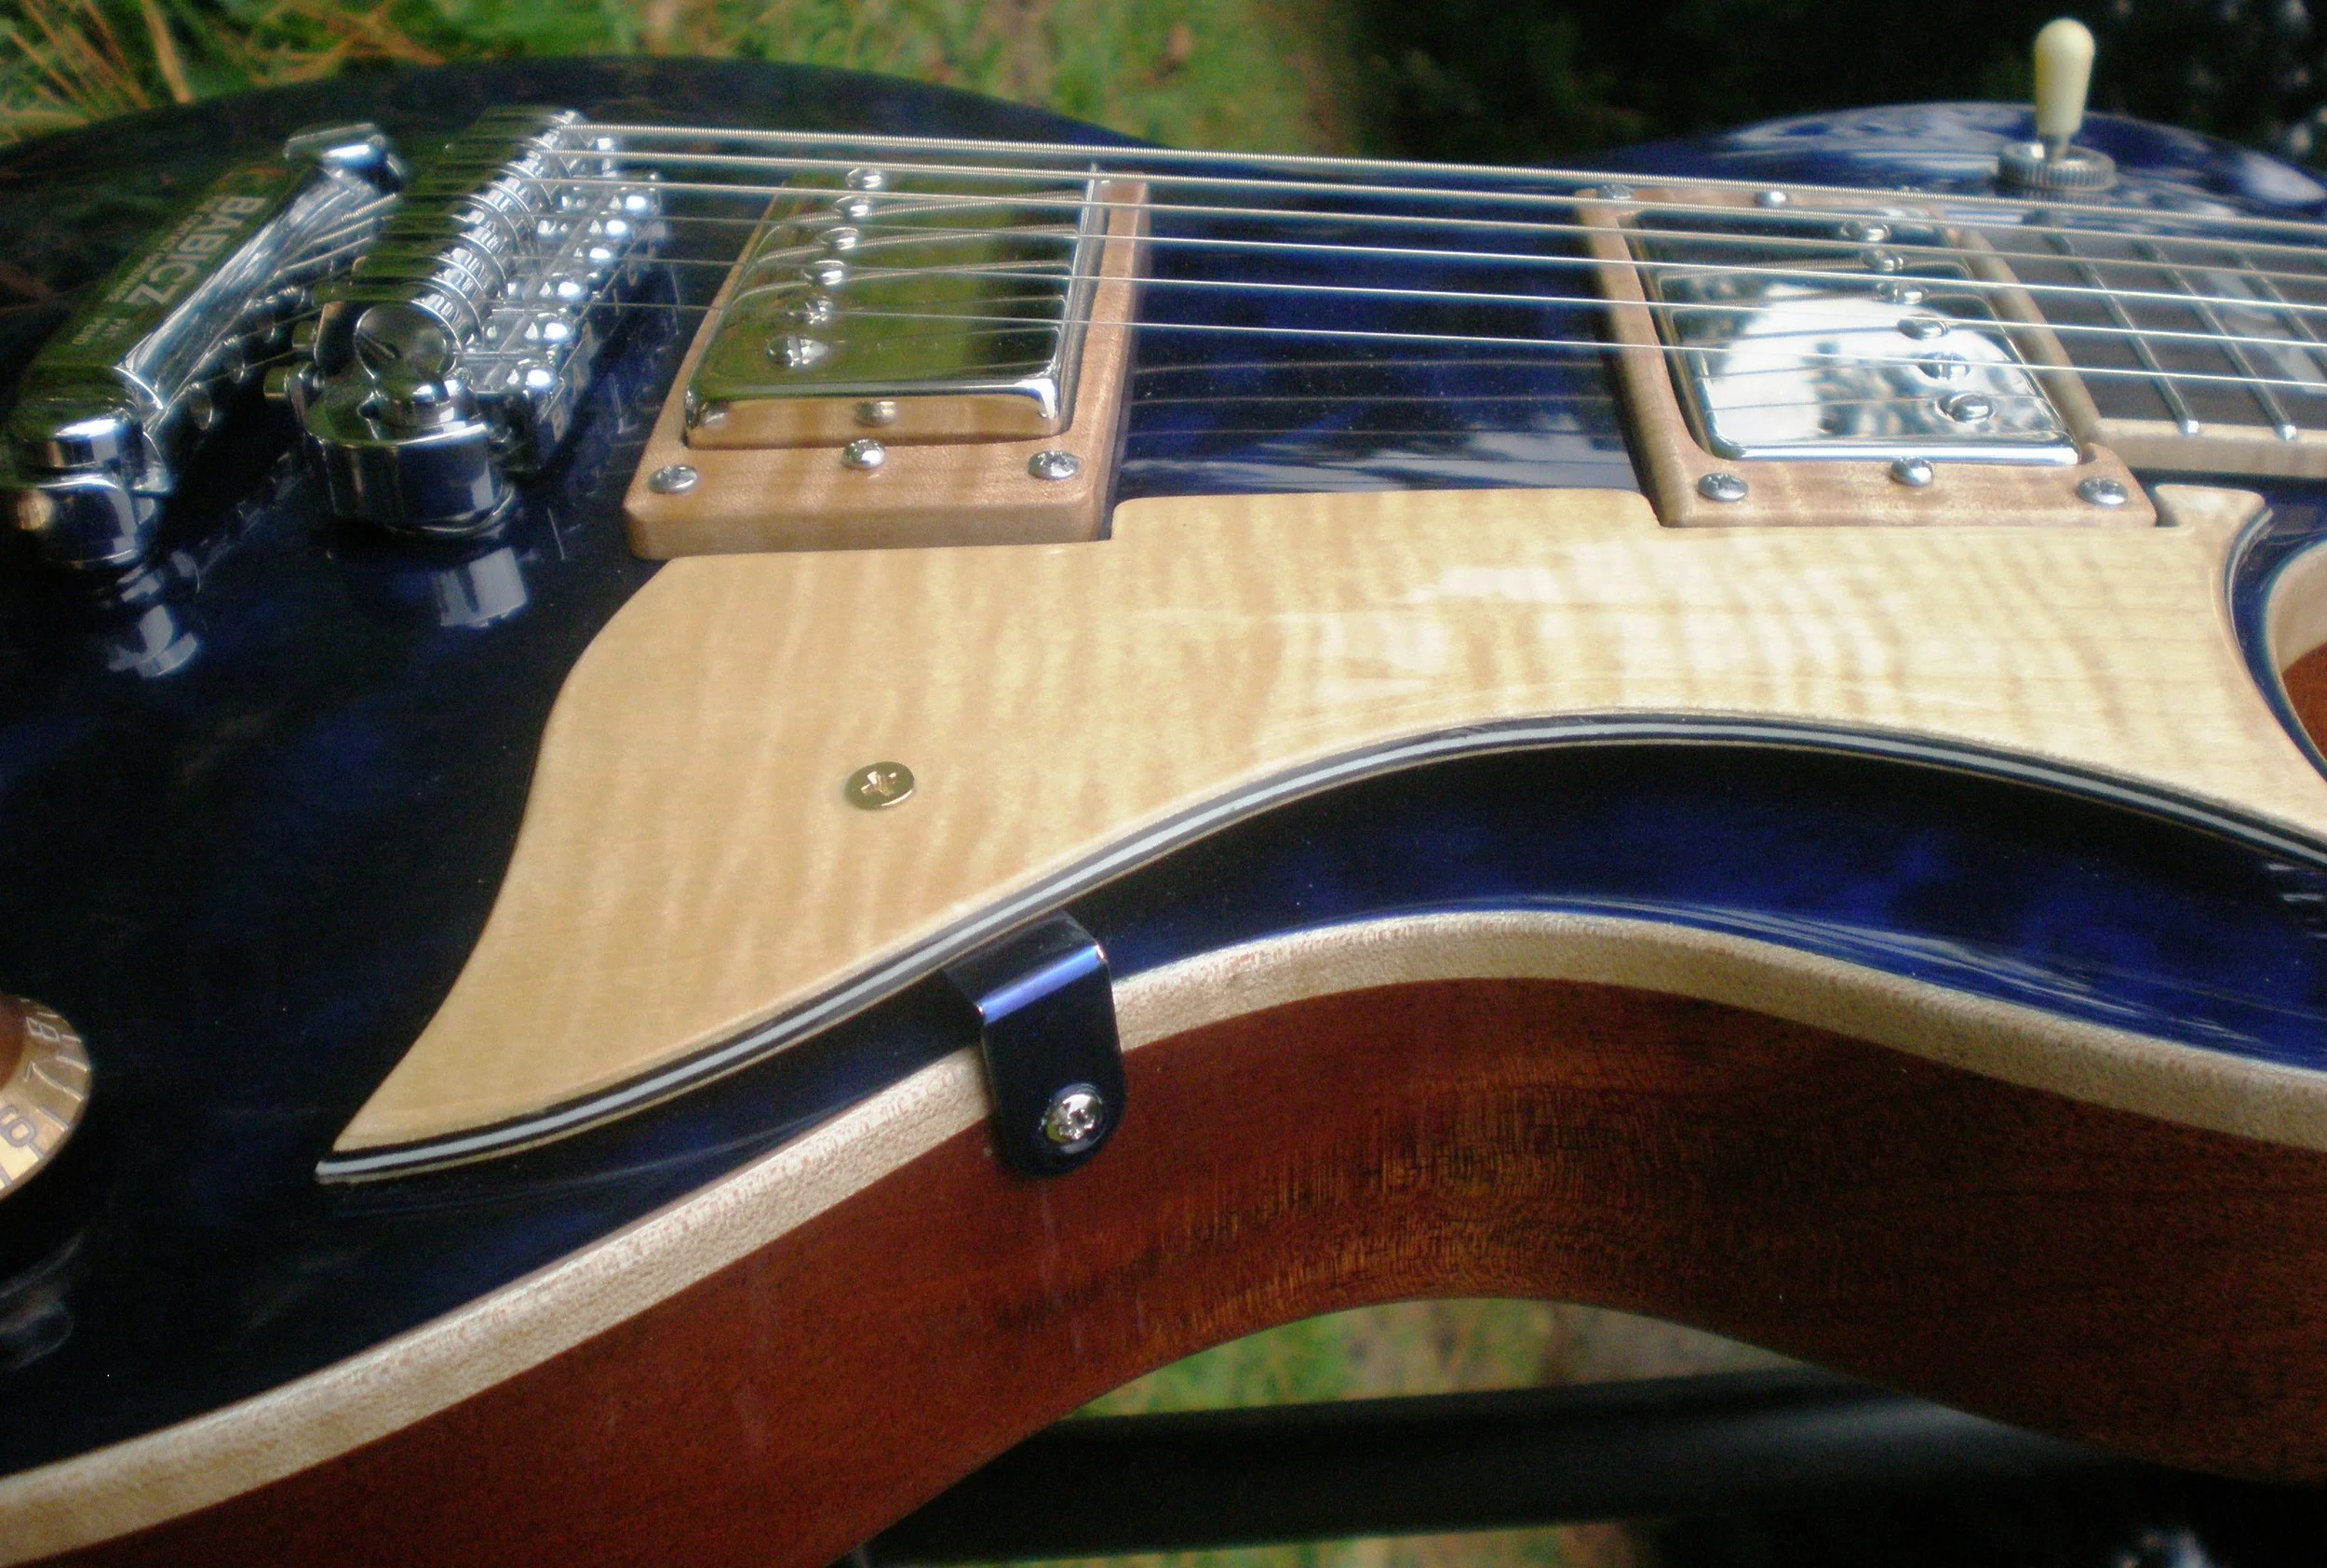
The Hawkins LP Electric Guitar is hand carved and the attention to detail is evident at every shiny turn. All parts are premium grade.
"I cannot remember ever playing a Gibson Les Paul that felt, sounded or plays like this Hawkins Les’ Paulina" says (me) the (bias) Luthier who built this guitar.... At 10.6 pounds with a solid Honduras Mahogany back, Mahogany Neck, 5A quilted maple top, curly maple binding, over wound PAF Pickups, Babicz Hardware, Stainless Steel Frets, CTS Pots and a whole lot more......not to mention how good it looks, this Hawkins Guitar will set you back in your seat and make you re-evaluate what an electric guitar should be!
Here is a video of Brandon Bower playing this Hawkins Guitar LP on a Tone Nut Amp.
Hawkins Hollow Body
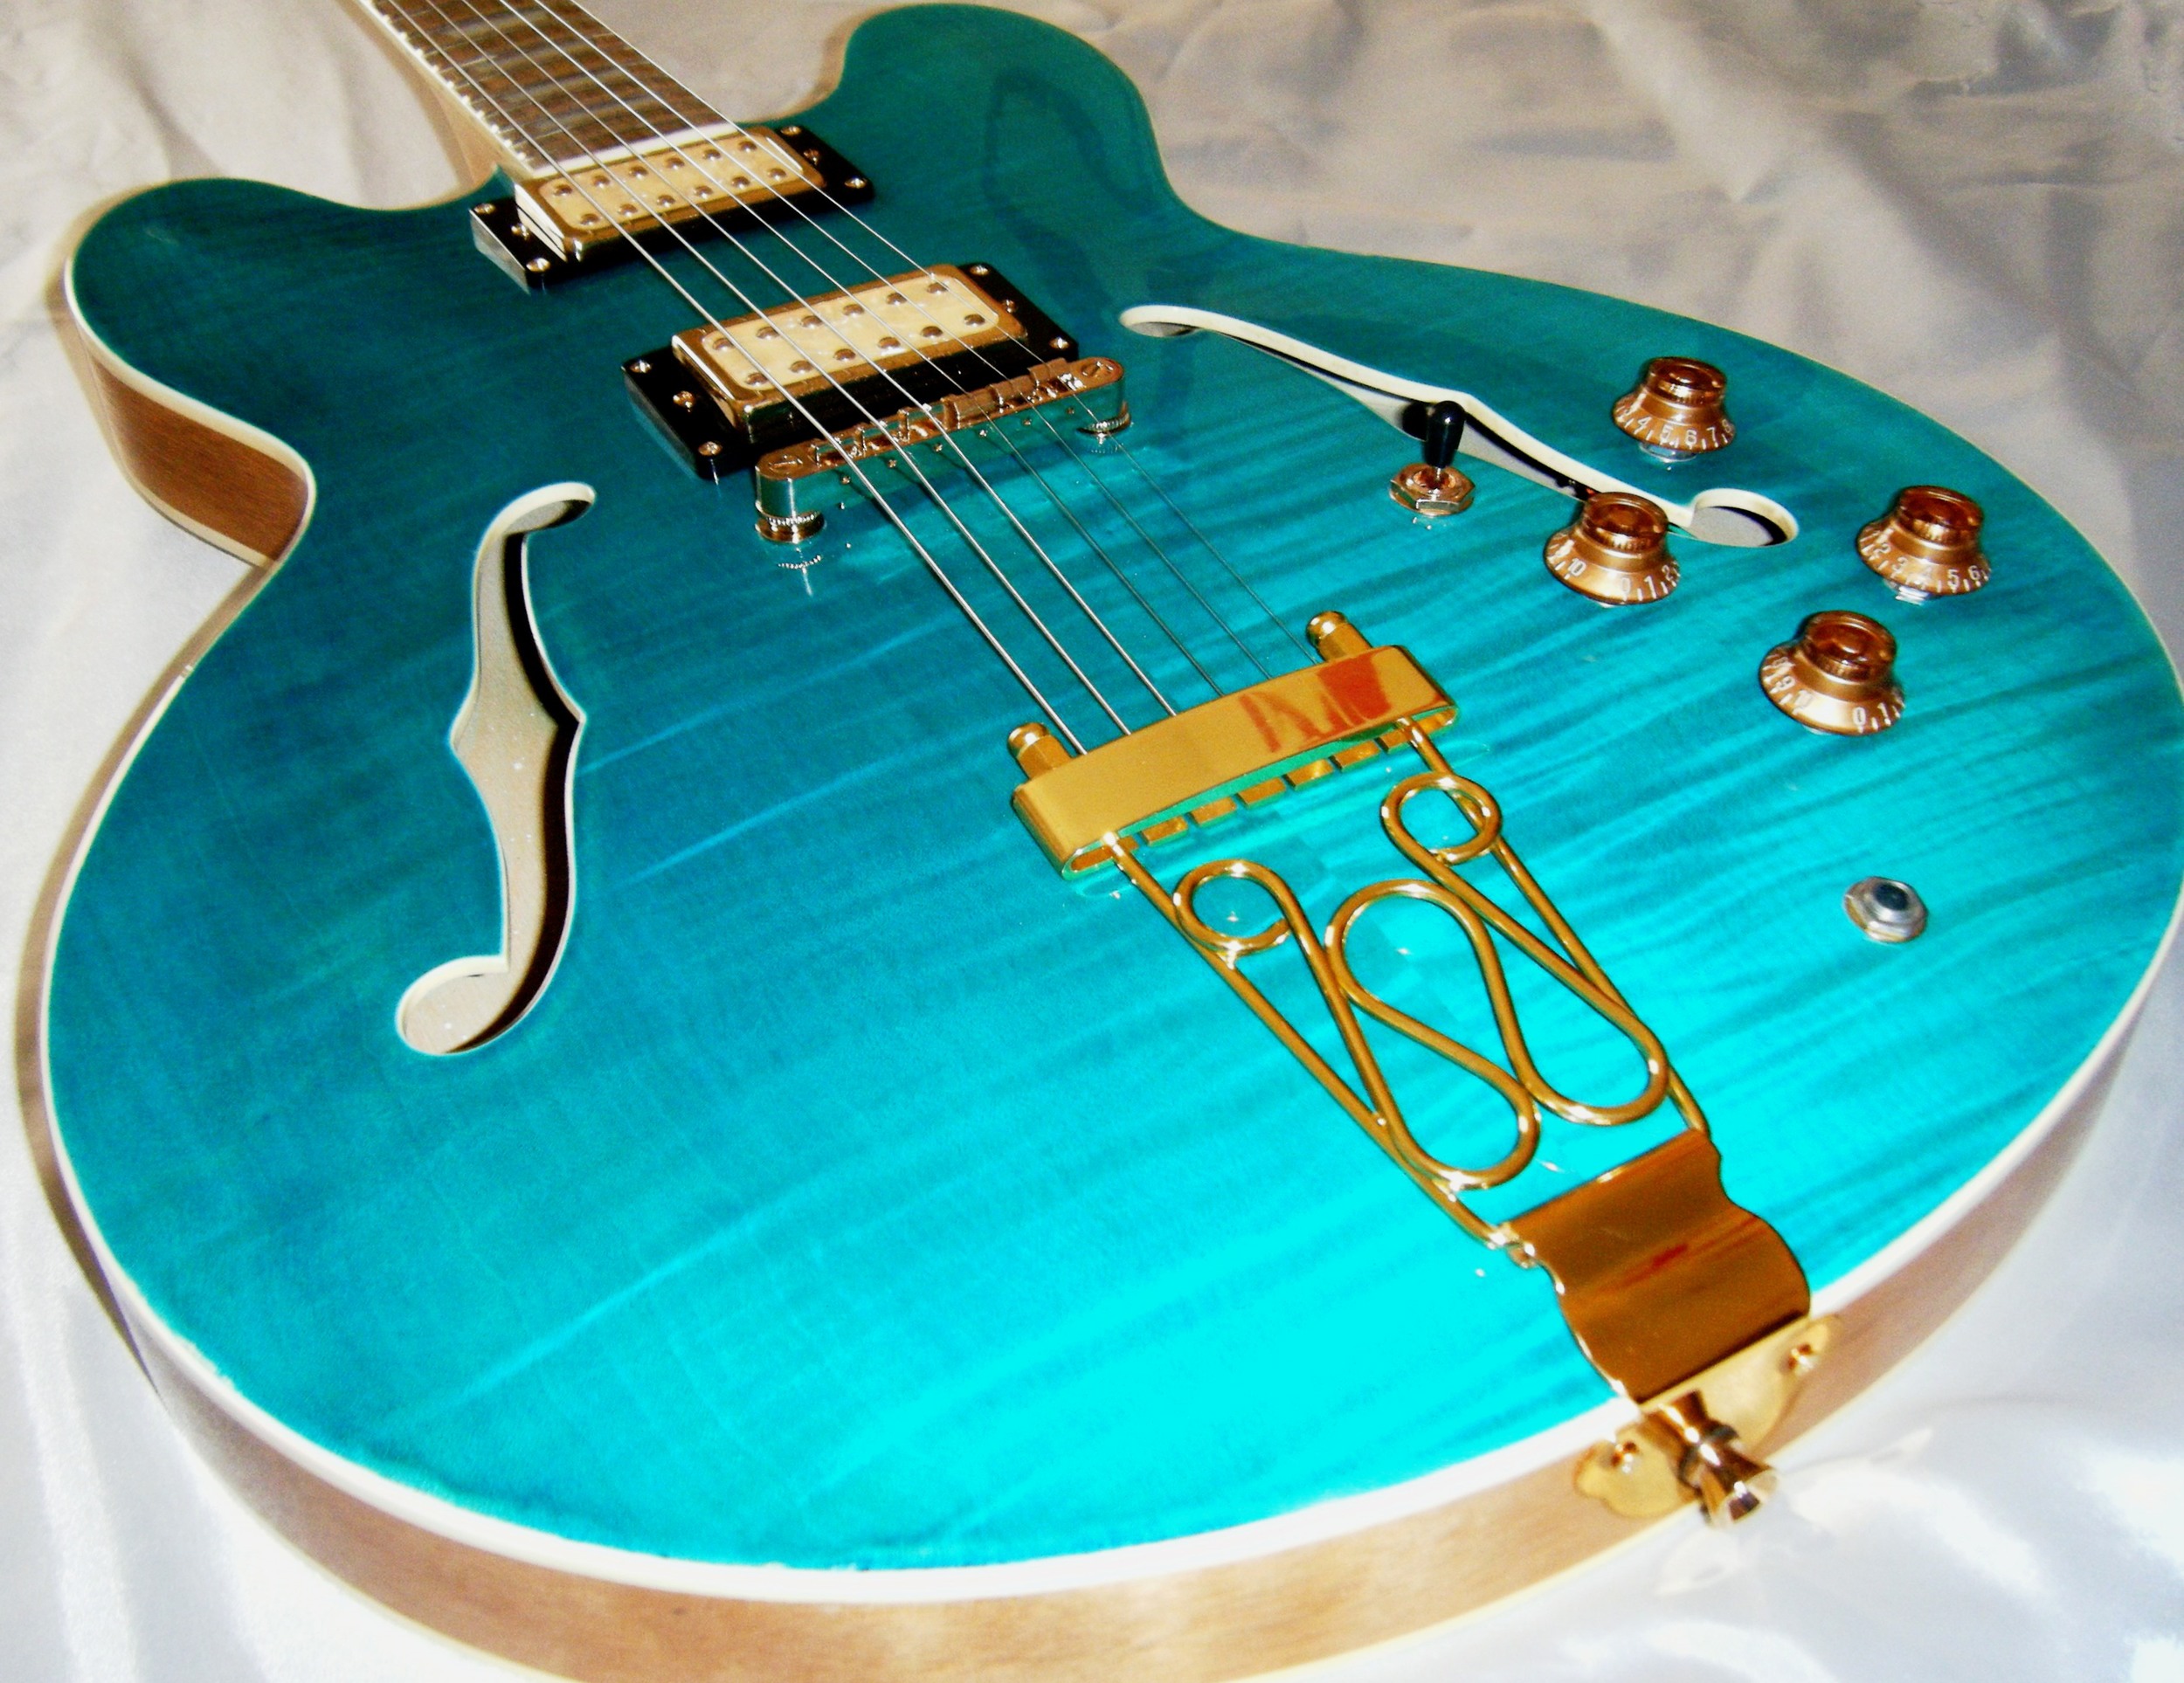
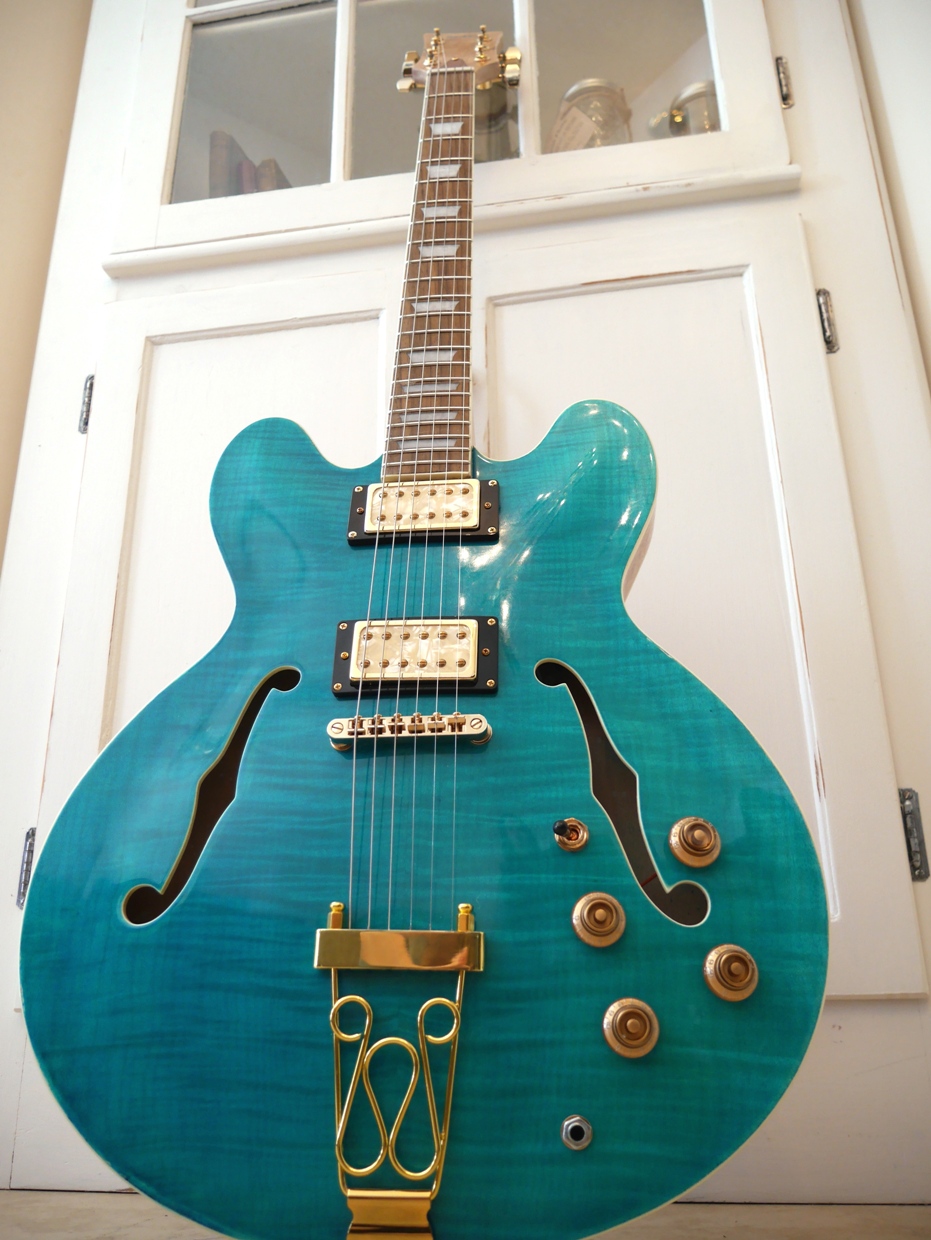
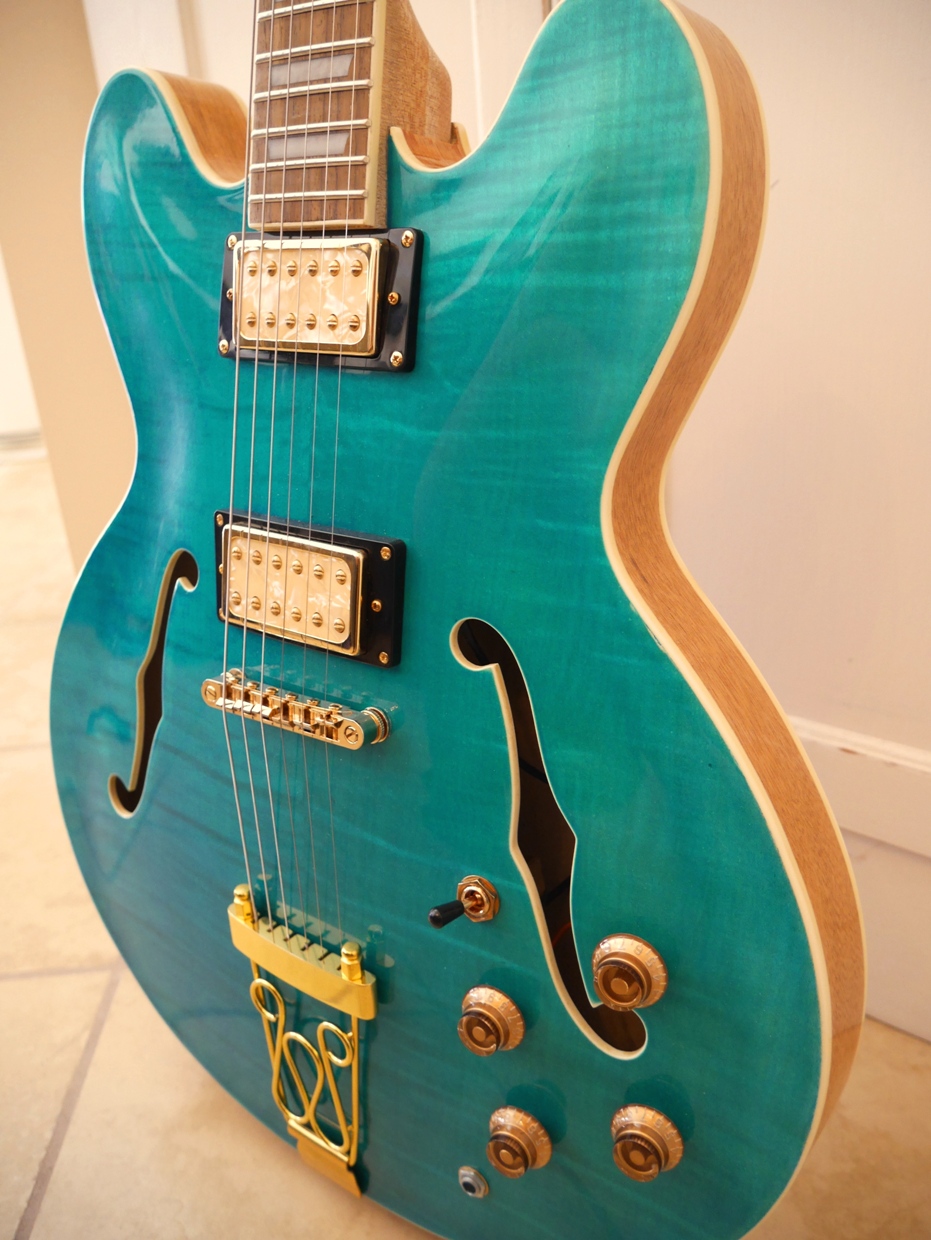
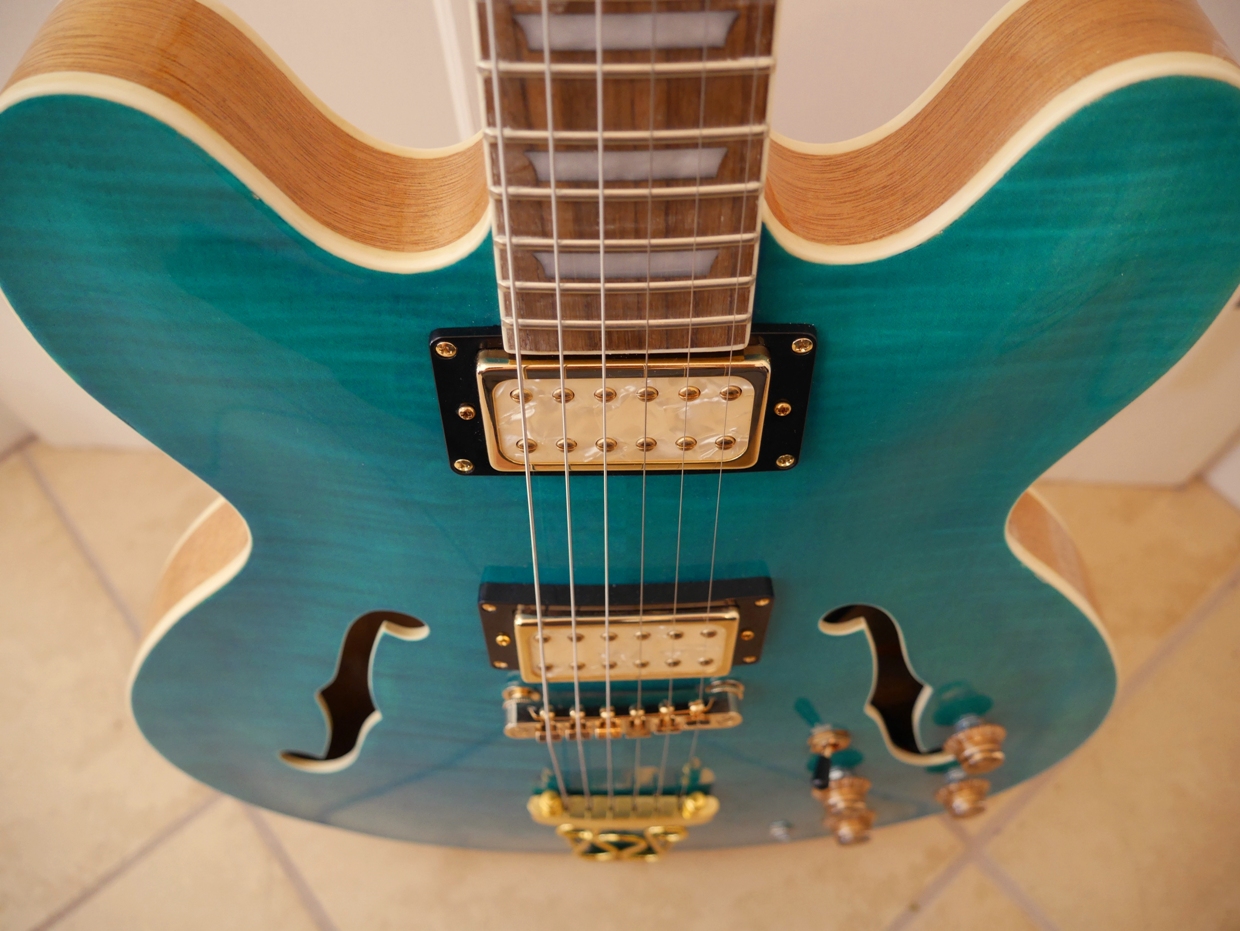
Hawkins Hollow Body HB-35 Electric Guitar with handwound pick ups, cts pots, switchcraft switch, and Grover Tuners Curly maple top on mahogany
OK, so I might be a little bias but I think I am in love. My purpose for this model and series was to create a $1000 - $1500 custom guitar that looks, plays and sounds like (or better) the $2500 guitars you find in most major guitar stores. To make this cost effective was the biggest challenge for sure, but with a little help from friends on the guitar bodies we are able to bring a dollar value to the table that will make your ears do a double take. With completely Hawkins hand wired electronics, over-wound pickups that not only sound off the hook but are dead silent, a volume mod that doesn't loose dynamics even at lower volumes and a Hawkins Guitar polished eco-friendly high gloss finish this model is sure to be a big hit.
So, what is the difference between this series and completely hand made Hawkins Electric Guitar?
With a Hawkins Custom Hand Made Electric guitar the body, neck and electronics are customized to the player and not made from standard templates ect. As for sound and playability....not much difference if any at all! As for price, the difference will be around $1000 or more.
Guitar Sound
Great Acoustic Guitar Sound is the result of understanding wood, Knowing how to work with wood as well as understanding how sound travels through wood.
A a guitar builder and teacher of the art of Lutherie I am often asked what makes acoustic guitars sound so different from each other and why is it so hard to find a good sounding acoustic? It is not at all uncommon to pick up two of the same guitar models with the same everything and hear two very different sounds, and then when you finally find "the one" you reach in your pocket and come up empty.....if you are lucky it will still be in the store when you have the cash but the odds are not in your favor. Why is it that one can go into a music store, play a few guitars and leave wondering why some of the cheaper guitars played and sounded better than some of the really expensive Martin or Taylor or Gibson guitars. Even in the Luthier community I have observed some seeking good sound as if they are on some kind of elusive cosmic mystery egg hunt. In the real world, sound is the result of many things so let me see if I can break this down in a comprehensive manner.
Acoustic Guitar Wood
If you haven't read my article on Choosing The Right Guitar Wood then please read it now. Wood choice is where it all begins. This process should be done with a seasoned Luthier or entrusted to one. If your wood choice is poorly done then you may want to go back to the "Cosmic Egg Hunt" method, find something cheap and save your money.
Guitar Top
Sine 80-90% of the sound of an acoustic guitar comes from the top plate then it would make sense to carefully choose the right one. Having cut thousands of guitar sets I feel confident in saying that guitar tops are like snowflakes......no two are the same. I can cut several book matched sets from the same billet and if I am lucky one or two of them will have the tap tone that falls within the range of premium sound that I seek. From there I look at the strength of the chosen book matched set, as both of these factors will impact exactly how thick I will sand the top plate. The thickness of the top plate should be individual to the top within certain standards. Most major Manufacturers can not afford this luxury as production is the name of the game. As a result the consumer pays thousands for the next top on the shelf (that has been sanded to a standard thickness) with little consideration for sound. This is the equivalent of putting on a blindfold and then just grabbing any speaker off the shelf to hook up to your stereo........the odds of it sounding great are going to be determined by the quality of the speaker (and system) and how well it matches the rest of the system. Guitars are similar, the top has to be a quality top and a good match for the rest of the instrument. This is why (over the past decade plus) I have cherry picked and stashed hundreds of the best guitar tops to be found anywhere.
Glue vs. Sound
Glue is no friend to sound. Poorly fitted glue joints will impact sound and the more there are the worse it will sound. When wood is glued to wood then the joint should have absolutely no gaps what-so-ever and very little glue should be required. Poorly glued joints can make the best guitar top in the world sound poor and will also weaken the joint. As for sound....I think every seasoned builder has certain glues that he or she likes to build with, some will claim that certain glues have better sound properties then others. This may be true, but the impact of glue in a perfectly fitted joint is going to be very minimal as the glue will be only thin enough to soak into the wood fibers creating almost an interlocking effect. This allows the sound to travel throughout the guitar body better. When you looks inside the sound hole of a guitar you should see few to no signs of glue.
Neck Joint
The two neck joints that are common are the dovetail joint and bolt on necks. Those who do dovetail joints feel that it is a critical part of the sound puzzle and those who prefer bolt on necks like the versatility of being able to make easier adjustments to the angle of the neck, and also that there is little to no glue often used in the bolt on system. Ultimately the objective should be just like any other joint on the guitar.....as much wood as possible making contact at the joint with as little glue as necessary. Personally, I have developed my own system that allows for the best of both worlds as my guitar necks bolt on with no air gaps where the neck meets the guitar body. Along the same lines, it is critical to sound that the nut and the saddle are both perfectly seated at all points or sound will be negatively impacted.
Back and Sides
The back and sides of a guitar impact the sound in more of an indirect way and should be a match tonally to the top plate set. The back and side set has more of a tendency to color the sound of the top (much like a sub woofer) rather than be the main speaker. For instance, Mahogany will tend to give the guitar a warmer tone while Rosewoods lean toward the brighter side. From there it simply comes down to looks and building practices.
Conclusion
Good acoustic guitar sound is not the mystery that many believe it to be. It is the result of proper wood choice, precision building, understanding how sound travels and years of experience. Over time I have seen many would be guitar builders try and get around these principles (especially wood choice) only to spend 100 hours building a piece of furniture. These principles are the foundation to building a premium instrument. As a side note; If you have a guitar that just isn't putting out the sound you want then it may be a good idea to have a Luthier tone shape the guitar.
Guitar Frets
Choosing the Right Fret Wire is something that every seasoned guitar player should take into consideration for every guitar that they own
Replacing your guitar frets
Any good Luthier will tell you that the guitar neck is one of, if not the most critical part of the guitar. If the neck is not right then all you have is an object. Frets are a critical part of the neck and if they are not leveled and crowned properly then the instrument will not reach its' full potential, as is the case with so many guitars. When trying to determine if you need to replace your guitar frets, I highly recommend that you take it (or send it) to a professional repair facility. If you feel confident enough to evaluate it for yourself then I will offer up some pointers;
1) If the crown of the frets have been worn flat then you may need new frets depending upon how worn they are, as you may just simply need to have the existing frets re-worked. The same goes for frets that are grooved where the guitar strings have worn them. If you are experiencing fret buzz or having intonation problems then worn frets may very well be the problem.
2) Frets that are not level can ruin the play-ability of a guitar. If you have a 3" perfect straight edge you can check the level of your frets along the fret board from end to end and side to side. If the frets are not level at any point then you want to check to make certain that the frets are all fully seated on the fret board as frets can sometimes draw out.
The Most Popular Fret Wire
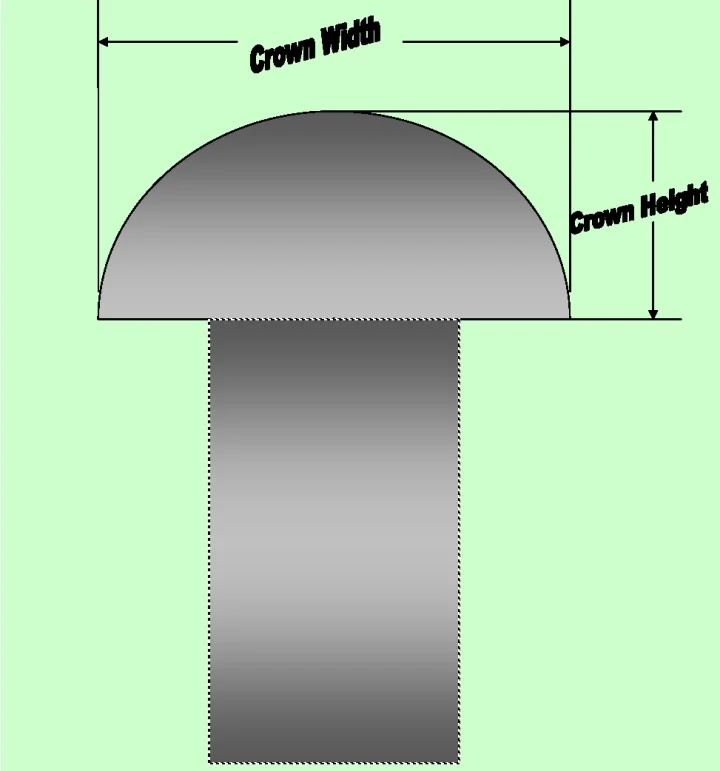
Fret wire comes in different crown widths and crown heights and the way you play guitar should direct your choice of fret size. Players who like to bend notes will tend to lean towards taller and wider fret wire with a crown width around .110 and a crown height of around .57. Players who tend to press hard on the strings are probably better off with shorter thinner frets (.077 crown width and .035 crown height) as taller frets will cause notes to turn sharp with a hard player over pressing the strings. Discussing your playing style and needs with a good luthier should be on your agenda if you want to reach your full potential.
Fret Wire Material
Your choice of fret material range from soft nickel, nickel-silver, brass and Evo (copper alloy) to a very hard stainless steel. On all of my guitars I use the Evo fret wire as I find it to have the right balance of work ability and hardness. I also like the gold look it has when properly worked and polished.
Understanding Humidity
Understanding Humidity, Climate and your Guitar is critical to the longevity, play ability and up keep of your guitar. Learn the basics here...
I am often bewildered at some of the comments I hear with regard to humidifying a guitar. Most music stores will try and sell humidifiers that fit in the guitar sound hole as the preferred method for humidifying your guitar and although these products vary in their effectiveness, they may not be the best source for a well balanced moisture content. I will explain this later in this post but first it is important to understand simply how relative humidity works.
Understanding Relative Humidity and Temperature
Relative Humidity (or RH) is a measurement in percentages of the how much moisture that air is holding relative to the air temperature and the dew point (dew point equals 100% Relative Humidity or RH). When the temperature drops by one degree, the relative humidity will actually increase by 2.2%. This is why we often see dew outside in the morning time during certain times of the year. Since the objective is to keep a balanced RH around your guitar, it is safe to say that keeping a guitar (especially acoustic guitars) in an environment that has major swings in humidity and temperature will destroy the instrument. First, you want to make certain that the room that you keep your guitar or guitars in maintains a fairly stable 72 degrees and that the guitar is placed away from windows, exterior doors and sunlight. Secondly you want to spend a few bucks on a descent hygrometer so that you can monitor the relative humidity in that room.
Healthy Humidity
The RH of the room that you keep your guitars in should maintain a reading of 40 to 55 percent. Too many days consistently below 40% RH and you will begin to notice that the finish has a corduroy look to it, the action has changed and even cracks occur in the top, back or sided of the guitar, just to name a few of the problems that can occur as a result of a low relative humidity. Too much humidity can cause a bloated effect and since mold and fungus typically require 55% RH (or higher) in order to become active or "alive" or non-dormant, the guitar can actually develop patches of mold and fungus.
In The Case or Out?
I am often asked "should I keep my guitar in the case or out?" and my answer is.......maybe. I'll explain; If you have a room that you can maintain the RH between 40% to 55% during most months of the year then by all means keep the guitar on a guitar stand and leave it out of the case as the guitar wood will maintain a more balanced moisture content. If you do not have a suitable room for this, then your next option should be to keep it in your guitar case with a sound hole type of humidifier. I suggest this as a second option because there is no real control of the humidity inside the case, and guitar cases are usually lined with products that absorb moisture. While the inside of the guitar box can get so much moisture that fungus grows other parts may just get enough or too little. Worse yet, guitar players using these type of humidifiers often forget to systematically "wet" the humidifier causing it to have a reverse effect as it dries out and then tries to absorb the moisture from the air inside the case.
How do I do it?
I am in a climate where only few months out of the year are not humid enough and so for me I keep my completed guitars in a climate controlled room. Because wood is like a sponge it will hold the moisture for a little while and so I will run a humidifier in the room once per day unless we are having a cold spell. What works for me here at Hawkins Guitar in Virginia Beach Virginia may not work where you are but if you understand how relative humidity works it should help you set up an environment that is good for your health and your guitars health.
Choosing Guitar Wood
Choosing the Right Guitar Wood for an Acoustic or Electric Guitar is critical for great sound and great guitar sound is no mystery
If you are considering having a luthier build a guitar for you then it would be a good idea to do some research on which tonewood you should use in order to accomplish the sound that you are hoping for. After the wood selection, the the rest is up to the Luthier and how well he builds and shapes the tone of the guitar..
As a side note let me say that if you are looking at a major manufacturers product (Martin, Taylor, Gibson, Taylor and many more) make certain that the specific model that you are looking at is a solid wood guitar and not a "laminate" guitar. Laminate guitars are layered much like plywood and therefore wood choice is simply an aesthetic choice.
Selecting the Right Guitar Wood
The sound that you seek will ultimately come down to the wood that you choose and the Luthier who builds the guitar. If you are looking for a warmer tone then you would want to lean toward some of the "softer" tonewoods like Mahogany (for the back and sides) and like Sitka Spruce for the top. If a brighter more punchy tone is desired then you would want to lean more toward a brighter "harder" tonewood like we find in the Rosewood family. This is just the first step in building an incredible sounding acoustic guitar. Just choosing the species of wood will not ensure that you get the sound that you want and this is where it gets real..........
Tapping and Listening
Sometimes this is referred to as Tap-Toning and it is the process of tapping and listening to each piece and their tonal properties. This is where the difference between a major guitar manufacturer and goodLuthier begin to part ways. Where a major manufacturer is just going to pull the next top off of the shelf, join it together, sand it to the same thickness as the last one and then move on to the next one with no real regard to sound. A good Luthier (on the other hand) will start by tapping on the wood to determine how and if it will sound good as well as how the tap tone of the top compares to the back and sides. As a builder I have a very good idea as to how a guitar is going to sound based upon tap toning. This comes from years of guitar building experience as well as many years of experience as a tonewood vendor, having re-sawn and listened to several thousand premium guitar tops and back and side sets. I find it very interesting that I can cut 10 guitar tops from the same billet (or piece of wood) and if I am lucky I might find one top that has the tone and look that I seek. Over the years I have collected (and continually improve on) a healthy stash of some of the best guitar tops in the world...... I have sold some of the rest of my stash to many of the most expensive builders in the world ($20,000 +) price range. The best wood I have saved for the guitars that I build.
Guitar Tone Wood
Guitar Tone Wood may be the one area that many guitar builders know the least about, but need to know the most about due to the cost of tone wood.
The tonewood that you select for your guitar is the foundation for a great sounding guitar, especially when it relates to the guitar top. Whether you choose Sitka Spruce, Adirondack Spruce, European Spruce, Englemann Spruce, Mahogany or one of the many other species of wood that can be used for a guitar top, then one thing that you can count on is that the top you choose is as important as the speakers that you would choose for a premium sound system since the top produces 80 to 90 percent of the sound. Furthermore, two tops of the same species (even cut from the same billet) will not necessarily produce the same sounding instrument, one can sound great while the other one like cardboard. Having sold guitar wood (for many years) to some of the most well known Luthiers in the world, I have set aside some of the nicest sounding tops that you will find anywhere. Not only is choosing the right top critical to sound, it is also important that you choose the right Back and Side set to match that particular guitar top wood so that the Back and Sides compliment and color the sound. Hardness and species of wood (as well as the tap tone) play into matching the box wood to the top for full and balanced sounding guitar. From there it has to built right. Whether you choose Koa, Brazilian Rosewood, Honduras Mahogany, Indian Rosewood, Curly Maple, Walnut, Cherry or one of the many other species that can be used for building guitars, it is critical to the sound of the guitar that you choose your wood wisely.
Favorite Luthier Wood Source Colonial Tonewoods
Guitar Set Up
Guitar Set Up and maintenance should be viewed like brakes on a car. Every once and a while you need to service the instrument.
Understanding the basics of how a guitar works should be something that every guitar player spends a little time on. To have good tone, intonation and play-ability it is critical that your guitar be properly set up to your playing style.
TRUSS ROD & FRET LEVELING
Almost daily I get a call that sounds something like ".....and my action was too high so I adjusted the truss rod and it didn't really help...."
It should be understood that any time that you make a change to your guitar set up (truss rod, nut or saddle) it will affect ALL other parts of the set up and without a clear understanding of what you are doing the odds are good that you will make things worse and not better.
The first step in a good set up is to loosen the strings, check that the top of the fret board is pointing to the top of the bridge on each side, use the truss rod to straiten the neck (if needed) and then check the level of each fret. Without a flat and level fret board and frets then a great set up will be evasive.
When a guitar string is struck it (very quickly) begins to vibrate toward the fret board and the purpose of the truss rod is to create just enough relief (or bow) to miss the vibrating strings. Thinking of it as anything else will lead you down a path of frustration.
NUT & SADDLE
Before making any adjustments to the guitar nut or saddle you should check the radius of the fret board with relation to the radius of the top of the saddle. You can do this with a radius gauge set.
From here we look at both the string height at the first fret as well as the string height at the twelfth fret. Our goal is to end up with a string height of .018" at the first fret and as close as we can get it to the twelfth fret without buzzing. The height at the twelfth fret should vary depending upon the player style, desire and how well the guitar was built.
Adjusting the height of the bridge should be done first until you are slightly above your desired height at the twelfth fret. To do this you will need a flat sanding surface with adhesive backed sand paper. Sand the bottom of the saddle and check frequently. Now you should begin making adjustments to each fret slot on the guitar nut. Once you slightly above .018" then go back to the saddle and bring it to the desired height at the 12th fret. Once this is done you can make fine adjustments to the nut slot of each string if necessary.
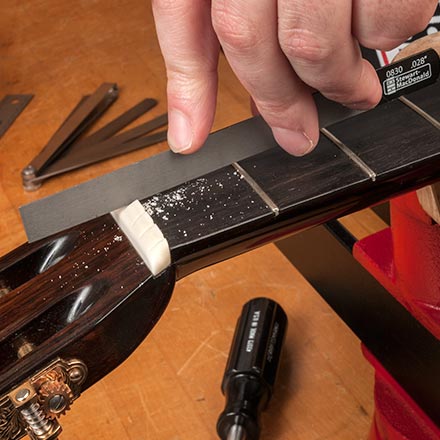
To adjust a guitar nut you will need a set of guitar nut files. Each individual string will need to have it's slot filed until the string height at the first fret is .018".
TRUSS ROD
Put a capo on the first fret and hold down the 6th string at the 12th fret. Now tap on the 6th string at the 7th fret to ensure that there is an ever so slight gap between the string and the 7th fret (no more than .010"). Remove the capo and strike the 6th string, if it buzzes near the middle frets the a slight adjustment to the truss rod will be needed. To make certain that it is the truss rod that needs adjusting press the string at the first fret and strike it again. If you still have a buzz then adjust the truss rod.
INTONATION
Once set up we move on to intonation. Intonation on an acoustic guitar may require a new saddle or possibly even more work on the bridge itself. On an electric guitar most saddles have a way of adjusting the intonation often with individual string saddles. At the twelfth fret the tuning of each string should read the same as the same string played open. If the note reads flat then the distance between the saddle and the twelfth fret needs to be shortened and the reverse is true if it reads sharp.
Intonation can be thrown off by a bad set up or improper truss rod adjustments and so it is important that this step be done last in the set up process.
A NOTE ON HUMIDITY
If you want your guitar to keep its set up then you have to keep up your guitar. Place your guitar in a place that you would be comfortable sitting in all day. In other words, place it away from venting air and direct sunlight. A healthy relative humidity for a guitar is the same as for humans. Somewhere between 40 and 70 percent is where you should be and never above 60 percent for extended periods of time as mold can grow. In my neck of the woods (Virginia Beach, Virginia) the only general need (regarding humidity) is a small inexpensive hygrometer and a 15 dollar humidifier. I am not a fan of keeping a guitar (especially acoustics) in a case and am especially not a fan of "in the case" humidifiers.
Hawkins Parlor Guitar
Follow us as we document building a Hawkins Parlor Guitar. This model was based on a 1904 Martin Parlor Guitar but with our bracing system
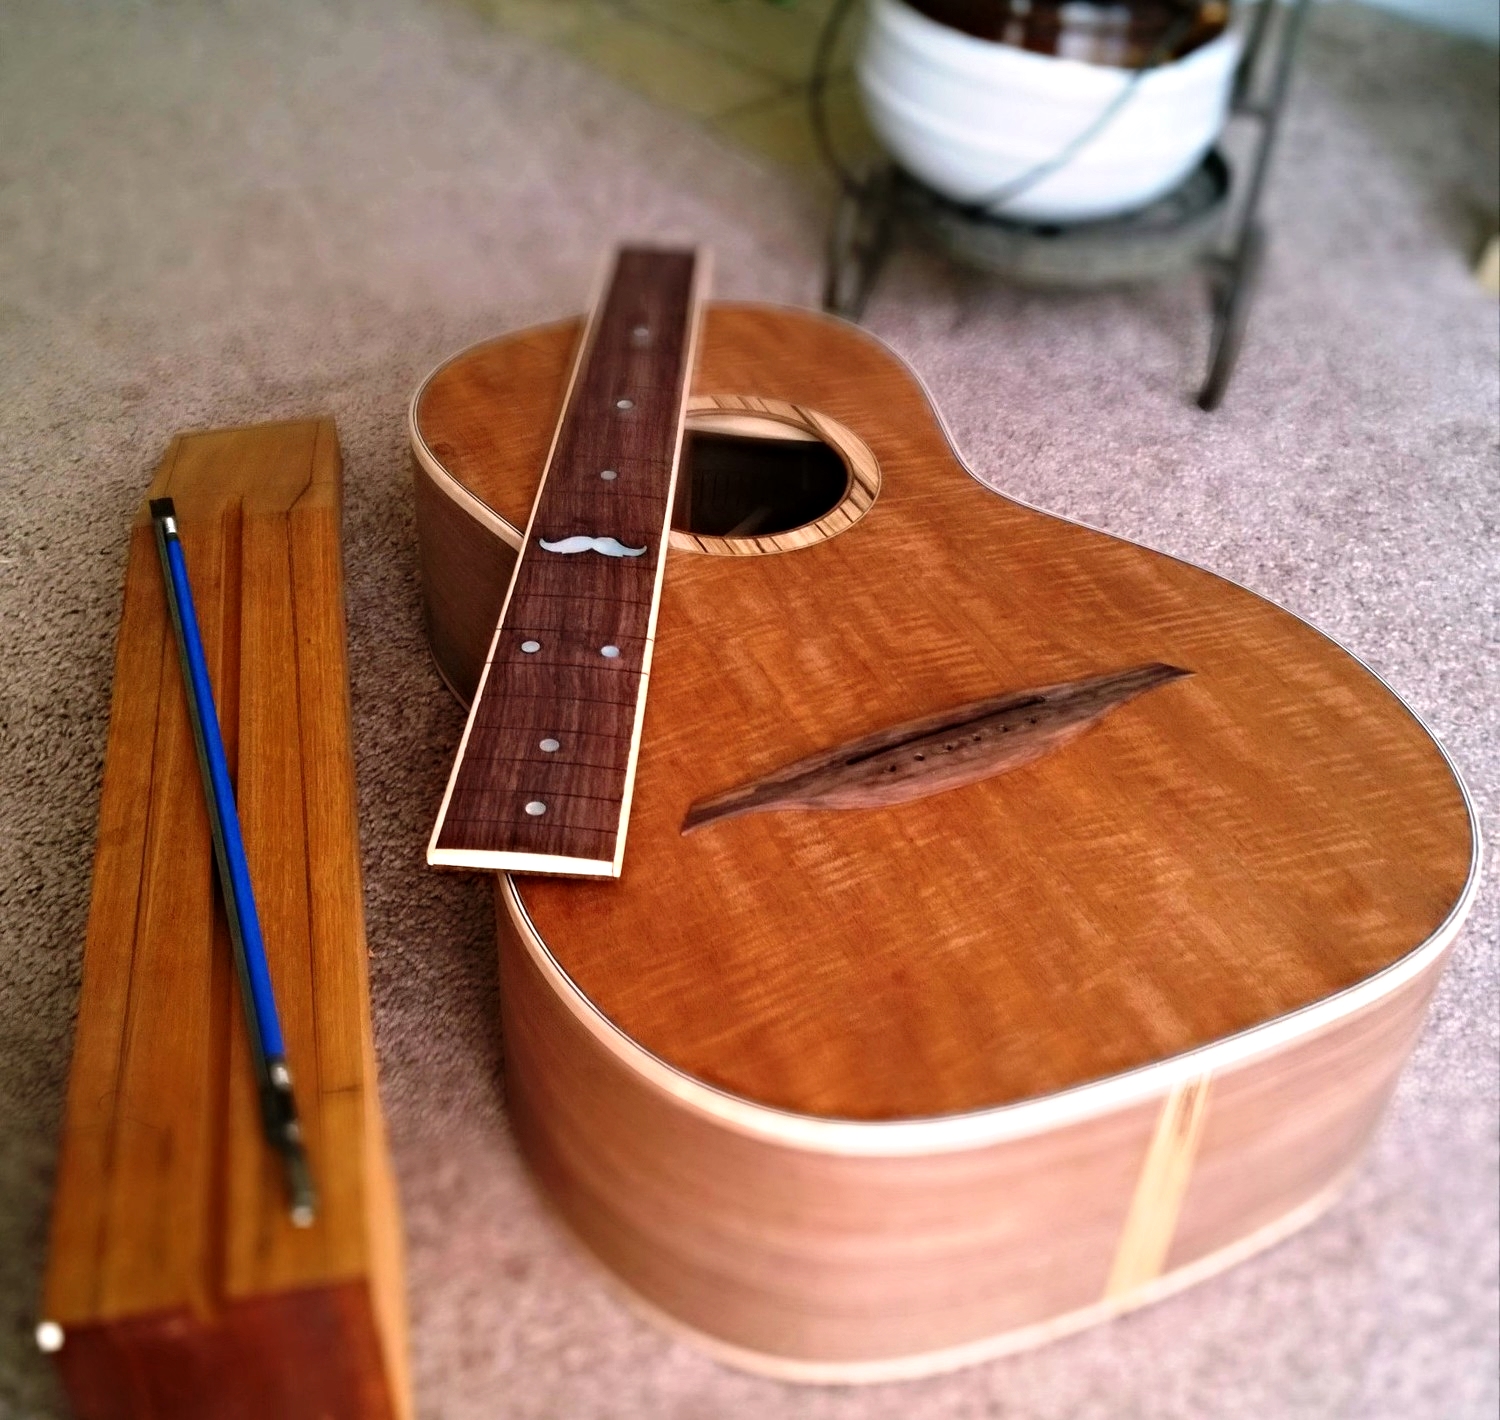
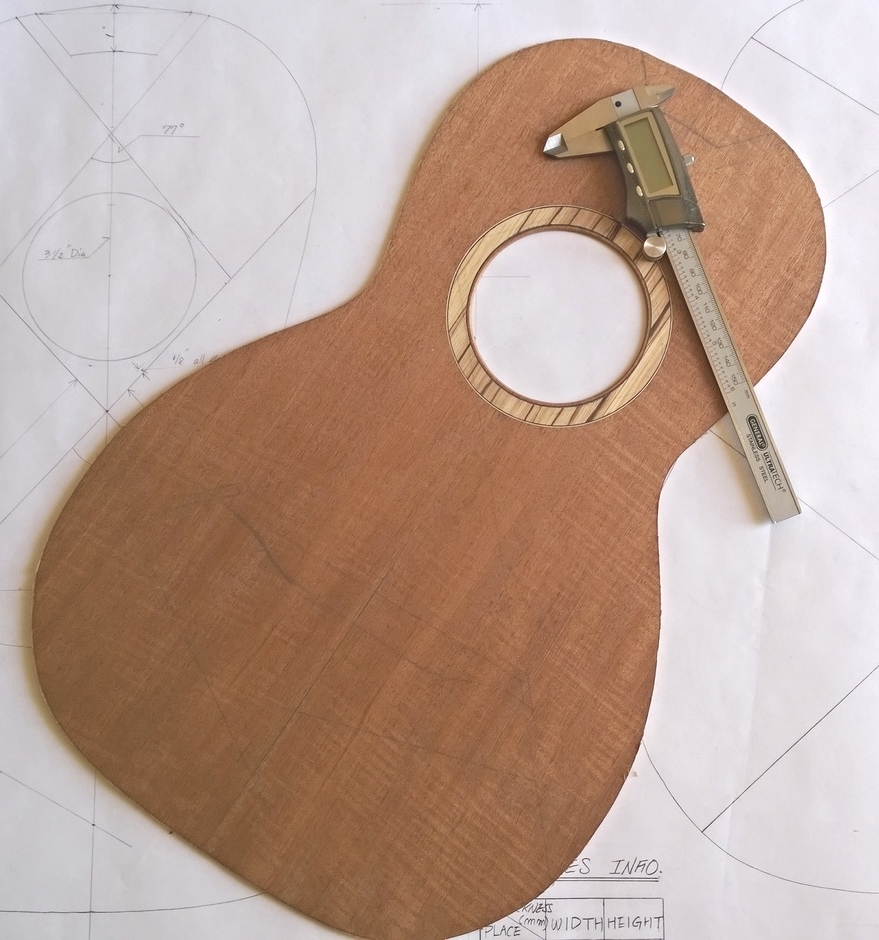
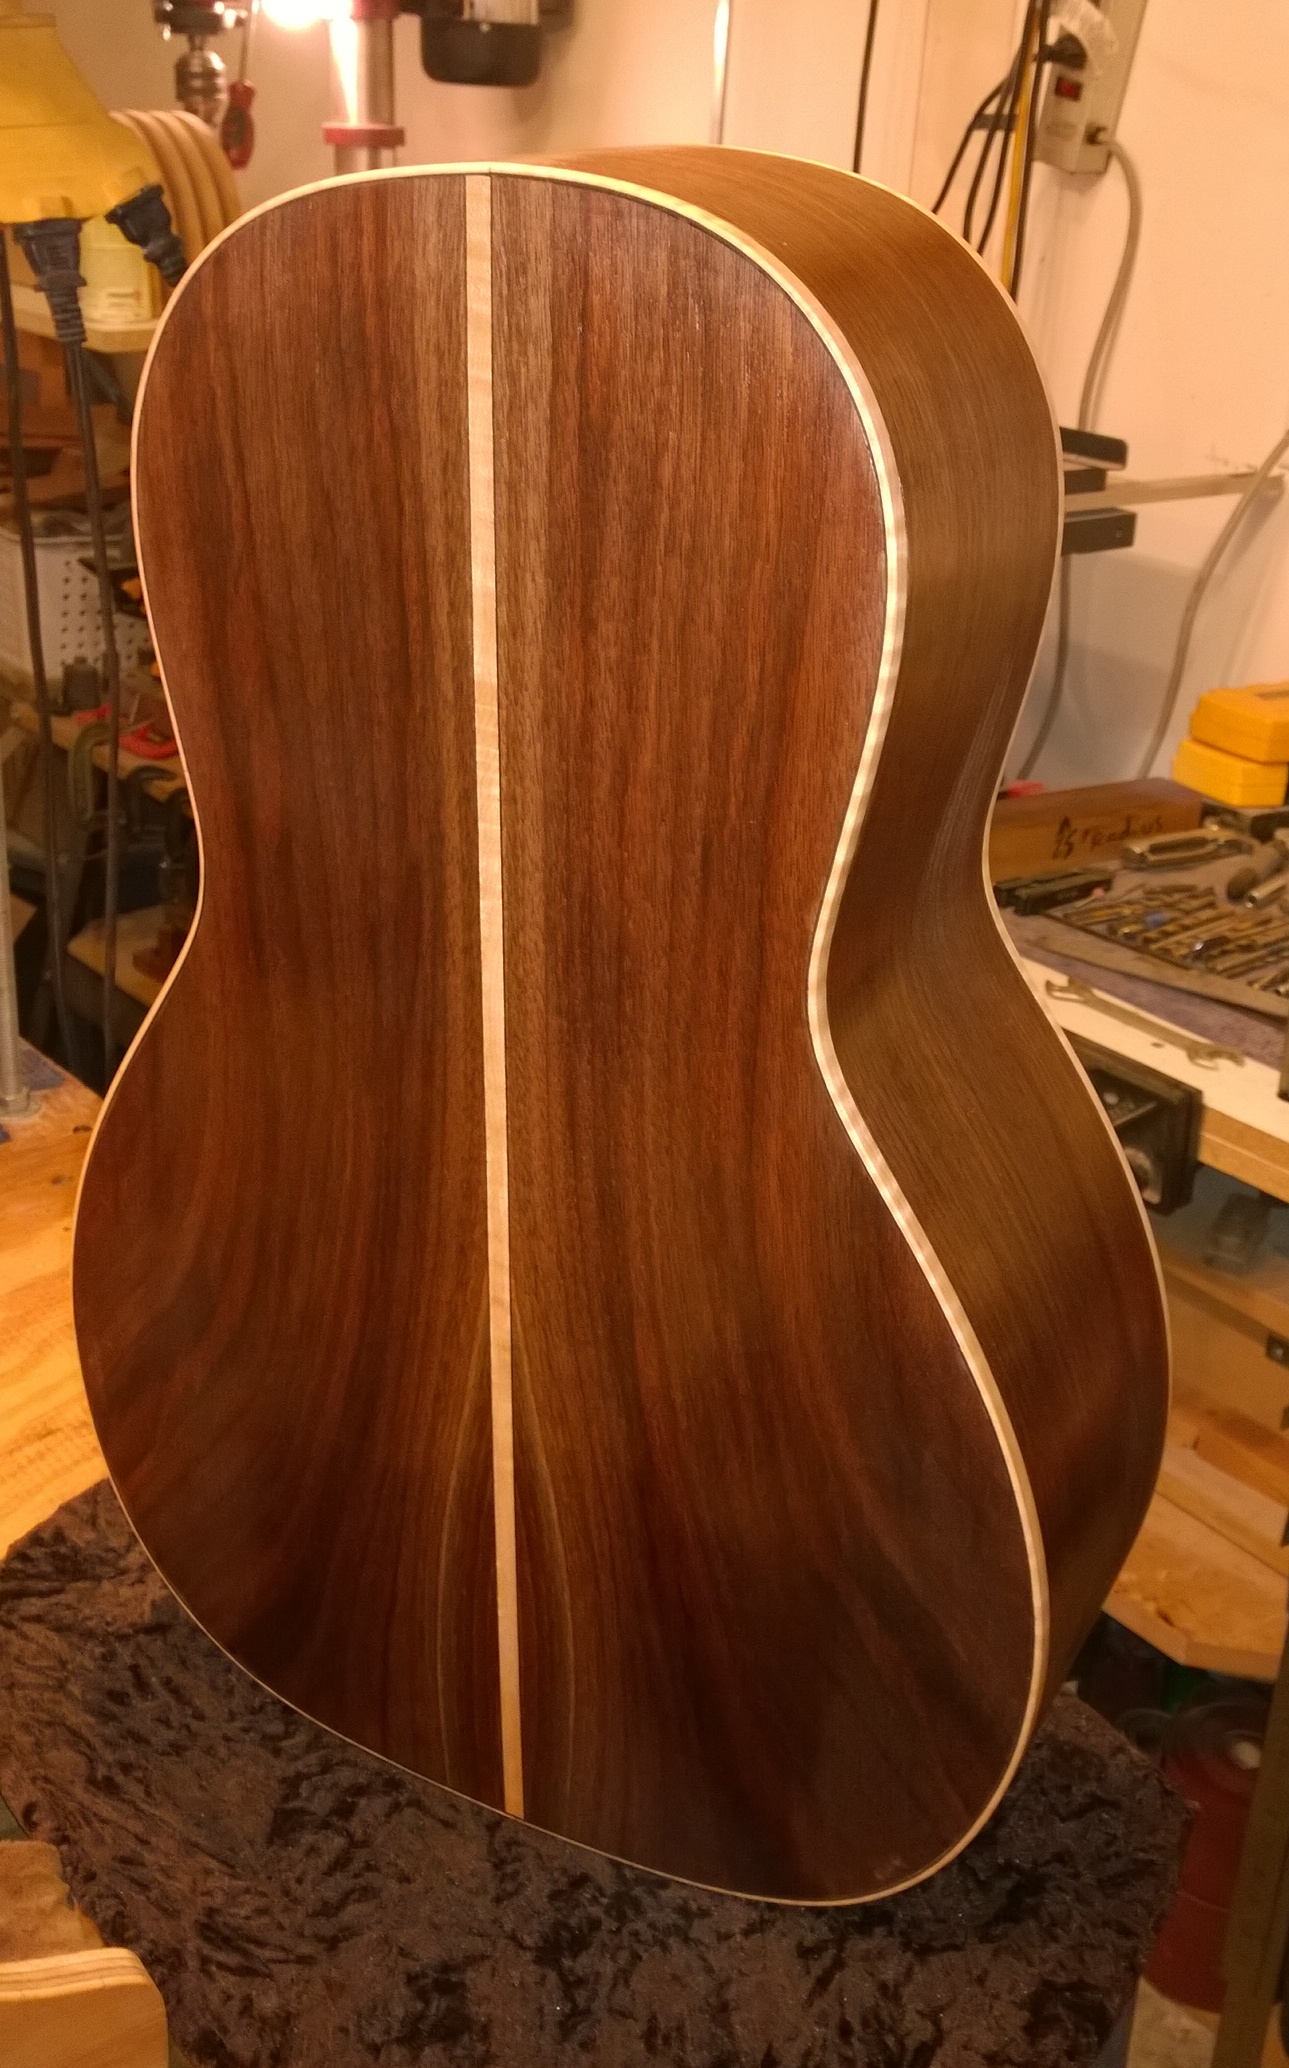
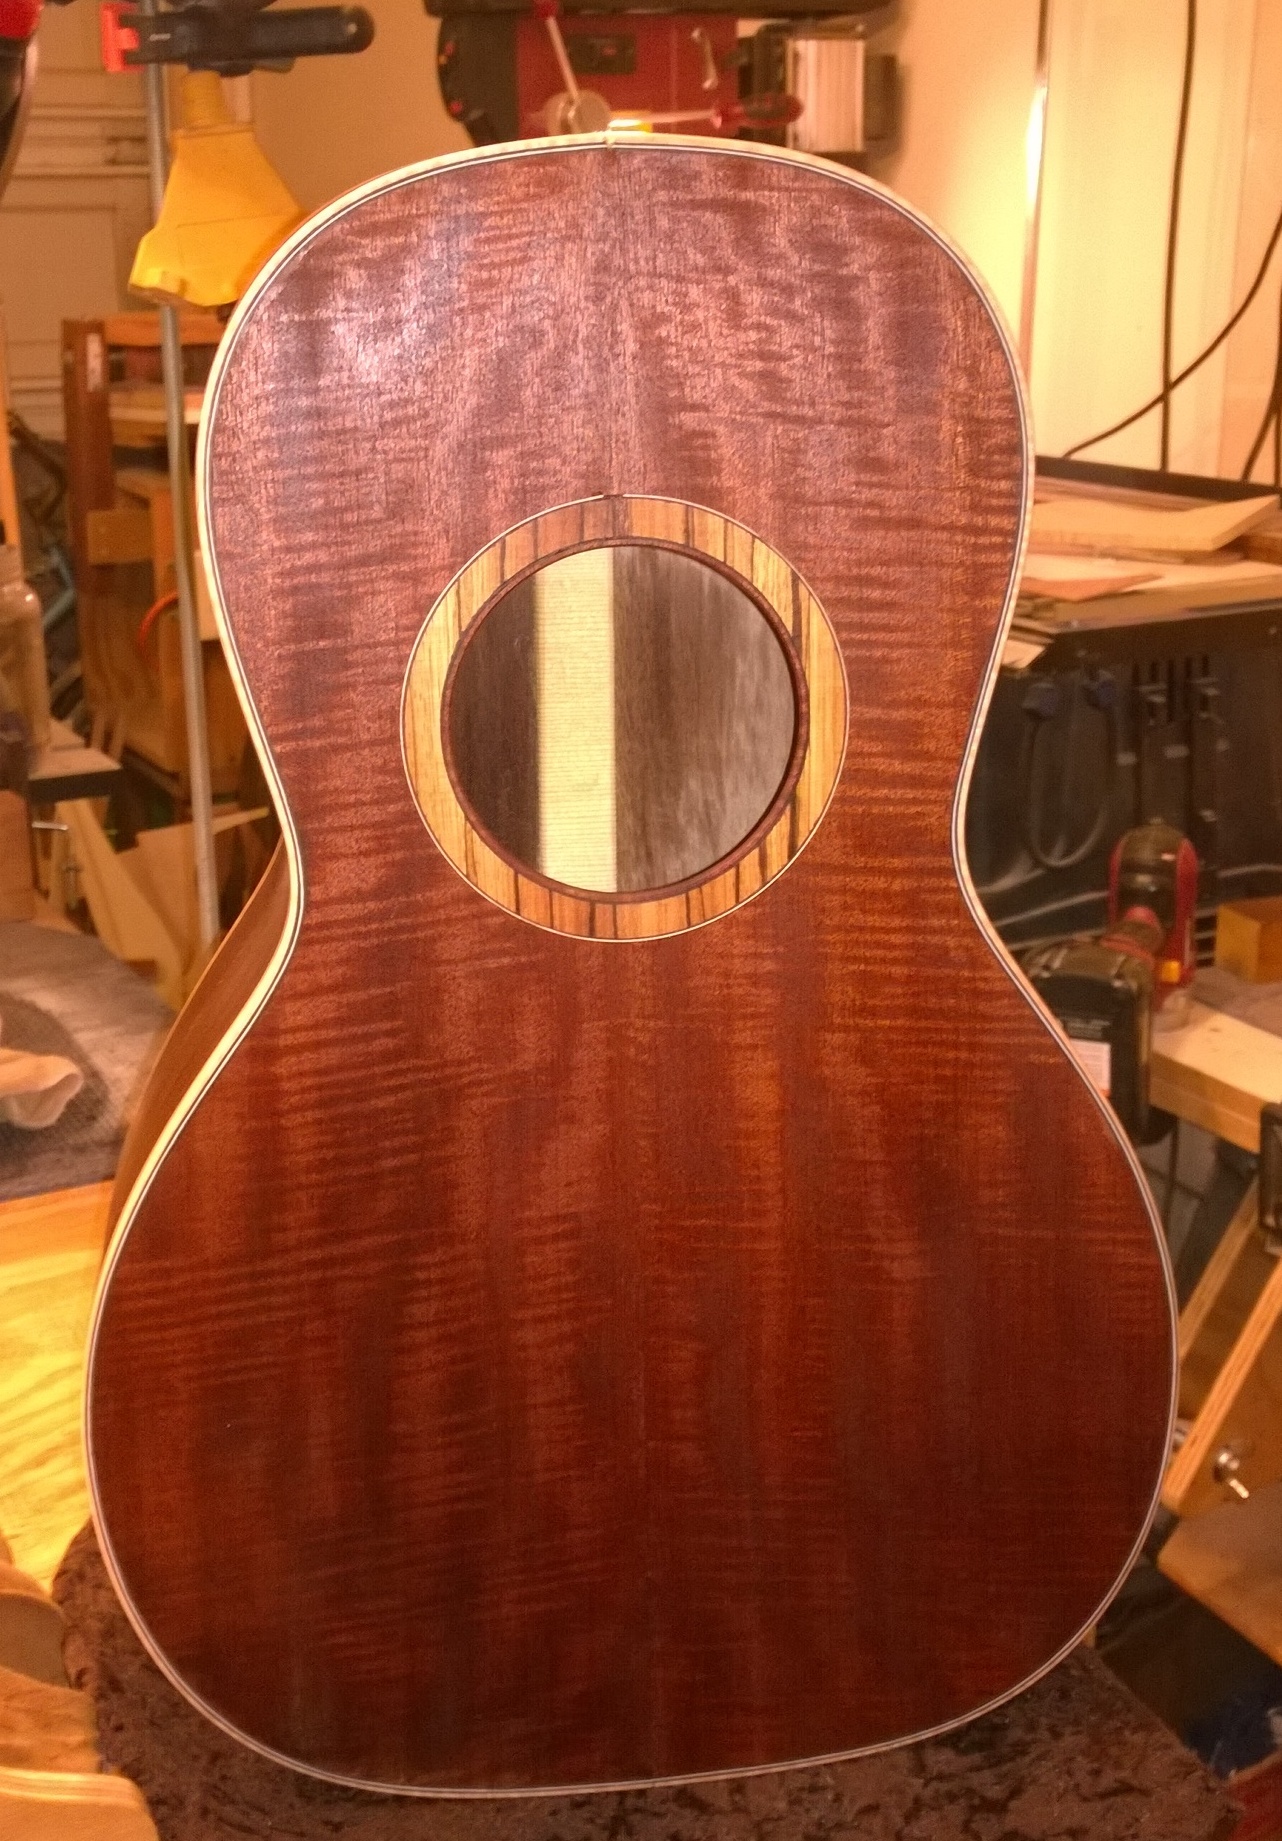
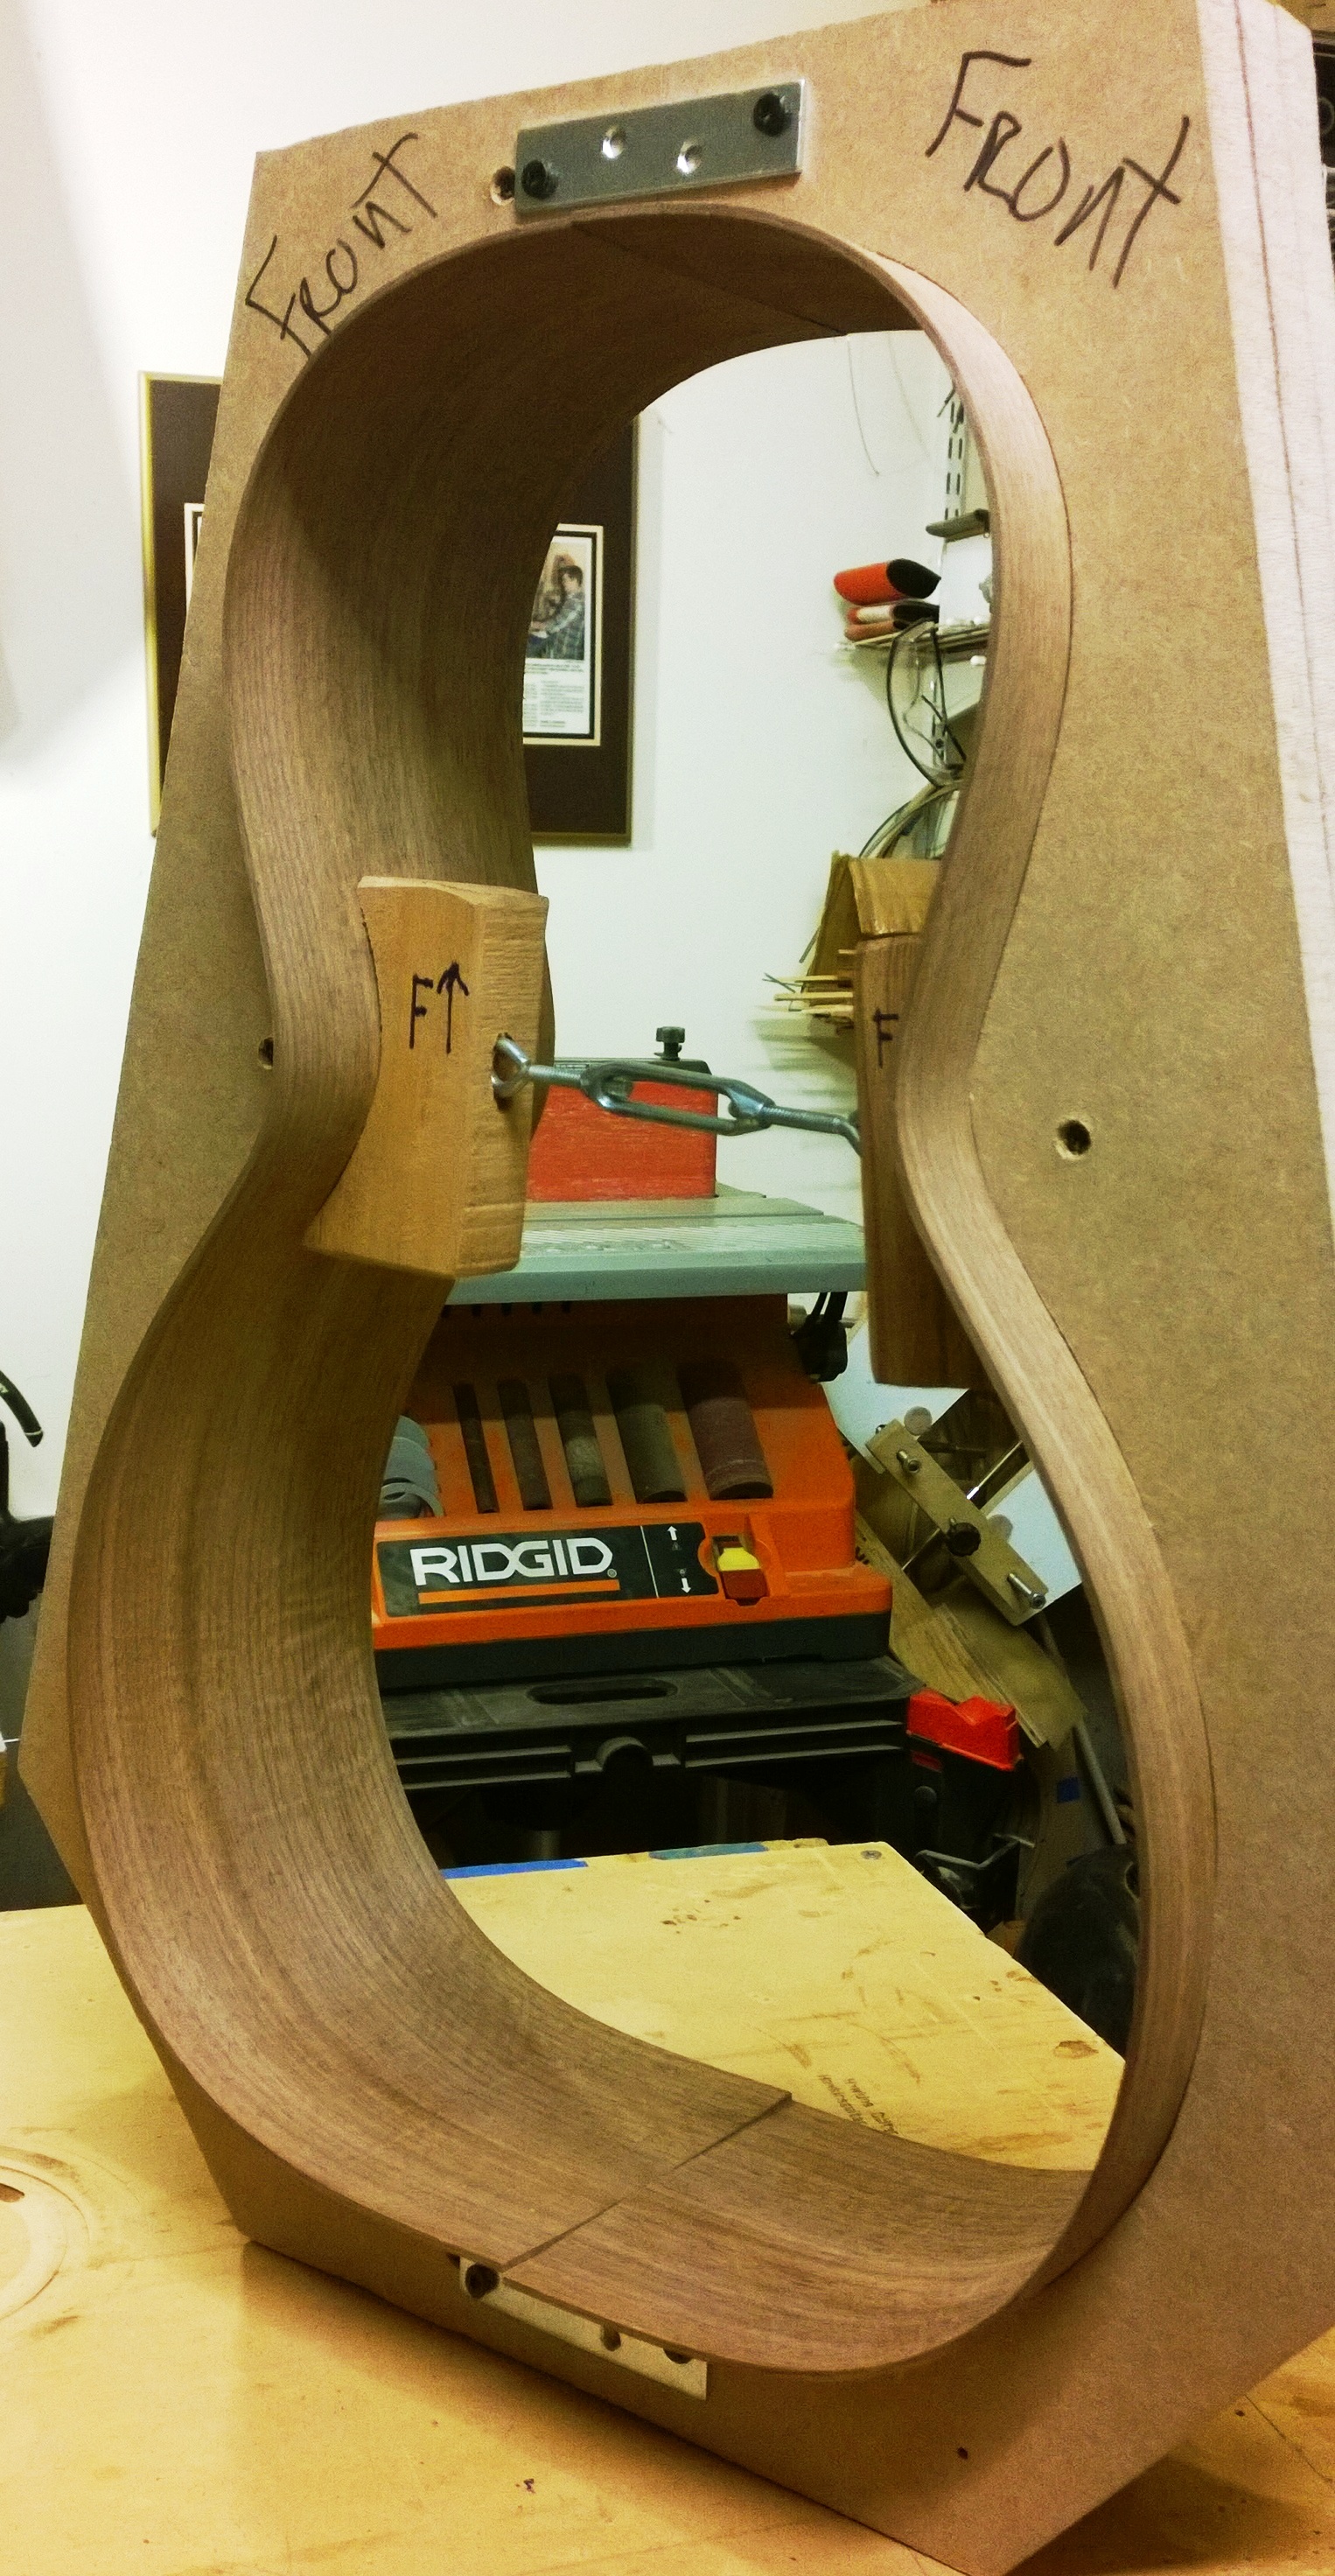
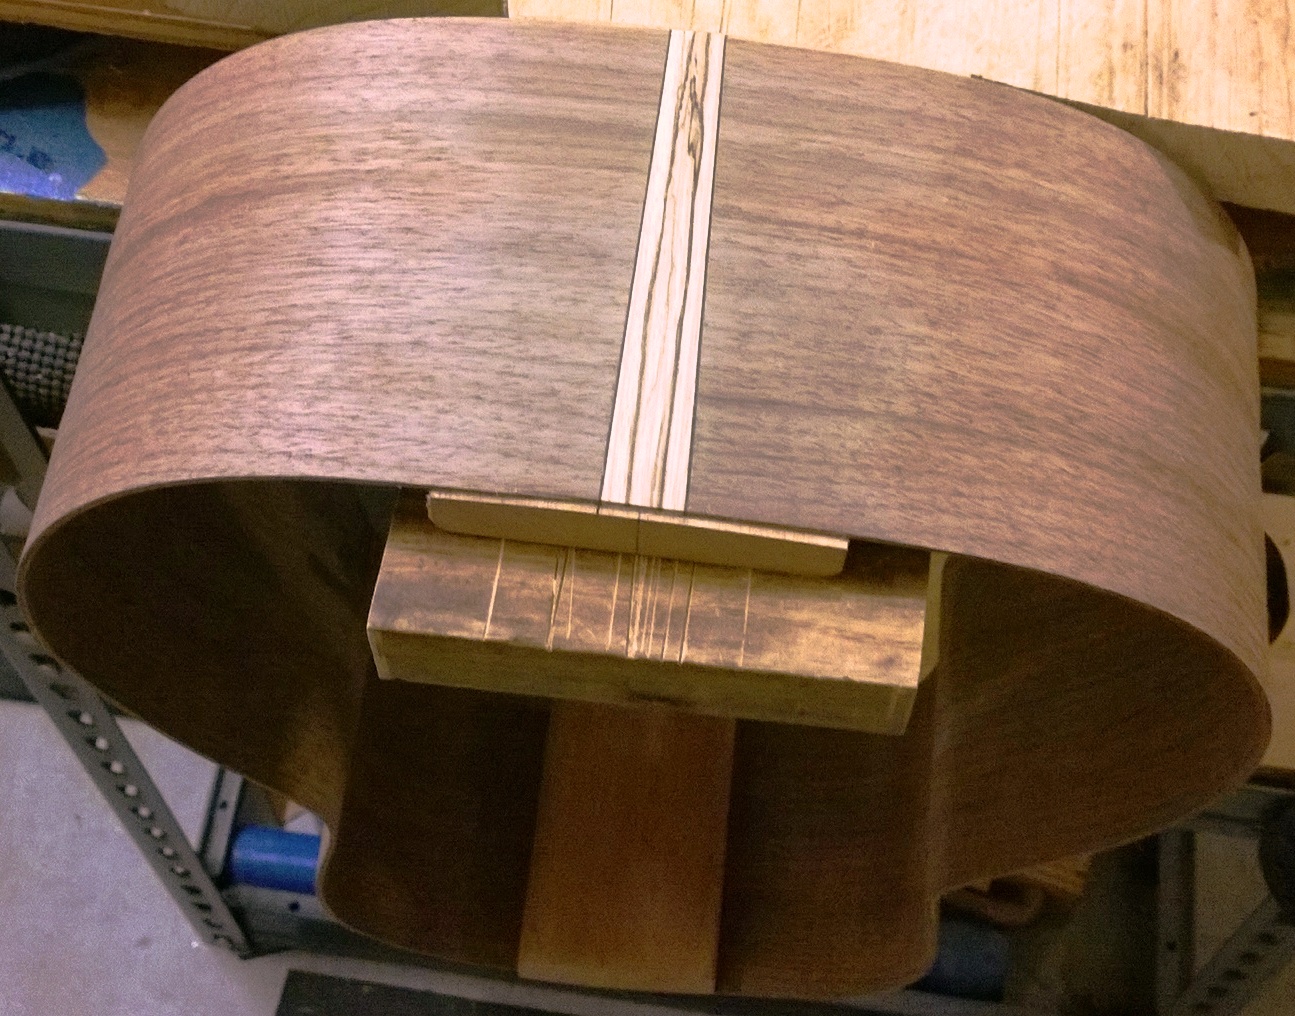
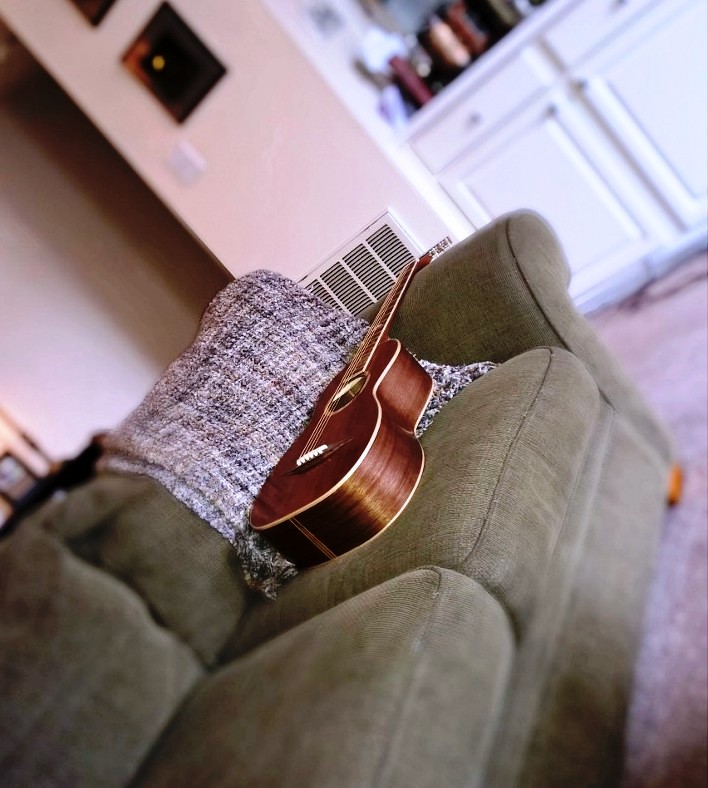
I am excited to document this parlor guitar build largely due to the fact that I have owned the tone wood being used for a very long time and have been watering at the mouth to build with for a long time, it just had to be the right guitar. After tap toning my way through several back and side sets, and then also several guitar tops to get a good match tonally, the choice became clear. I chose Black Walnut for the back and sides and Curly Mahogany for the top. In general, our aim is to make a small body acoustic guitar with volume and a warm low end push to go with the general "highs" of a parlor guitar. it will be built to the shape of a 1904 Martin Parlor Guitar and joins to the guitar body at the 12th fret. Our exclusive bracing system, the quality tone wood and our building practices are what will make it a genuine Hawkins Guitar.
THE BLACK WALNUT...
...came from a luthier friend of mine about 15 years ago. He bought a truckload of the wood from the widow of a woodworker who had labeled it as being cut in 1970. He was generous enough to let go of a couple of really nice sets and having air dried for 45 years the wood is perfect to build with. The tap tone is deep and has surprising sustain. The color and grain figure is worth a stare at for sure.
CURLY MAHOGANY
The Curly Mahogany Top is something that I picked up from my good friend Steve at Colonial Tonewoods. I have had it for about 10 years and was stoked when it matched so well with the Walnut both visually and tonally as the reds in the walnut will "pop" from the red mahogany top, and the sound match is excellent. The curl under a good finish is the icing on the cake.
MAHOGANY NECK
As Mahogany goes it is always a good choice for a guitar neck as it almost always sounds good when the guitar is properly built. The bridge will be rosewood as well as the fret-board and the head-plate.
PARLOR BODY ASSEMBLED
Once we glued the top and back plates to the body and completed the box we were able to tap on the top and listen and were not at all disappointed with the ring that this body has. Surprisingly deep with more of a bigger body sound, I expect that this guitar is going to have the punch of a great parlor guitar but with a low end that you won't usually find in small guitars.
Up next.....Curly Maple Binding, Finishing the body, bridge and Pick Guard and then hand carving the neck so stay tuned!
BINDING IS ON
After routing the body for the curly maple binding, and then installing the binding, I really began to get a hint of just how eye popping this guitar is going to turn out. The darker body woods with the light maple binding just makes me want to sit and stare at it. I complimented the binding with black and white purfling adding a nice touch.
FRET BOARD
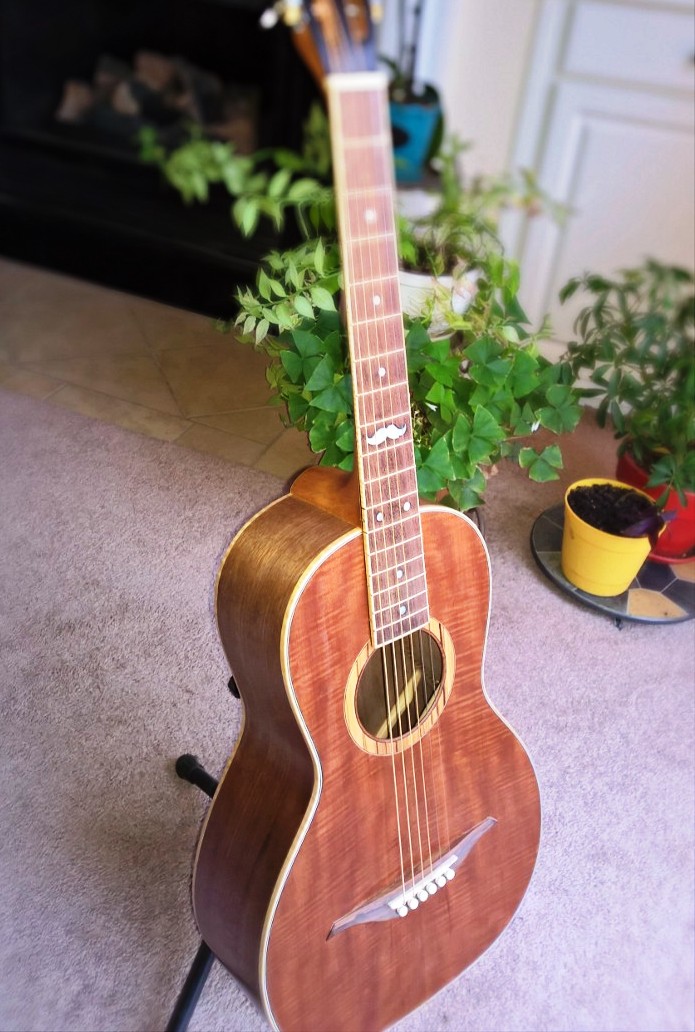
For the fretboard binding I am using a very high figure (curly) German Maple that will really "pop" under a finish and polished. The fret board markers are Mother of Pearl dots with a Parlor Mustache on the 9th fret. The fret board side markers are silver rings with a mother of pearl dot in the center....nice looking and very easy to see (in real life).
NECK & BRIDGE
When I get this close to finishing a guitar build I find it hard to do anything else until I get it strung up....once I hear it I can rest a little easy and this one did not disappoint me in any way, shape or form! The small body "Parlor" sound is loud and clear with a low end that I still can't believe. As my wife put it...."It sounds like a warm ukulele with allot of bass". Personally, I could not imagine it sounding any better than it does. It is articulate, loud and has all the clarity and low end that you could ever want in a Parlor Guitar all with sustain that won't quit......Up Next.....take it apart, shoot the finish and then secretly hope it doesn't sell so that I can keep it!
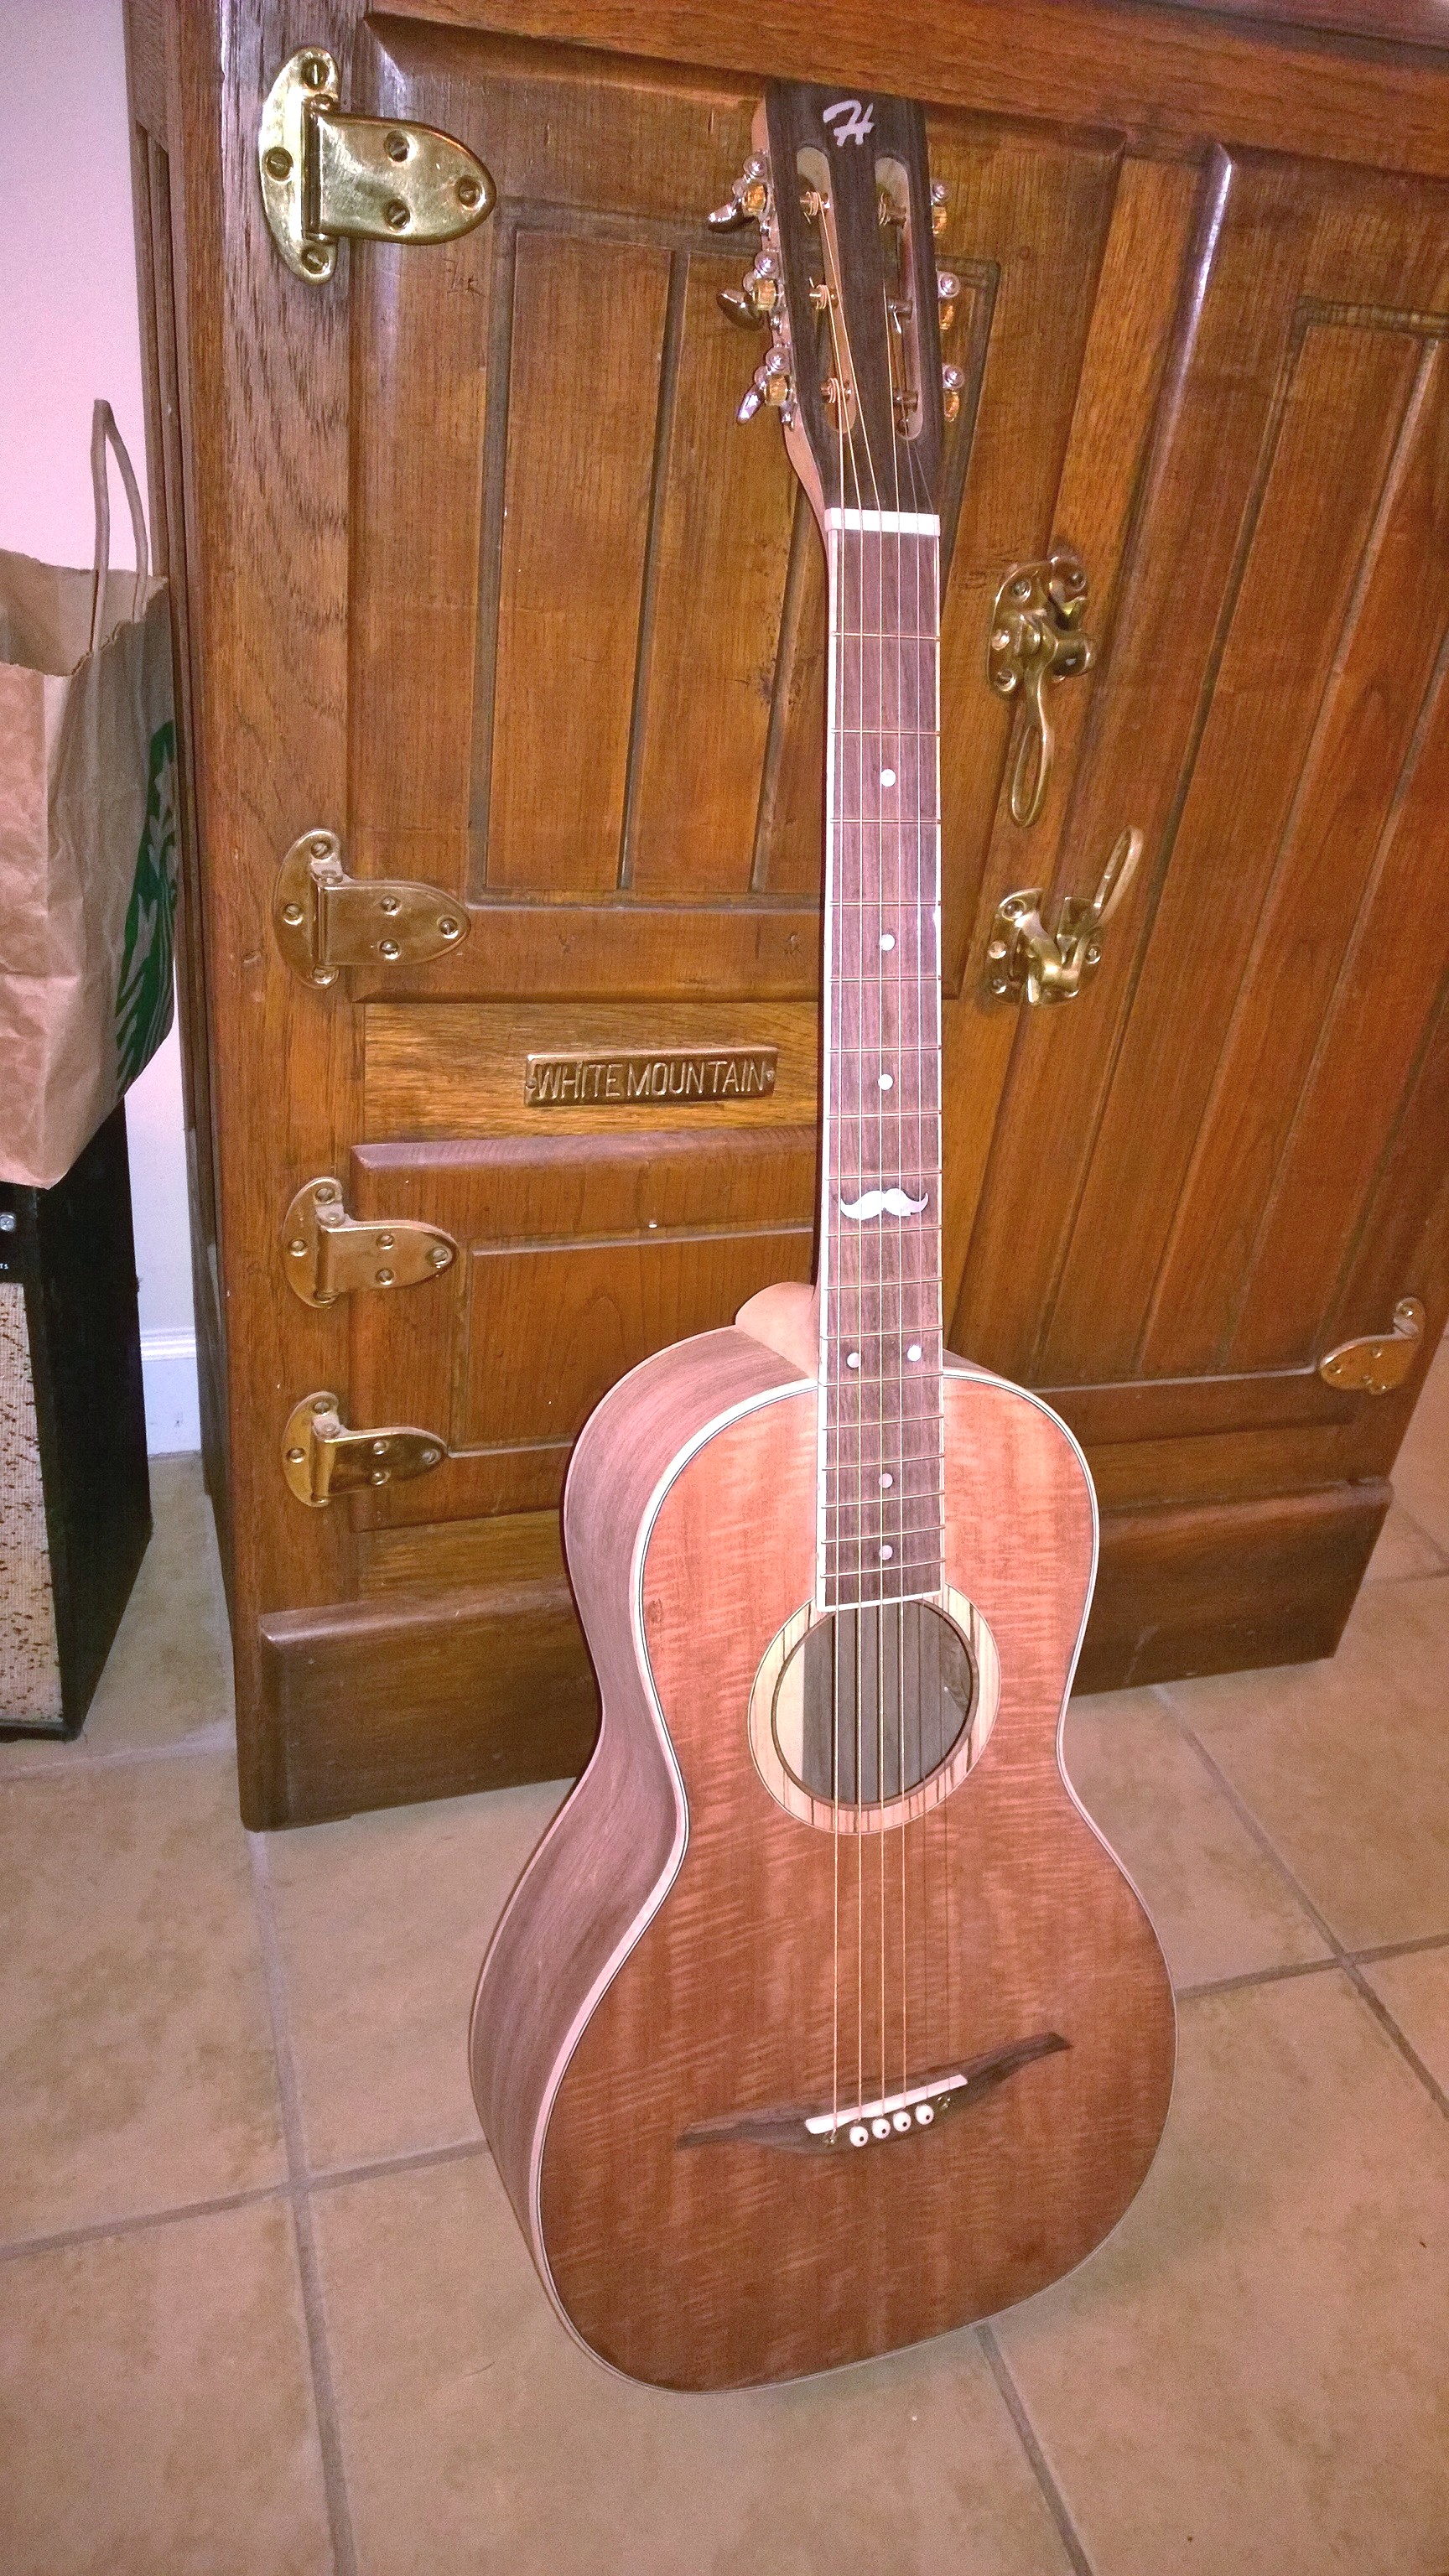
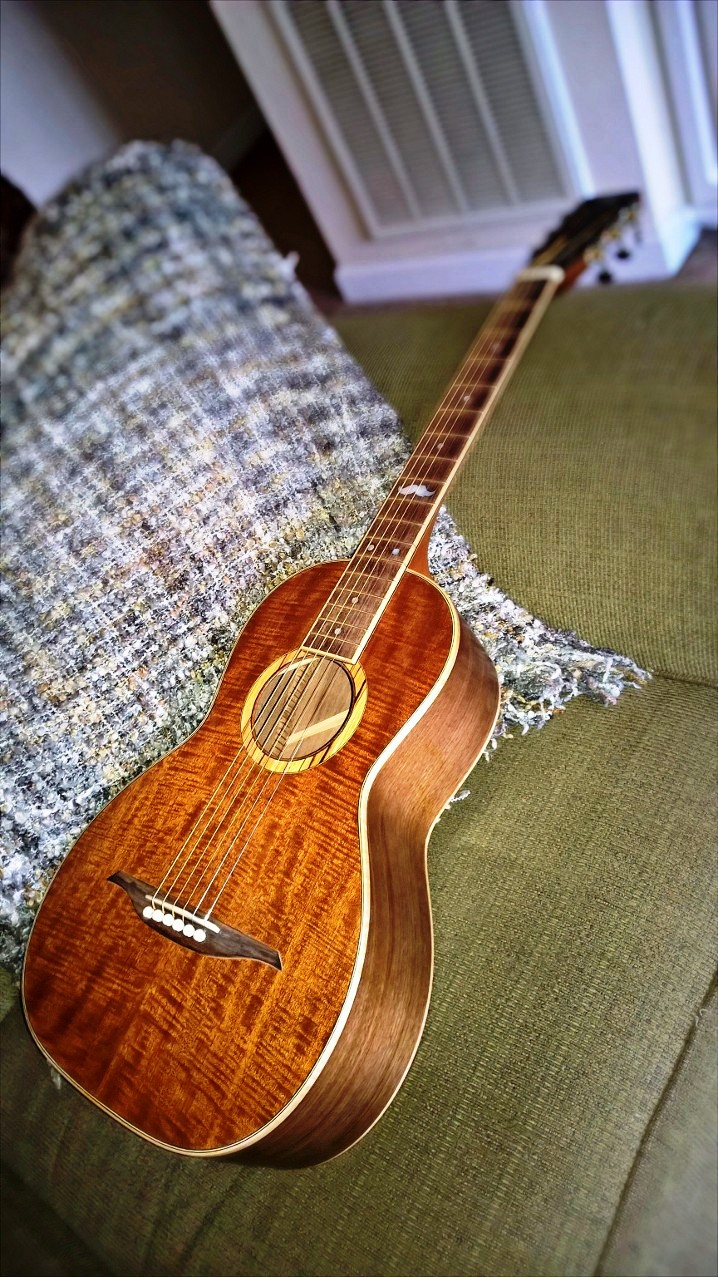
FINISHED!
Both for sound and in keeping with the vintage vibe I decided to hand rub and polish a semi-gloss shellac finish!
Check out Mike Hodges as well as Daniel Rosenfarb in these two videos. These videos were made before the finish was put on the guitar.
Up Next......Finish the guitar, tweek the setup and then figure out how I am NOT suppose to keep this one!!
STAY TUNED, WE WILL UPDATE THIS BLOG POST AS WE BUILD THE GUITAR...
Tone Shaping
Great acoustic guitar sound is not a mystery and sitting on your guitar stand may be the guitar you are so desperately searching for
"I build for sound" has been my call to arms for nearly 20 years now. One would think that great acoustic guitar sound would be the goal of every maker of guitars, no matter what size the company is. The simple truth is that, in many cases, sound becomes less of a concern the larger a company becomes. The reason being that high production guitar manufacturers process so much tone wood that wood selection is based primarily on factors with little or no consideration for tonal qualities or the strength of each and every piece of guitar wood. Generally, the next piece of wood is pulled off of the shelf and a guitar gets built to the same specs as the last one. This would be fine if every piece of wood were the same as the last but this is almost never the case.
Voicing (or Tone Shaping) an acoustic guitar begins with choosing the right tone wood. Having sold tone wood to high end builders for many years, I can tell you that finding premium tone wood is like a cosmic egg hunt. Even though we cut our own guitar sets, I may have to tap tone (listen to the ring of the wood) several sets (cut from the same board) just to find one that will meet my standards for a quality sounding guitar. With guitar top plates I find myself lucky to get 1 usable set in 25. Choosing the right back and side set, then matching that set to the right top is the first critical process of voicing a guitar.
Once the best wood choice is made, we can move to determining the thickness based upon strength and the tap tone as we proceed through the thickness sanding process. Species of wood will also have an impact on thickness as some species are more prone to splitting or cracking and this, like many other factors, should be considered.
Once we get the thickness to our liking we focus on the bracing. The tinsel strength of the brace wood will help determine the amount of actual wood that we leave on our brace wood. Generally spruce is used for brace wood as it is light, strong, stable and pliable. Bracing will have a very noticeable impact on the sound of your guitar. When we Tone Shape a guitar for a customer, we scallop the top bracing as part of the process and the difference is usually night and day just from the scalloping alone. On a new guitar build, bracing can be even more fine tuned to the guitar top if worked properly and placed. Bracing pattern and layout is critical for sound and has led us to having developed our own system.
